
Ever wanted to easily create an image gallery in WordPress? Well, you’ve come to the right place! In this post, we’re going to take a look at the best ways to create a gallery in WordPress in under five minutes.
Before we get started, here’s a more detailed look at what we’re going to be looking at in this article:
- We will guide you through the entire process of creating your very first gallery in WordPress (step-by-step);
- We will also look at ways you can improve and optimize your galleries;
And much more.
Table of contents
Why Create an Image Gallery in WordPress?
It is super easy to create a photo gallery in WordPress – it is also a more appealing way of sharing content.
When you add multiple images in a post, they appear one after another, so they don’t look great and your visitors have to scroll to view them all.

However, WordPress comes with an image gallery feature that allows you to:
- Showcase images in a grid layout with columns and rows;
- Show thumbnails for your pictures;
- Display more photographs in less space;
- Optimize your gallery images;
- Edit your images and galleries;
- Change image size.
Create Image Galleries Using the WordPress Gutenberg Block Editor
We decided to write our own post about inserting and creating galleries in WordPress. Why? Because almost all of the other posts that show you how to create a photo gallery with WordPress are out-of-date.
This is because they were written and posted before the recent WordPress Gutenberg (5.5) update.
They haven’t been updated to reflect how someone would go about adding a gallery after updating to Gutenberg.
Installing the Gutenberg Block Editor
So, if you’re using WordPress 5.5 (more commonly referred to as Gutenberg) one way to create a gallery is by clicking the (+) icon as shown below.
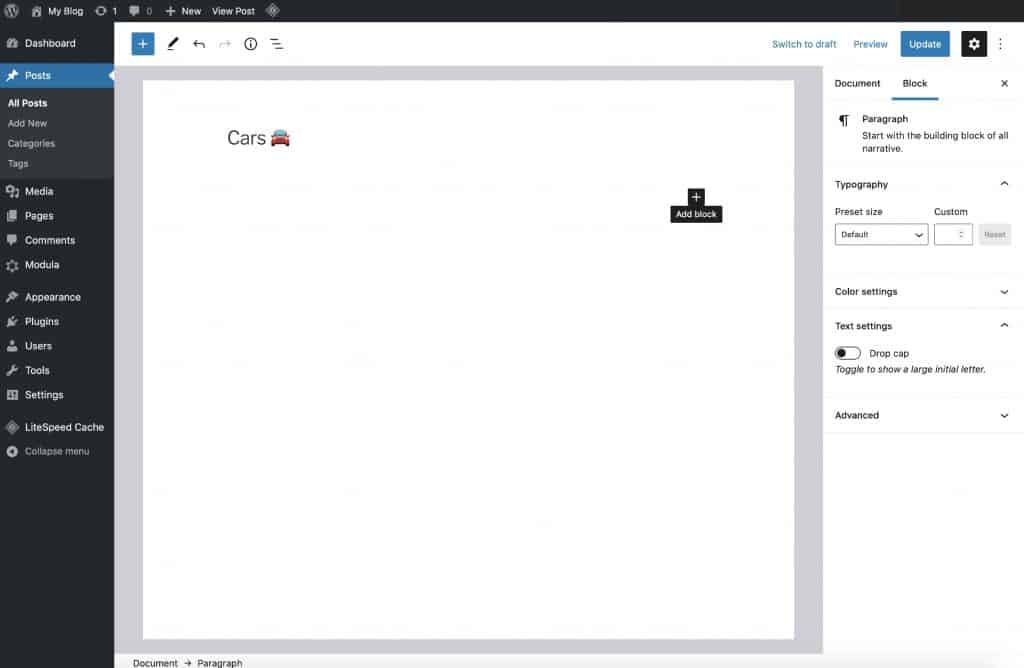
Clicking the (+) icon will take you to what is referred to as the block switcher. This is where you can select and add a wide range of formatting elements such as singular images, text blocks, and headings.
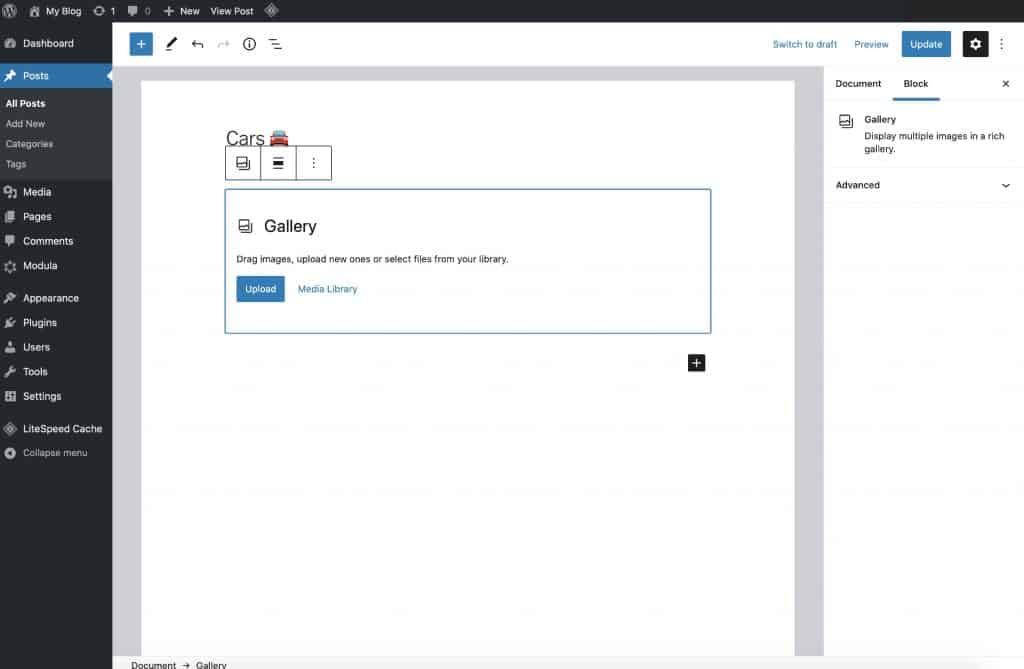
However, in this case, simply type ‘gallery’ to sort through the available blocks you have.
And then select the first Gallery block that appears under the Common Blocks category.

Once you click on the block name to insert it, you’ll see the block added to your post and you’ll be ready to add images to it.
Depending on where your images are stored, you can click Upload or Media Library to add images to your newly created WordPress gallery. This depends on where your images are currently stored.
If your images are already in your WordPress Media Library, select the Media Library option. If they’re on your computer, choose the Upload option.
If you’re uploading images, clicking the upload button will open your computer’s default file manager. Select the images you want in your gallery and hit the Upload button. They will all show up in the Media Library after you’ve uploaded them.
You will then be able to add those images to your gallery as shown below:
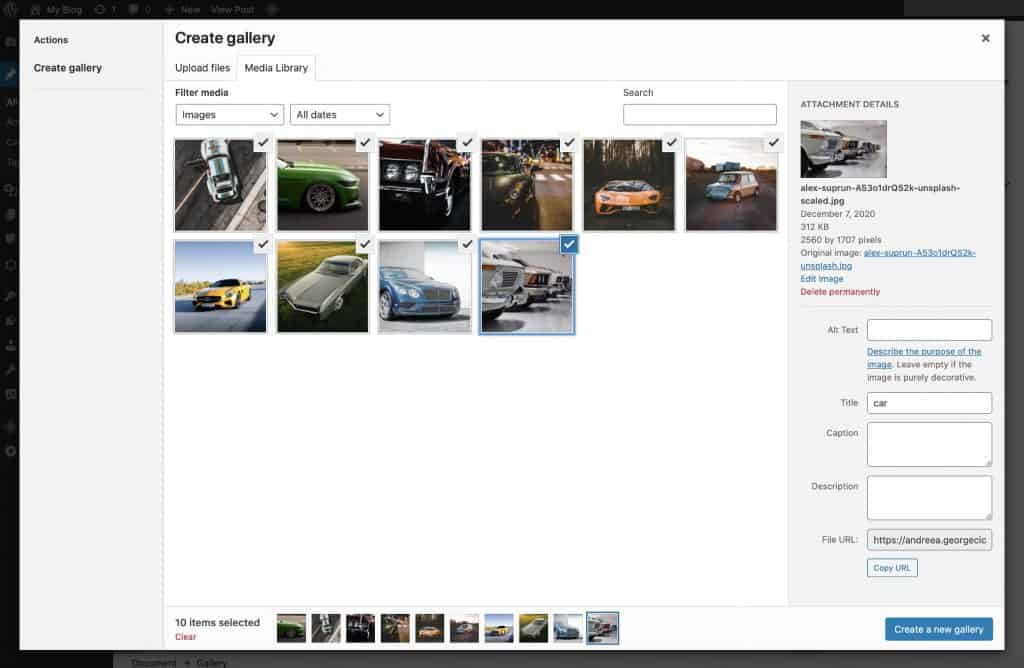
All you have to do is click Create a new gallery in the bottom right-hand corner as shown below:

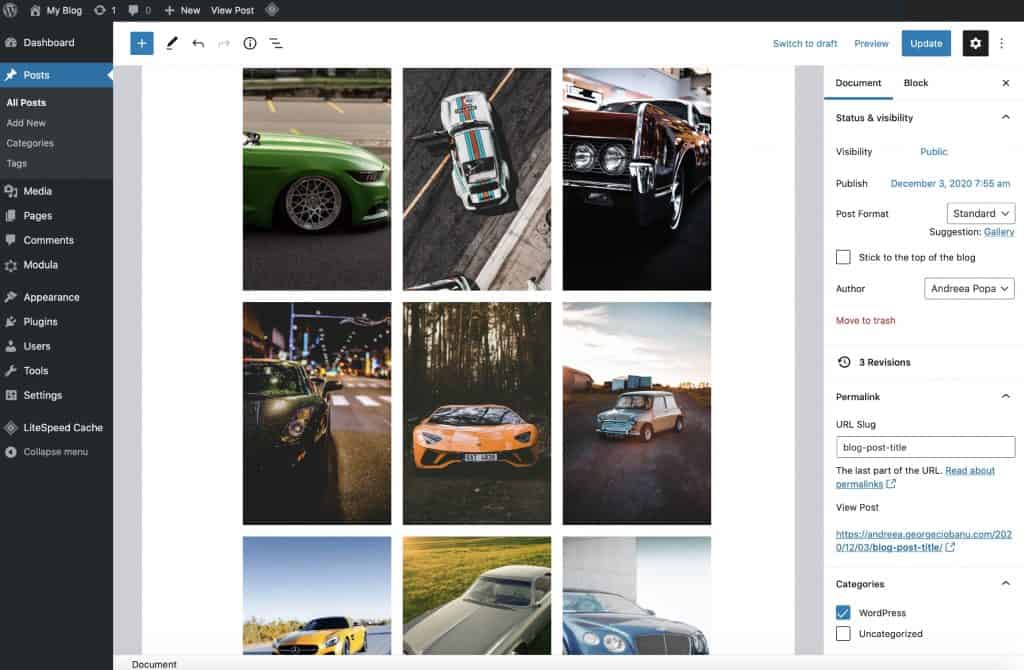
And that’s it – you’ve now created a simple WordPress gallery.
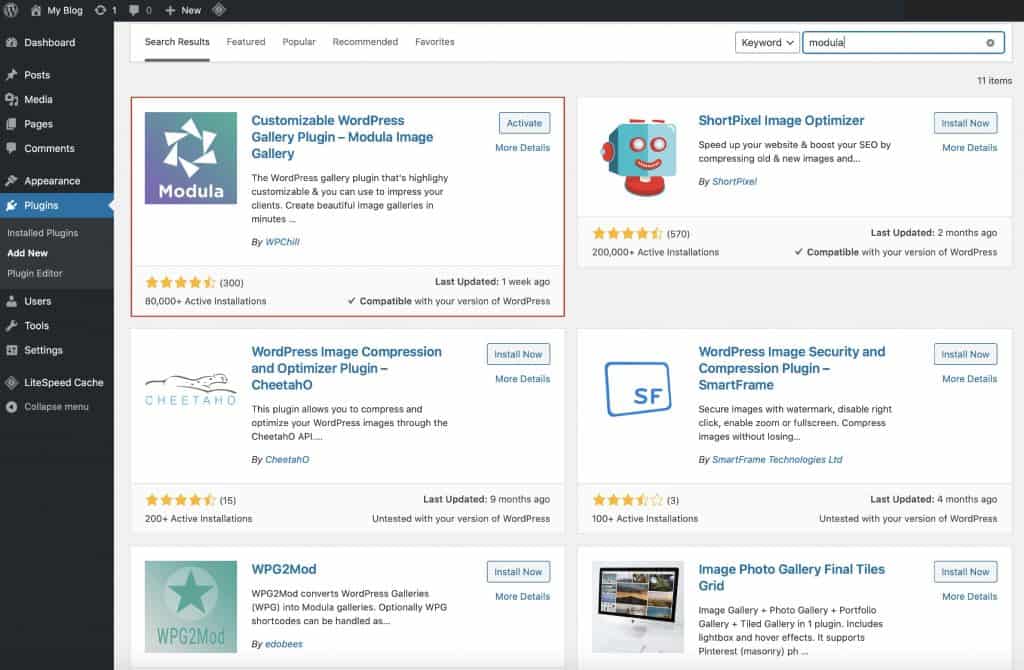
But that’s not the only way to create an image gallery in WordPress. WordPress has many image gallery plugins that offer more features as well as more styling options for your galleries.
One such plugin is Modula. Let’s take a look at how you can use it to create a beautiful image gallery in WordPress.
Create Image Galleries Using a WordPress Gallery Plugin
We truly believe that Modula is the easiest and fastest way to add beautiful galleries to your website.
Not using Modula on your WordPress website yet? Click here.
Due to its amazing bunch of features, it’s clear to see why Modula is the best choice if you’re looking for a gallery plugin for WordPress. You can take advantage of custom grids, gallery layouts, image hover effects, a lightbox powered by FancyBox, filterable galleries, 4 different grid types, and a video extension if you want to create video galleries.
Creating galleries in WordPress with Modula is considered to be even easier and faster than using the built-in functionality, which can be a bit annoying and limiting. So, let’s jump right in.
1. Download Modula
Once you’ve installed the Modula gallery plugin, make sure that you’ve also activated it.
2. Create a New Gallery
Once Modula is both installed and activated hover over the Modula WordPress Admin menu item and click Add New to create your first gallery in WordPress…
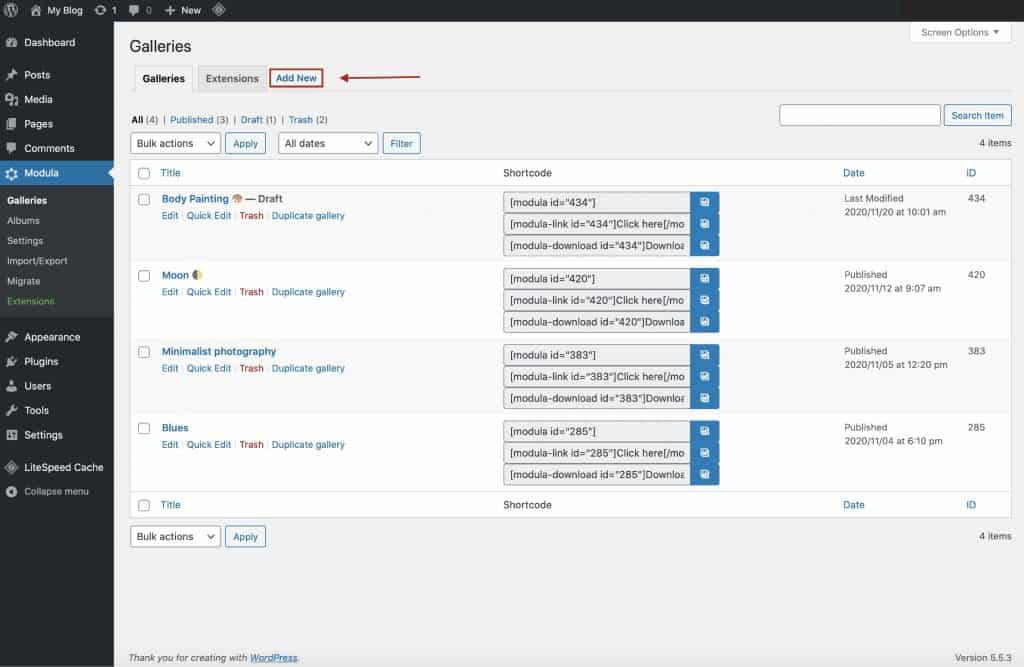
This will take you to the following screen, where you can immediately start uploading images to your WordPress gallery and modifying your gallery’s settings.
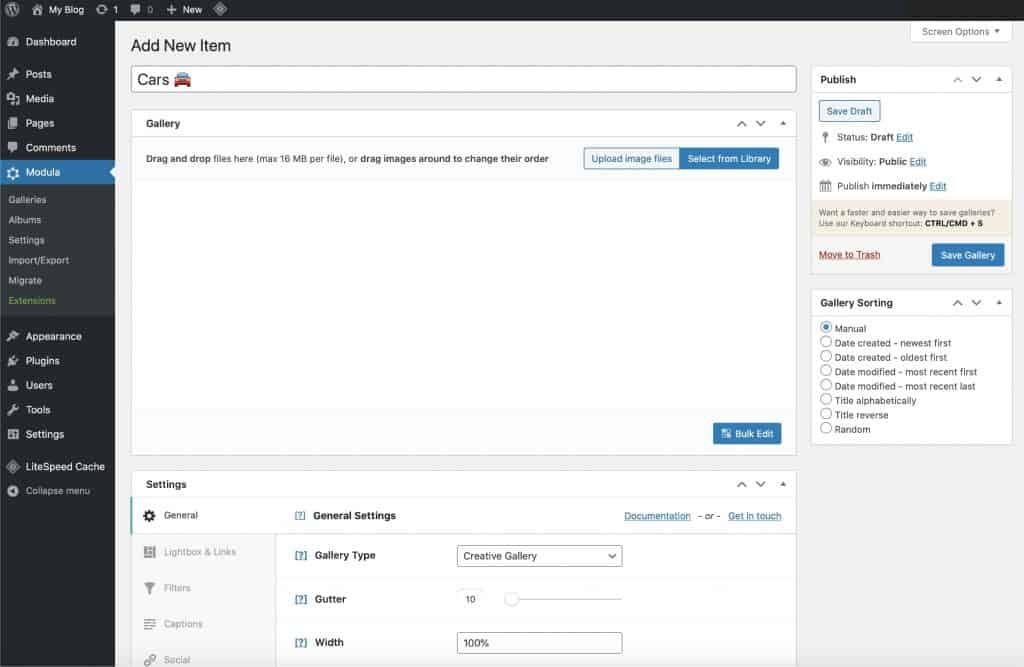
3. Add a descriptive title
Using descriptive names will help you edit the gallery later on when you have multiple galleries on your site.
In this case, we opted to go with something factually accurate. 😉
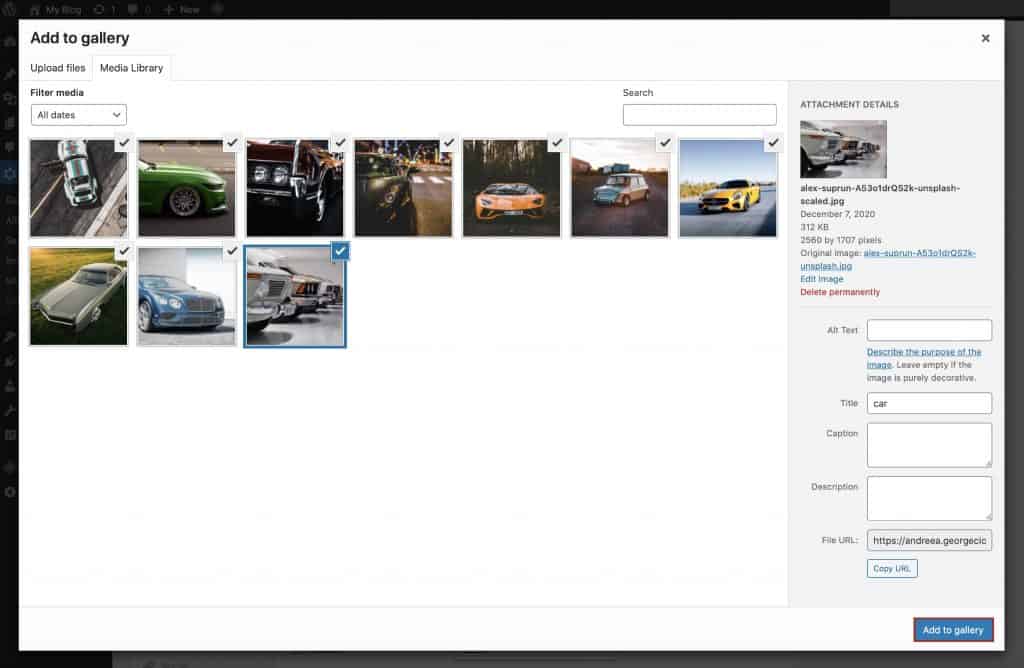
4. Upload images for your gallery
After choosing the images that you want to add to your Modula WordPress gallery, do not forget to click Add to gallery.
After clicking Add to gallery you’ll now see your images in the gallery edit area as shown below…
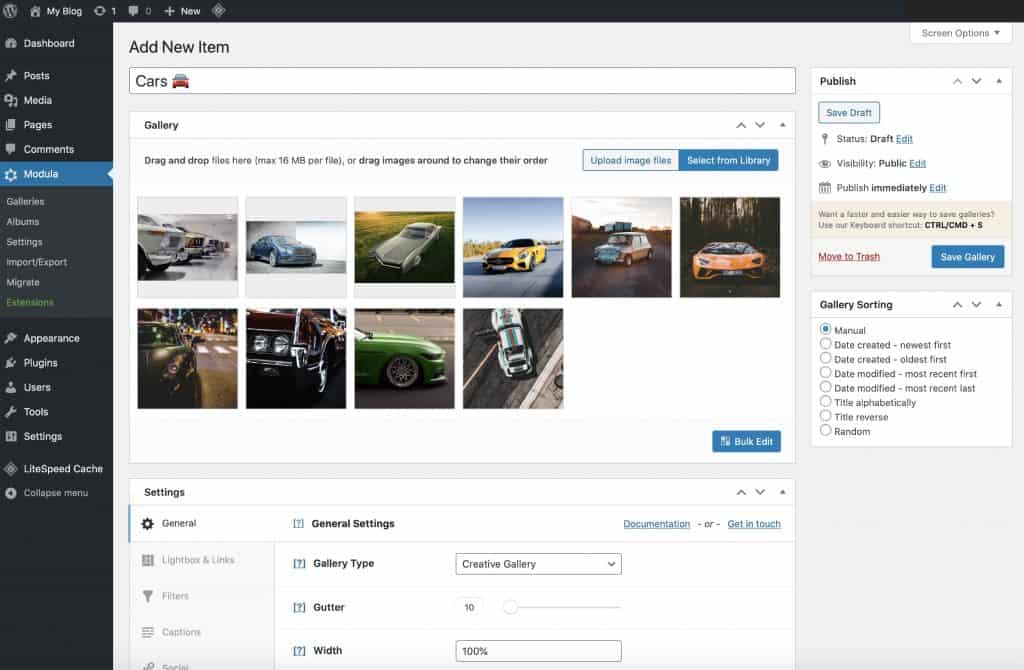
We’ve designed this area to be extremely user-friendly and easy to use regardless of your experience with WordPress.
Thanks to our drag-and-drop interface, rearranging images is as easy as clicking and dragging them around.
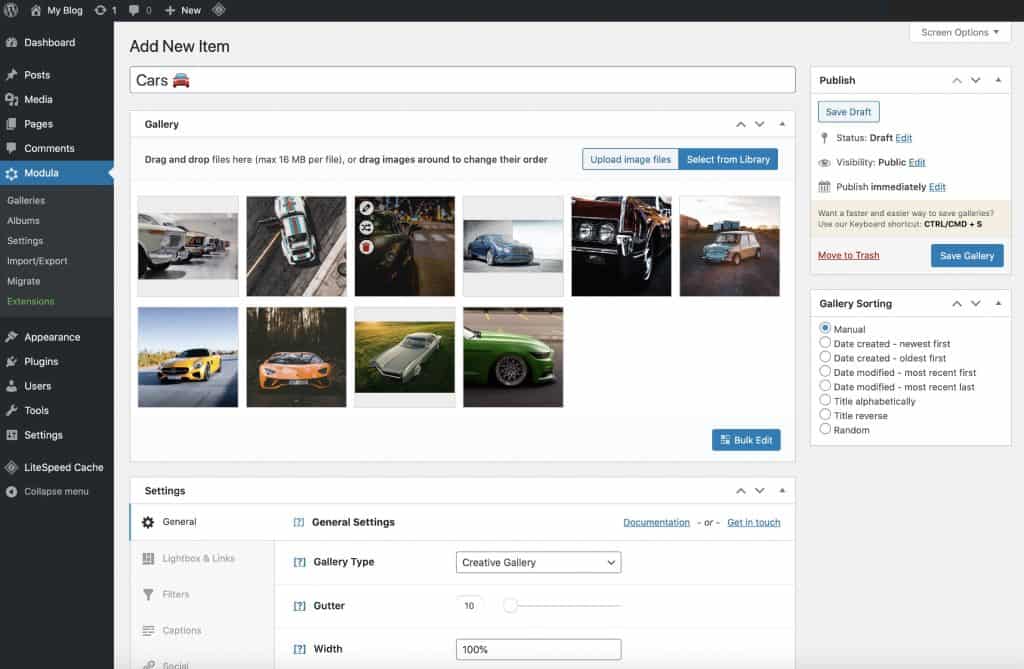
It’s worth mentioning that you can easily delete images from any of your Modula galleries. All you have to do is go to the backend of your gallery and hover over the image. A trash can icon will appear. Press the trash can icon and the image will be deleted. Then, update your gallery and that image will no longer display on your website
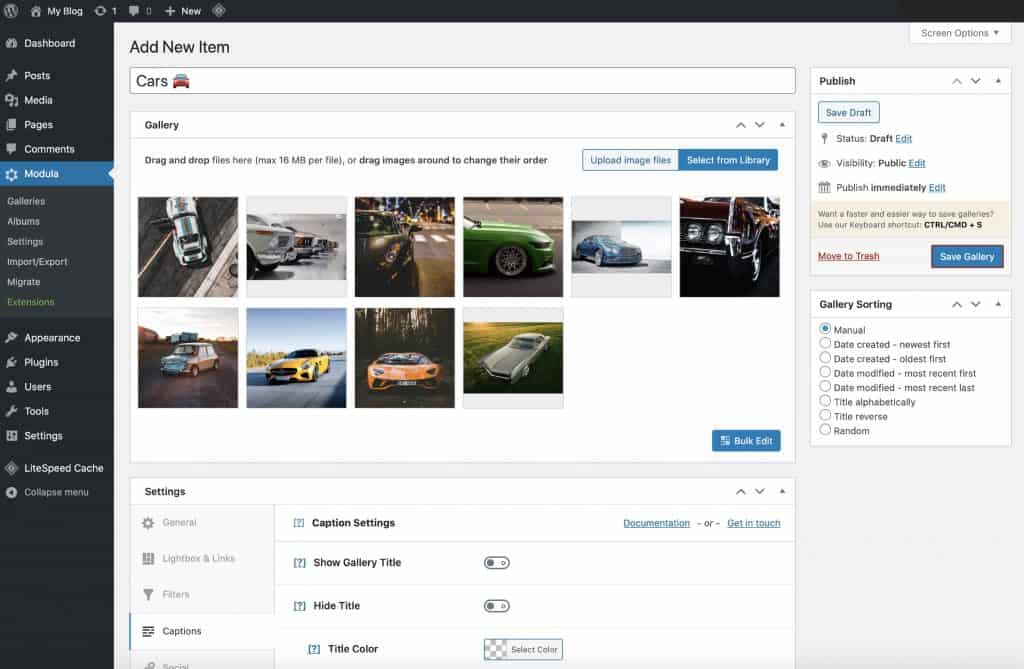
5. Publish and insert your gallery
Now that you have what I’m sure are some stunning and entertaining images in your galleries (and we do too!) – go ahead and click Save gallery.
Once you’ve published your gallery, you’ll notice the gallery shortcode appeared in the gallery edit area as shown below…
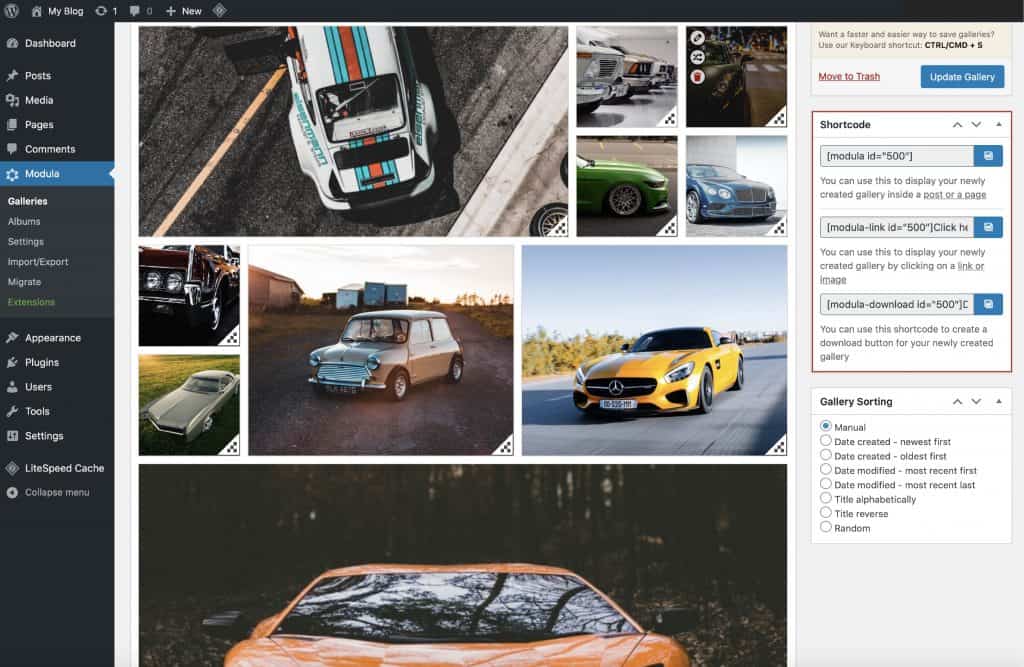
Now the next step is to actually insert your gallery into the WordPress posts and pages where you want them to appear.
However, you can alternatively also use Modula’s Gutenberg block to insert galleries – which is also super easy to do.
Inserting Modula Galleries into Posts using the Gutenberg Block
Simply type /modula to insert the Gutenberg block and then select your gallery from the dropdown.
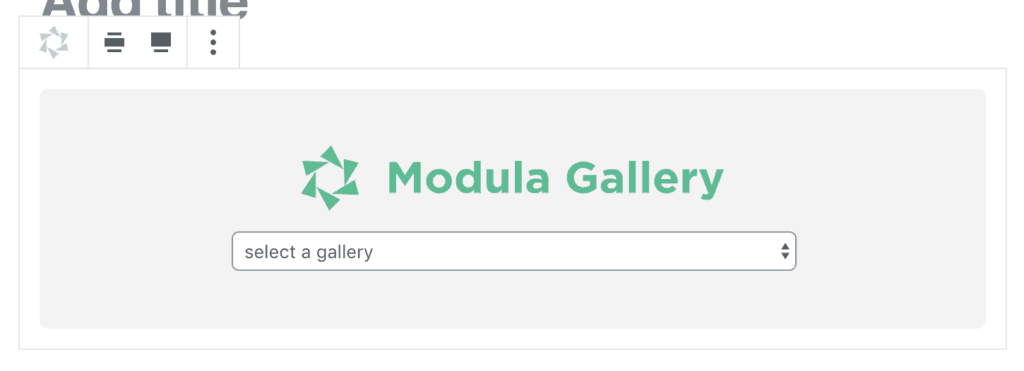
Or, alternatively, click the Modula icon (shown below). Then, also proceed to select the gallery you wish to insert using the dropdown shown above.

And go crazy with customization!
In the process of developing Modula to be the most user-friendly gallery plugin available, we’ve also made it extremely easy for both beginners and intermediate users. Now everyone can take advantage of all its amazing functionalities.
After purchasing a license of Modula, all of our users receive a series of emails that take them through how to take full advantage of Modula’s settings – to get started, click here.
Wrapping Up – How Should You Add Image Galleries to WordPress?
You can see how image galleries turn out with both options presented in this article in the video below:
If you can’t decide which one you should choose for creating a WordPress image gallery, here is our verdict:
???? For those of you who are more serious about gallery creation, want to add as many photos as your heart desires, sort images with filters, and more, you’d be better off with a gallery plugin – Modula’s plans start at $39.

Modula Gallery Plugin
Create stunning, responsive photo galleries with ease. Showcase your work, captivate your audience, and boost engagement. You don’t need to do any coding.
???? For simple and basic galleries, the built-in WordPress gallery functionality might be suitable for your website.


Needs to be clearer how to delete an image from a Modula Gallery
Hello, Frances! If you go to the backend of your gallery and hover the mouse cursor over the image, a trash can icon will appear. Take a look at the second screenshot in the 5th heading “Publish and insert your gallery”, and in the right-hand corner of the gallery, you will see that the image has a red trash can icon. If you click on it, your image will be deleted. All you have to do then is update your gallery, and the deleted image will no longer be displayed. I hope I helped you. Thanks for your comment. Have a nice day and happy holidays! ????