Making sure your images look perfect is key, especially for subjects you don’t want to be awkwardly cropped. With Modula, you have the flexibility to control how your images are positioned in your gallery’s grid. This guide will walk you through adjusting image alignment to ensure your images look exactly the way you want them to.
Understanding Default Image Alignment:
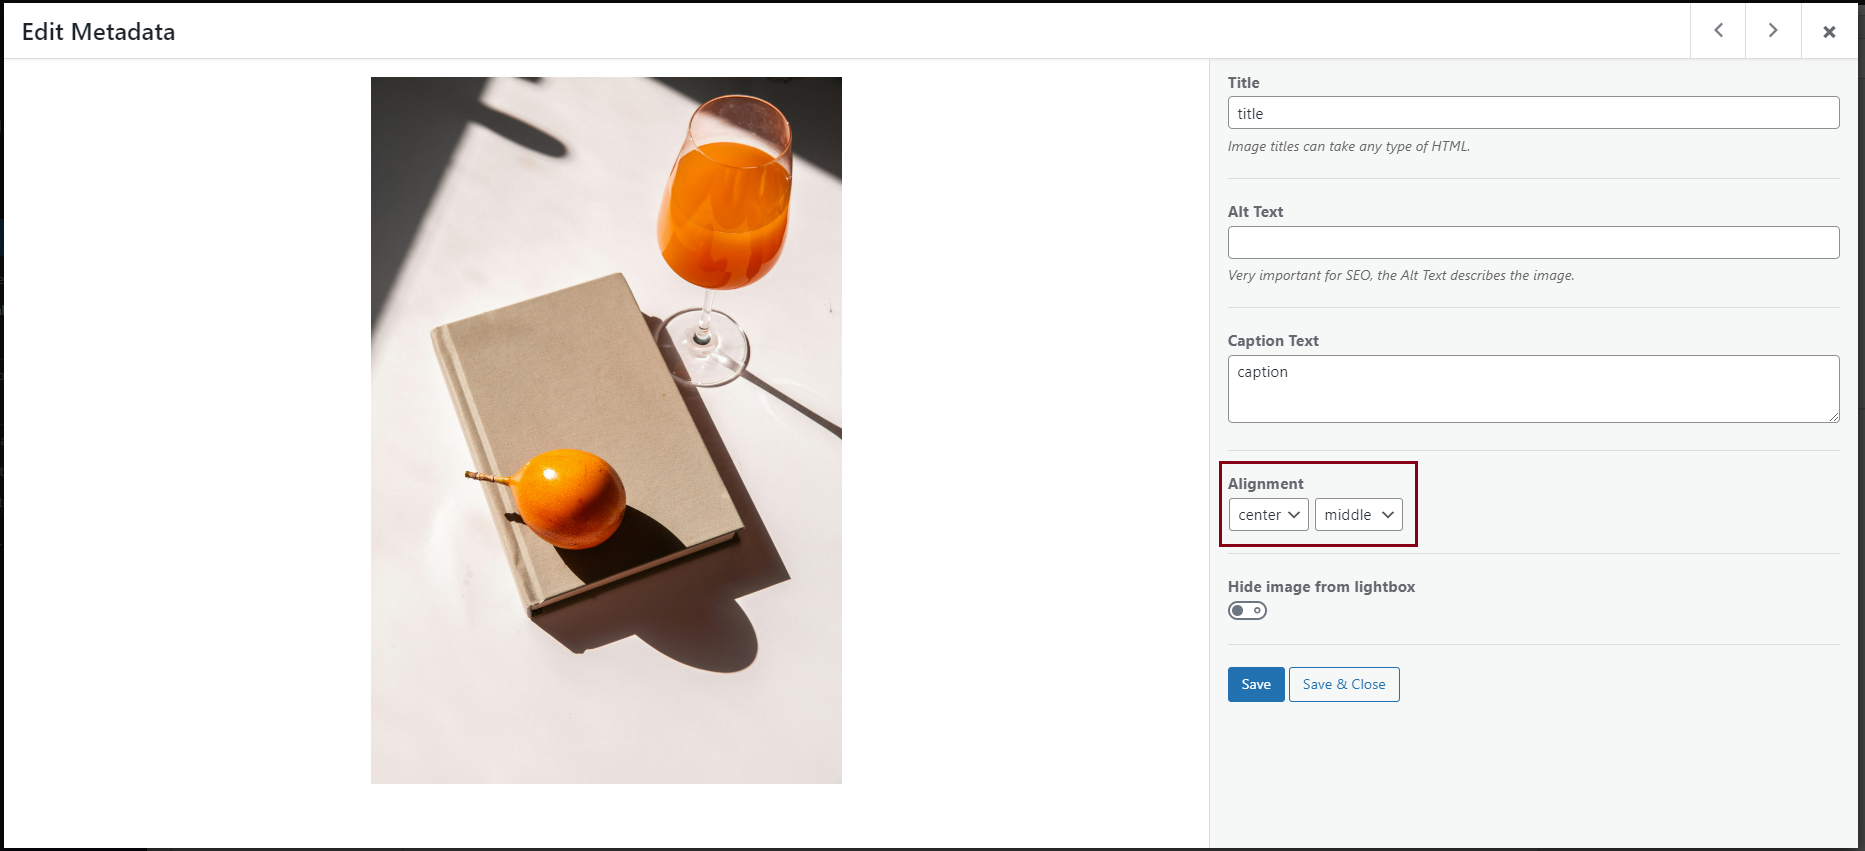
By default, images within the Modula gallery will be aligned to the center and in the middle, as you can see in the example image below. This default alignment is suitable for many scenarios, resulting in images that are well-centered and aesthetically pleasing.
When to Adjust Image Alignment:
If you have specific preferences for how your images should be displayed, you can customize the alignment. For instance, you may want the top part of the image to be more prominent, ensuring that important details are not cut off. In such cases, you can change the alignment to “top middle.”
Important Note:
It’s essential to understand that the alignment option affects the positioning of the images within your gallery. It does not impact the alignment of captions, image titles, or social icons displayed on the image.
By utilizing the alignment option in Modula, you have the power to fine-tune your image display, guaranteeing that your gallery showcases your visuals exactly as you envision. Whether it’s ensuring that a subject’s head or vital details are not cropped out, the alignment feature is here to help you achieve the perfect presentation.