Are you a photographer looking for quick watermarking solutions? Stop your adventure! We are here to help!
You need to learn how to watermark your photos. If you’re publishing photos online, one thing is sure: you have to protect those photos and prevent people from sharing them without giving you credit.
In this post, we’ll explain:
- what is a watermark;
- how to add a watermark on your WordPress website, on your iOS or Android device;
- different ways for watermarking your photos on your PC or Mac;
- more insights.
Table of contents
What is a watermark?
Put simply, a watermark is a logo, text, or pattern superimposed on a photograph to make it harder to distribute or copy without permission. But before you can start adding a watermark to your images, you must decide what your watermark will be.
Remember that even your watermark should reflect your brand so people can find you online when they see your photos. A few ways to create watermarks include:
- A copyright symbol followed by your business name is probably the easiest way to add a watermark to your images and is preferred by most.
- Logo or submark – you can use your logo or submark with reduced opacity on top of your photos—another popular option.
- Your name or your business name – another way to create a watermark for your photos is to type your business name or your personal name if you’re using it as a business name.
- Branded pattern – use your brand pattern to create a watermark for your photos, or get creative and create a pattern by using the first letter of your business name and geometric elements like circles and shapes.
No matter which type of watermark you choose, you’ll need to create it using a graphic design program like Photoshop or Lightroom. These two programs aren’t the only ones out there – in fact, there are a lot of beginner-friendly photo editing tools, some of which are even free!
However, they’re the ones that’ll allow you to export your watermark as a PNG with a transparent background – this is crucial for watermarking photos.
Adding a watermark stamp in WordPress
So now you know what a watermark is, and you’ve decided on what it will look like. Now is the time to start adding that watermark to your photos. Let’s start with your website photos, as that’s the prime location for image theft.
Whether you’re a professional photographer, a photography enthusiast, a blogger, or a business owner, there is no denying that images from your website can get stolen and used on other websites. While a watermark won’t prevent theft, it will reveal the photo’s original source, which is enough to discourage some evil-doers in their tracks.
Watermark your photos with Modula
Luckily, if you use Modula, you can easily add a watermark to your pictures thanks to its easy-to-use interface. The first thing you’ll need to do is enable the Watermark extension under Modula > Extensions.
Once you’ve activated it, click on Modula and click on your gallery. All you have to do is select the gallery you want to work with and click Edit.
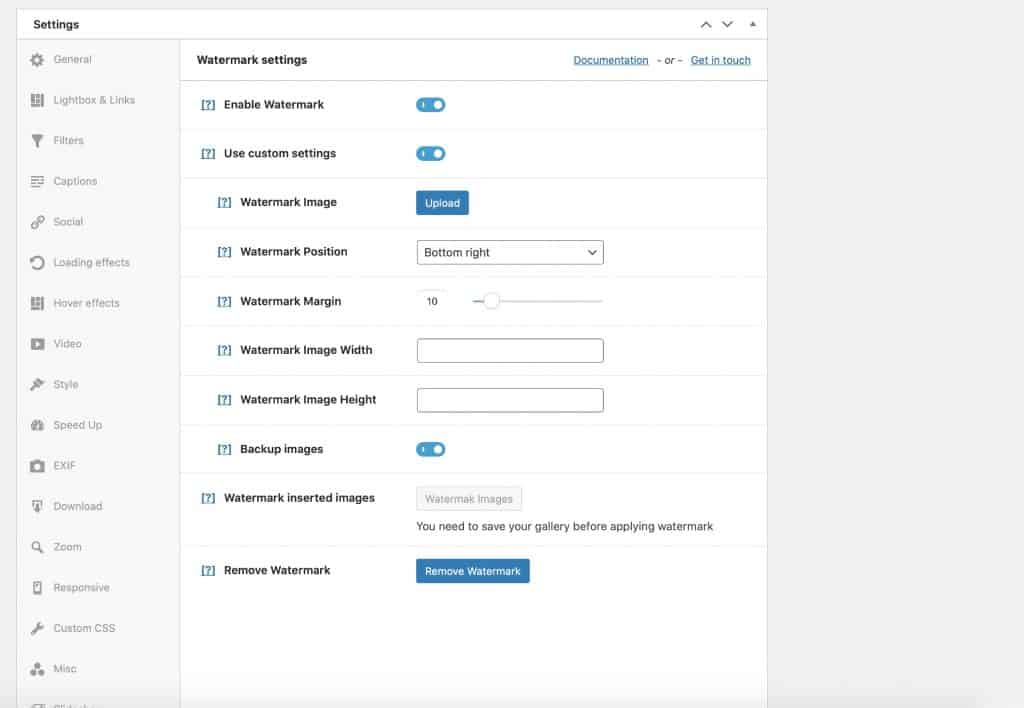
After that, click on Settings > Watermark and toggle on Enable Watermark. You can select where the watermark will be positioned on the image and set the margin around it.
Then click Save changes. As you can see, if you need to watermark your images, Modula allows you to add custom watermarks straightforwardly. So, make sure you take advantage of this WordPress plugin.

Modula Gallery Plugin
Create stunning, responsive photo galleries with ease. Showcase your work, captivate your audience, and boost engagement. You don’t need to do any coding.
Now that you’ve found out how to add a watermark to your images using WordPress, your next step should be to learn how to sell your photos online for money. As a photographer, this could become a passive, sustainable income alternative.
Watermark photos using Adobe Lightroom
If you’re a professional photographer, your website is probably not the only place where you share your photos. In that case, you can take advantage of the tool that’s probably a part of your workflow already. Use Lightroom to watermark your images before exporting & sharing them.
Lightroom will allow you to easily apply a watermark to all of your images at once, and it’s easy to do. Here’s how.
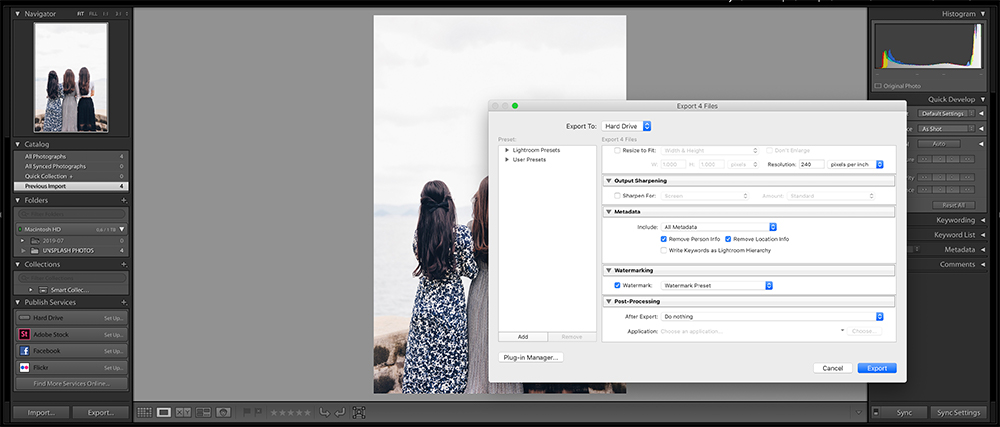
Launch Lightroom and load all the images you want to edit and export. Apply your usual edits, and when you’re ready to export the images, follow the steps below to apply the watermark:
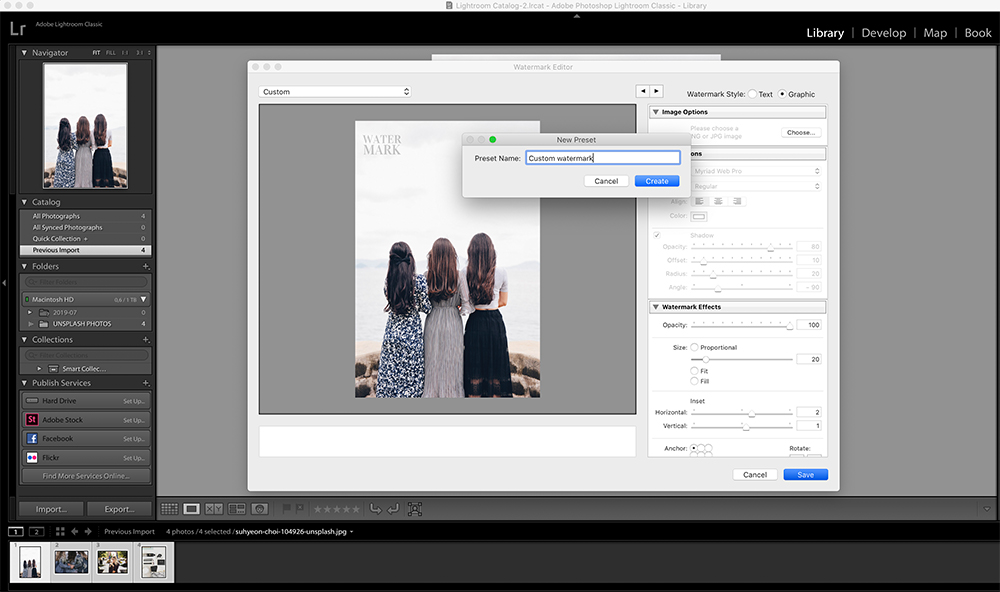
- Click on Adobe Lightroom > Edit Watermarks (or Edit > Edit Watermarks if you’re on a PC)
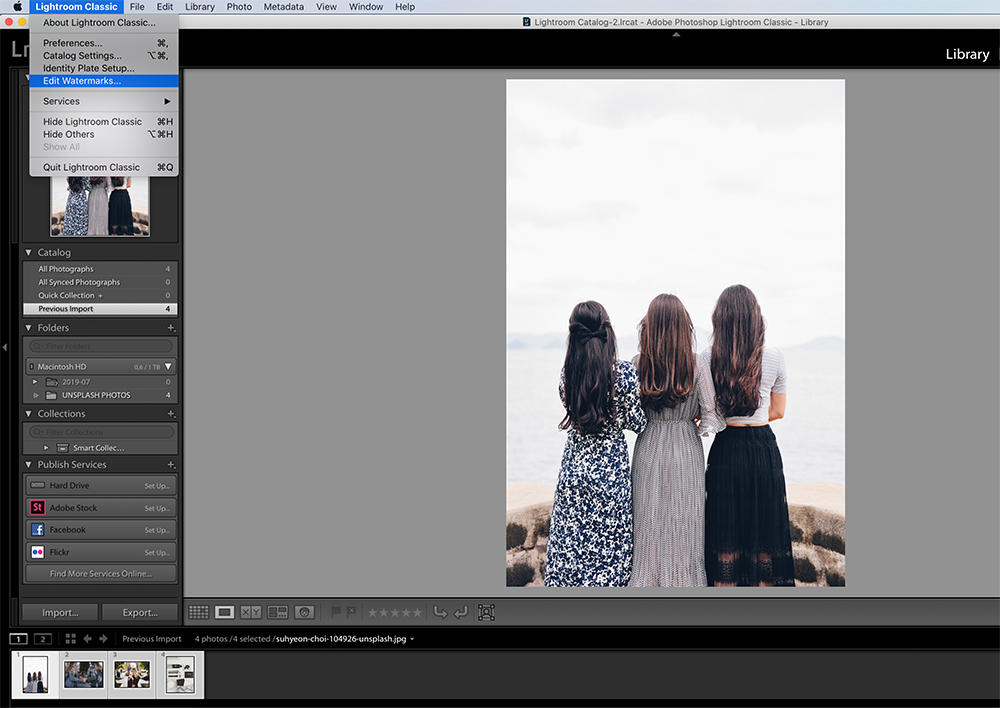
- Upload your watermark image and configure watermark settings.
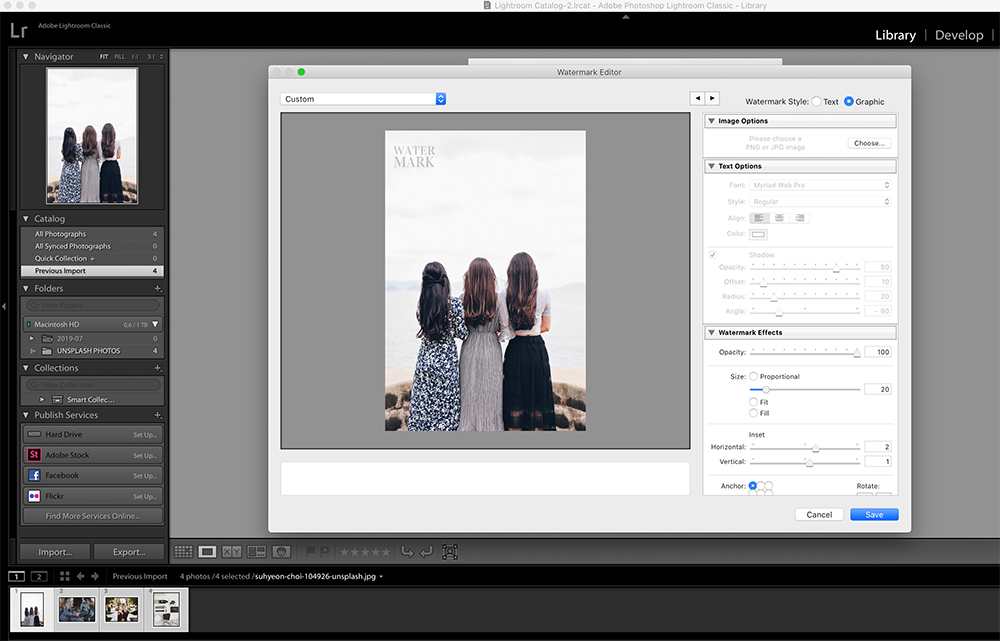
- Save the watermark as a preset by clicking the Save button.
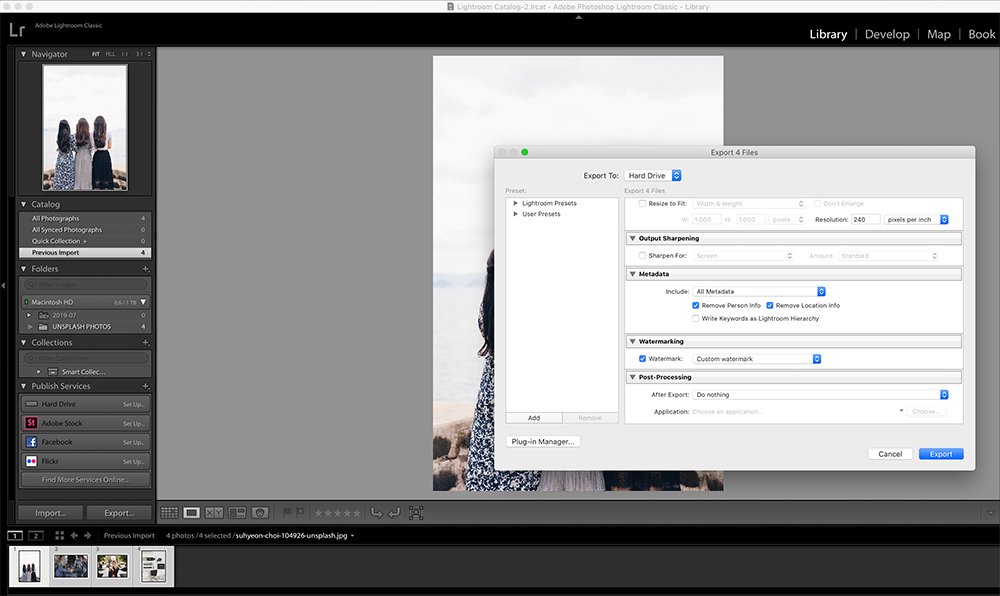
- Click Export to export your images;
- Choose the watermark preset you created to apply your watermark to the photos;
- Export your photos.
Besides adding custom watermarks, Lightroom lets you create watermark text if you don’t have a custom image.
Have fun with Adobe Photoshop and add your watermark
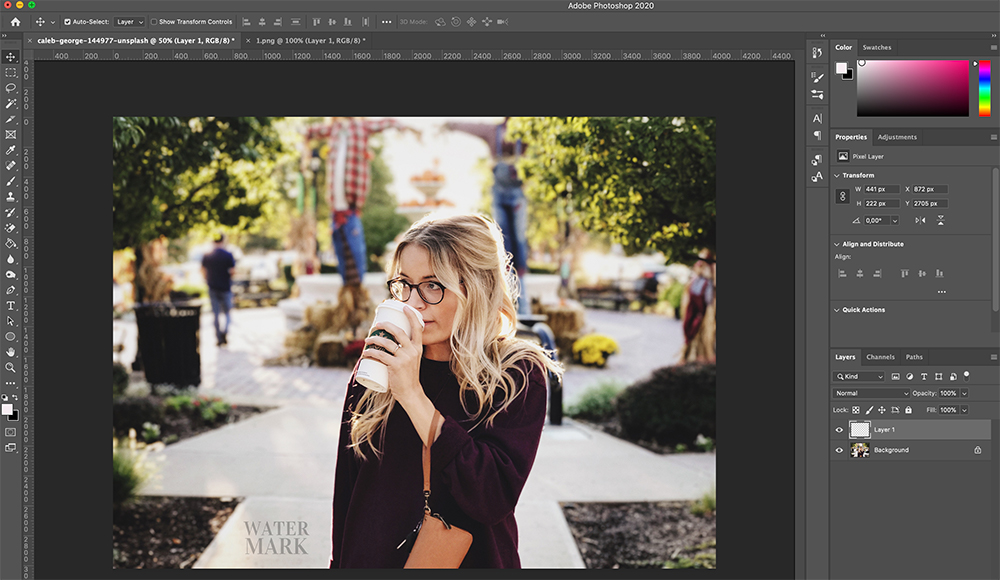
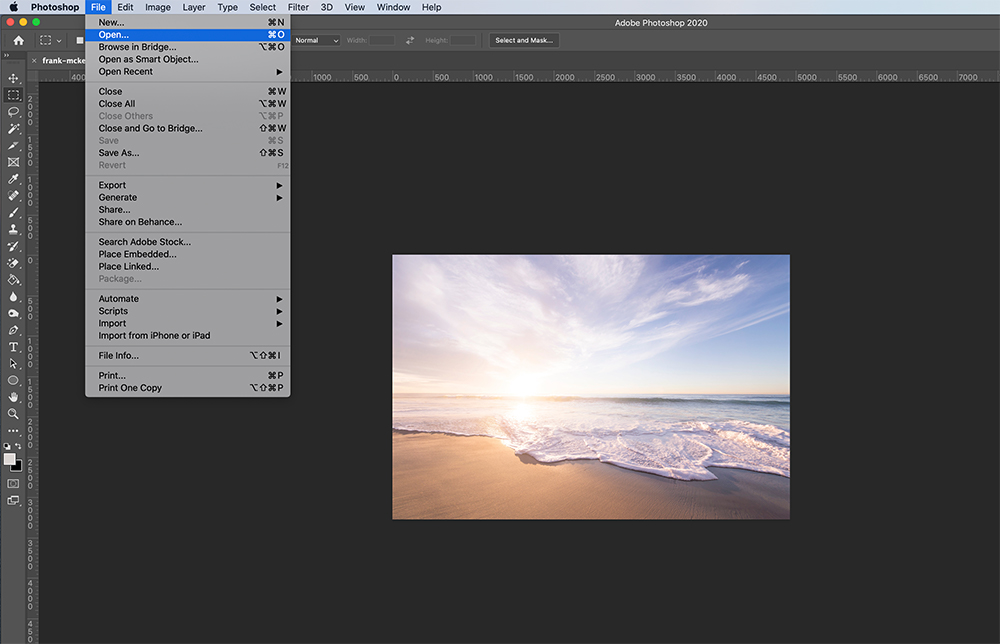
If you’re using Photoshop to edit your photos, you can easily add a watermark. First, open the photo you’d like to work on using Photoshop.
Then, navigate to File > Open and locate the watermark you’ve previously created.
Copy your watermark and then paste it onto your photo as the final editing step.
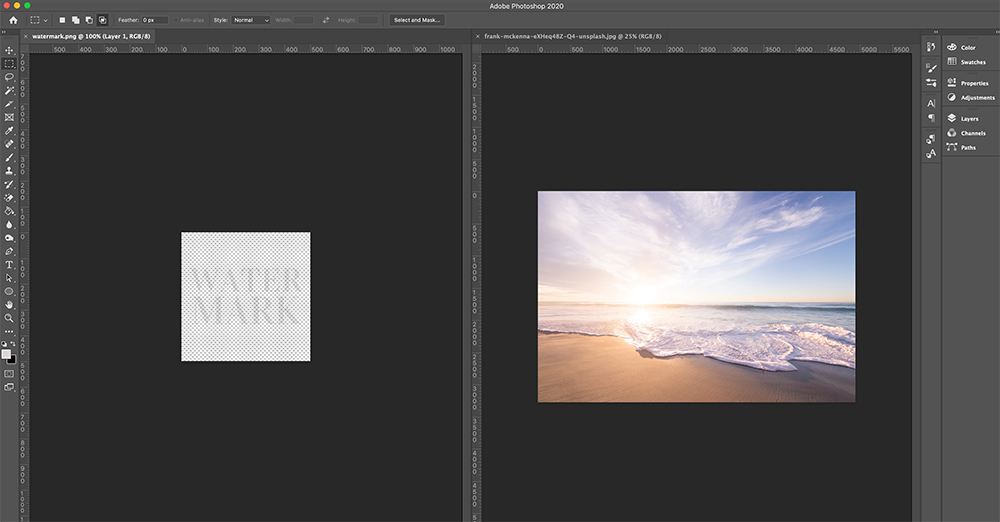
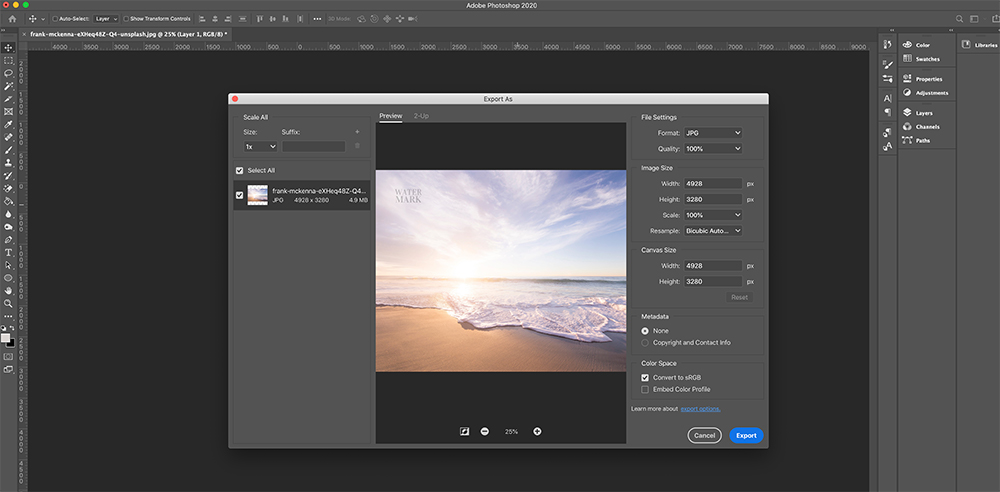
You can then export it as you normally would.
Custom watermarks are the most used, but you can also add a watermark text. So, make sure you watermark photos according to your style.
Handling watermarks on a Mac or PC
Aside from using Lightroom and Photoshop, several dedicated apps for Mac and PC will help you watermark your photos.
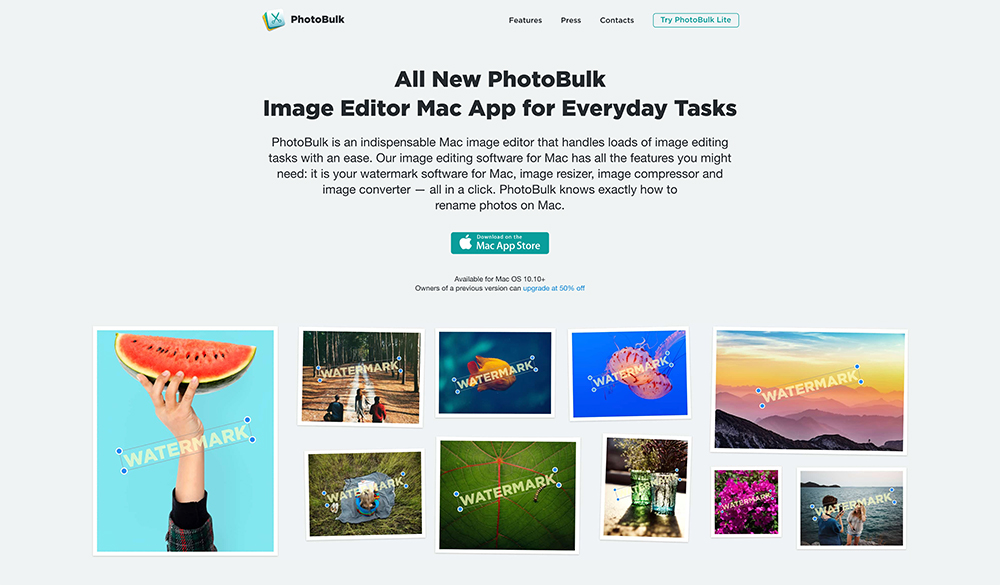
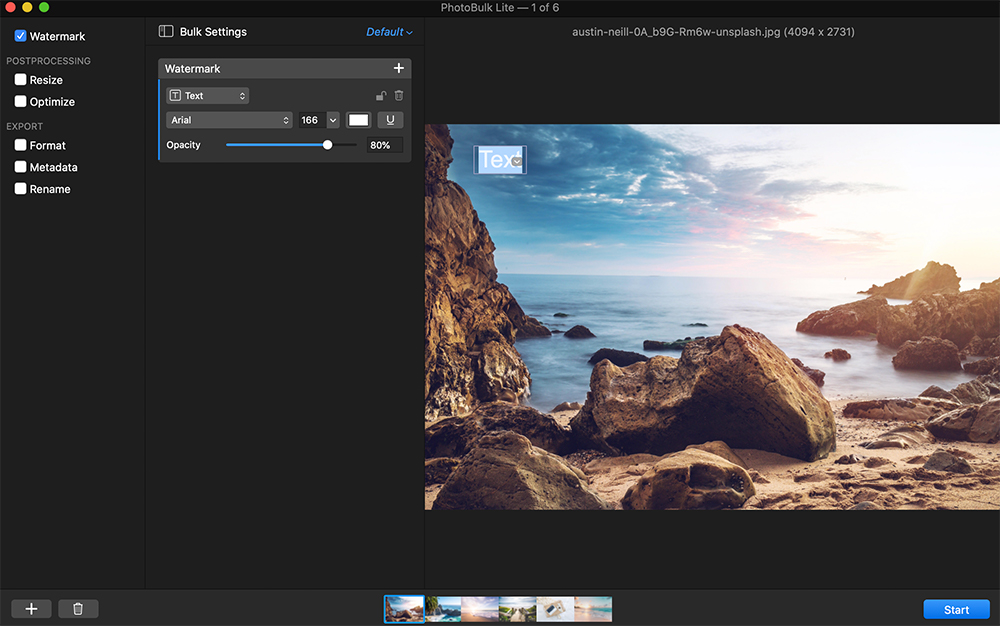
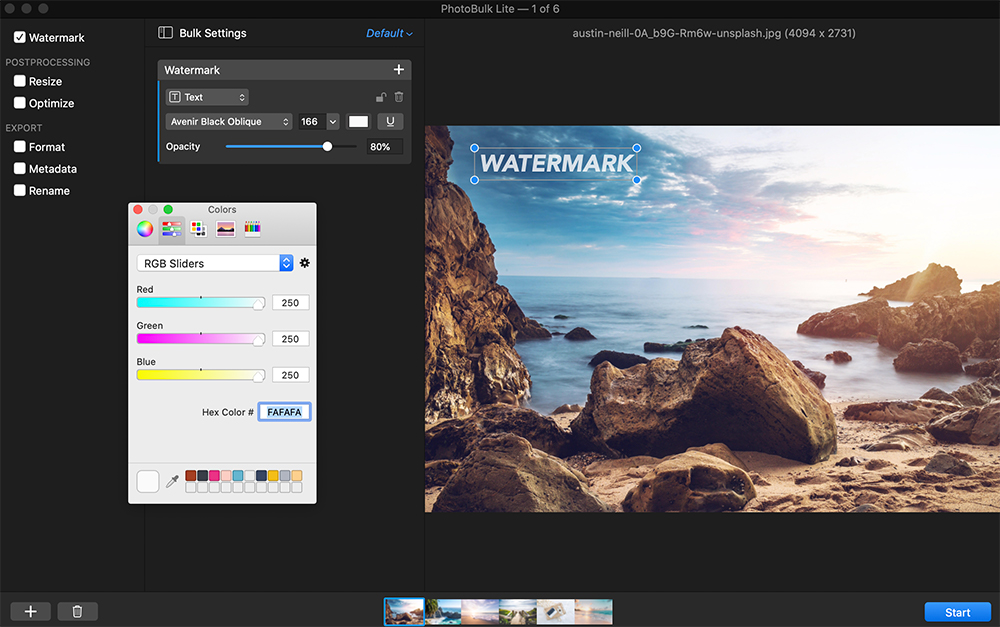
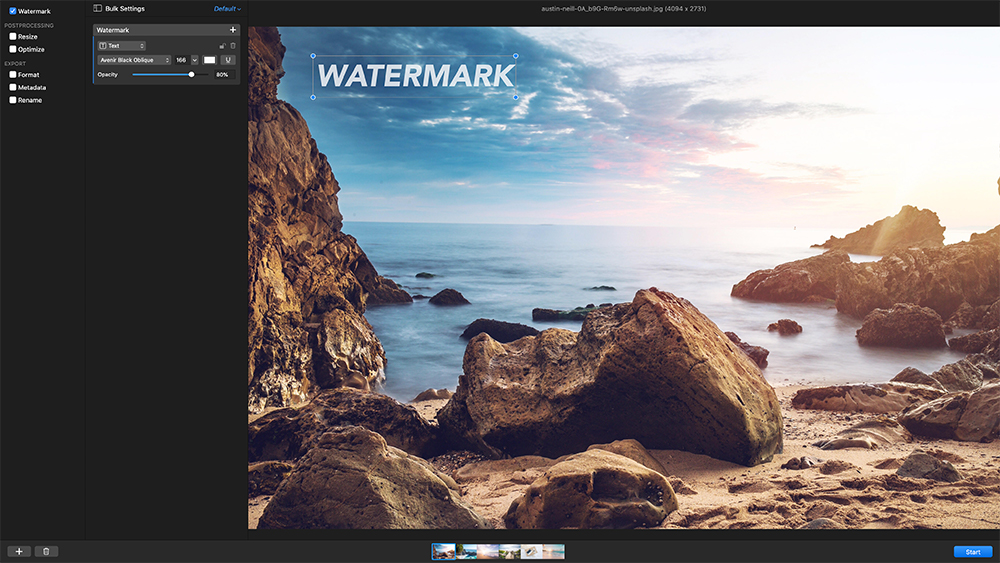
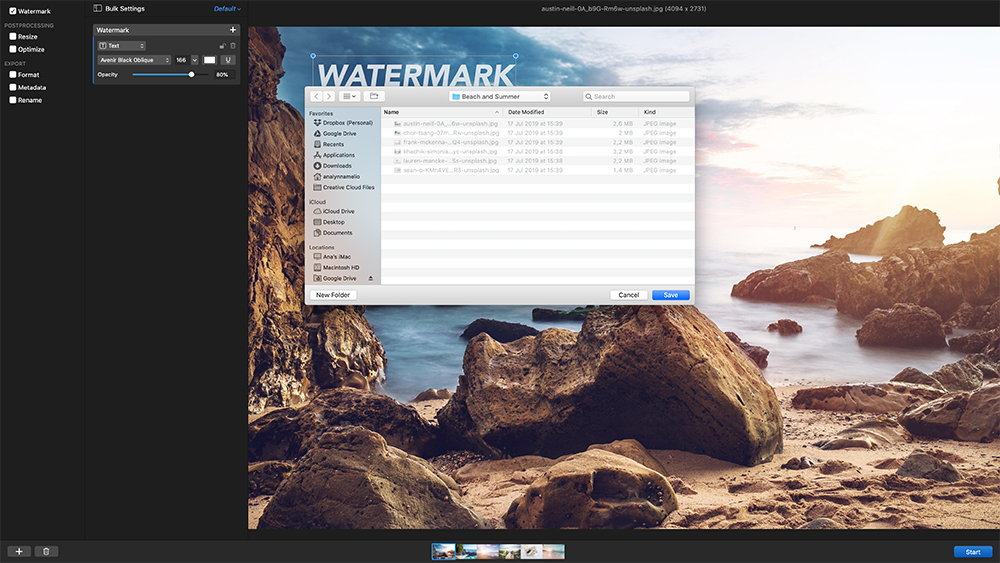
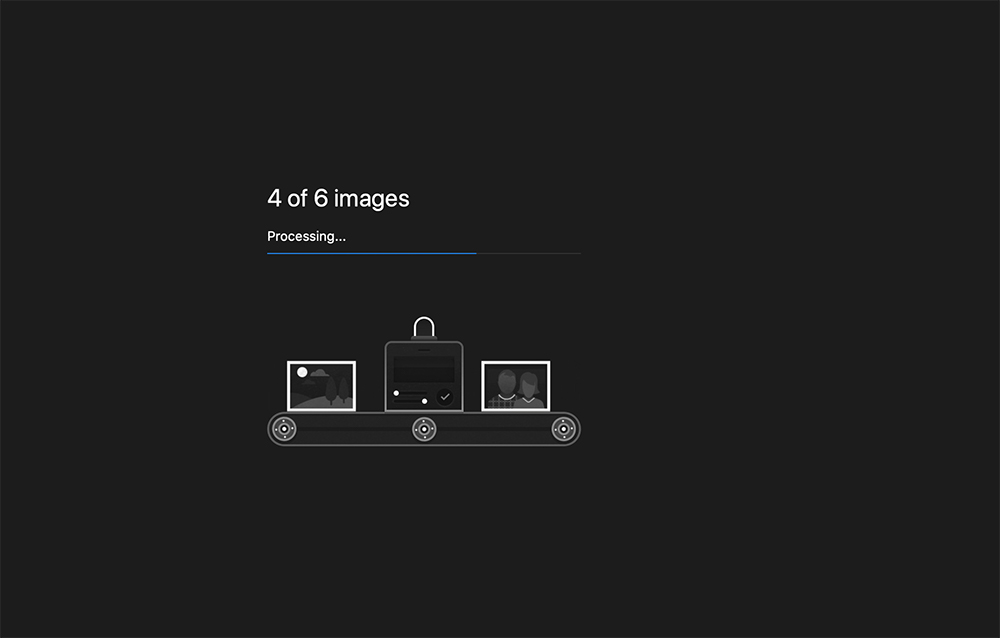
PhotoBulk is a photo-editing app for Mac that makes it easy to add watermarks to your photos in bulk. This is a great time-saving feature for dealing with hundreds of photos. You can also edit EXIF data, resize images, and rename them in bulk.
You can download it from the AppStore for $9.99. A lite version of this app comes with text-only watermarks if you want to try it out first.
Adding watermarks in photos is relatively easy with Photobulk. Here are the steps:
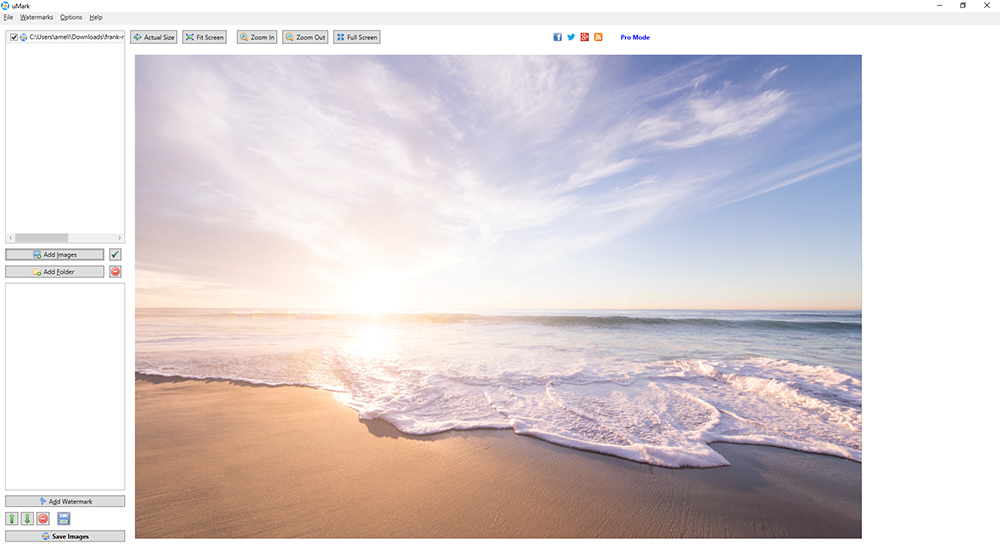
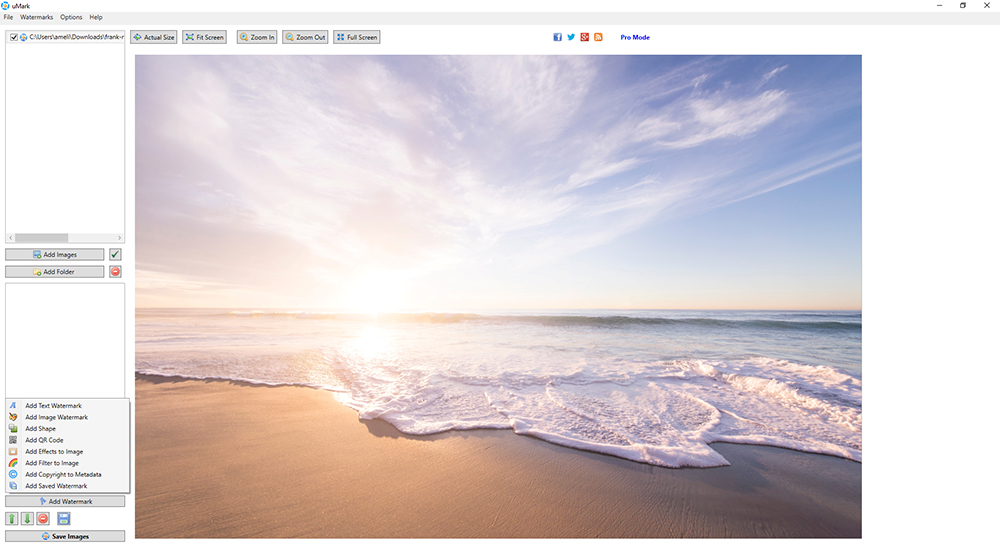
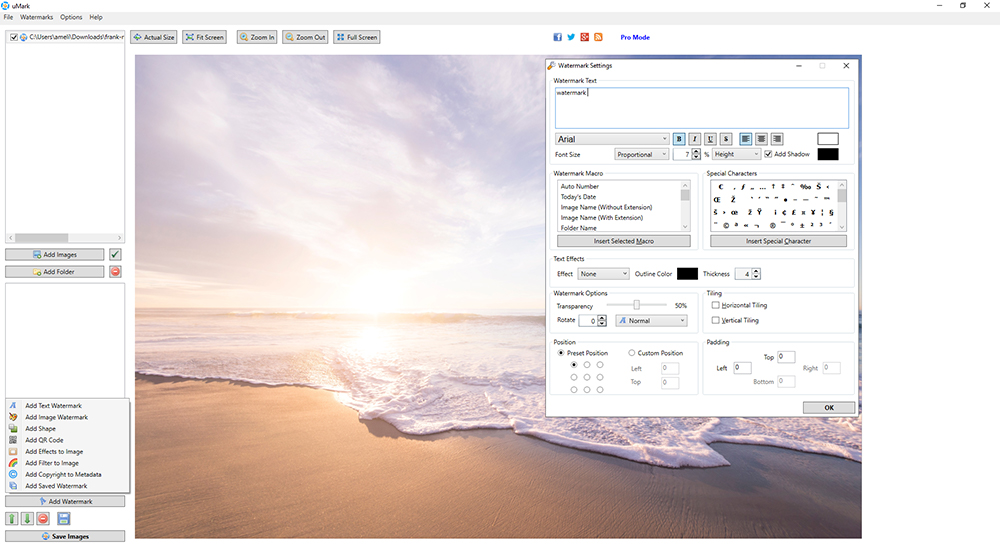
If you’re on a PC and all you need is a simple watermarking solution, give uMark a try. uMark is free watermark software for Windows that does what it says.
You can choose from a text watermark, image watermark, QR watermark, and more. uMark allows you to watermark 50 images at a time.

And here are the steps to take using uMark:
Try IrfanView if you need more features, such as image resizing, compression, format conversion, and more. It has built-in watermarking features as well as the ability to allow you to take advantage of the batch watermarking process. IrfanView is Windows only and licensed as freeware.

How To Watermark Photos On iOS and Android Devices
Our last option is to watermark photos on your smartphones and tablets. This is a neat app called iWatermark, and it works on both iOS and Android devices.

You can add text or graphics watermarks and adjust where the watermark appears its opacity, and more.
Final thoughts
Creating a watermark and adding it to your photos is a must if you want to prevent your images from being stolen.
If you want to add a watermark stamp in WordPress, we advise you to use Modula because it is pretty easy to use.
Modula Gallery Plugin
Create stunning, responsive photo galleries with ease. Showcase your work, captivate your audience, and boost engagement. You don’t need to do any coding.
Being a photographer you surely edit your pictures in Lightroom. So, after you make the right changes, you can easily add your watermark using this software.
If you choose to add a watermark directly from your computer, you can use PhotoBulk for Mac, or uMark for Windows.