An engaging and visually captivating website is essential for attracting and retaining visitors. A well-crafted photo gallery can be a powerful tool for achieving this goal.
In this article, I’ll guide you through leveraging the synergy between the Brizy page builder and Modula to create stunning and interactive photo galleries that will elevate your website’s visual appeal and engagement factor.
Table of contents
Modula and Brizy are dynamic tools that can transform your website’s visual experience.
Modula is a versatile photo gallery plugin allowing the creation of beautiful galleries. On the other hand, Brizy is a popular WordPress page builder that empowers users to design custom layouts without coding skills.
A visually striking photo gallery can serve as a showcase for your products, portfolio, or memories. Engaging visitors, conveying information effectively, and enhancing the overall aesthetics of your website.
In this article, I’ll show you a step-by-step guide to creating an impressive photo gallery using the Modula plugin within the Brizy page builder environment.
Understanding Modula and Brizy
Before we dive into the tutorial, it’s essential to understand why these two plugins go so well hand in hand.
Brizy: Building Custom Layouts Made Easy
Brizy takes center stage as a powerful and user-friendly page builder when creating custom layouts for your WordPress website. Designed to cater to users with varying technical skills, Brizy’s approach to website design is refreshingly intuitive.
Here’s why Brizy is an excellent choice for crafting layouts that align with your vision:
- Simplicity Meets Versatility: Brizy’s drag-and-drop interface simplifies designing complex layouts. Whether a coding expert or a complete beginner, you can create visually appealing designs without breaking a sweat.
- Time-Efficient: Brizy offers a library of pre-designed blocks and elements to drag onto your canvas. This eliminates the need to start from scratch and can inspire your design.
- Real-Time Editing: Say goodbye to switching between the backend and frontend views. Brizy’s real-time editing ensures that you witness changes as you make them, making the design process more intuitive and efficient.
Overview of Brizy’s Drag-and-Drop Interface
Did I mention how easy it is to work around Brizy? Here’s why:
- Block Library: Brizy comes packed with a diverse collection of pre-designed blocks, ranging from headers and footers to testimonial sections and contact forms. Drag these blocks onto your canvas to begin crafting your layout.
- Element Customization: Each element within Brizy’s blocks is fully customizable. Adjust fonts, colors, sizes, and spacing to match your brand’s identity.
- Mobile Responsiveness: With a growing number of users accessing websites on mobile devices, Brizy ensures that your designs are responsive and adapt seamlessly to various screen sizes.

Modula: Crafting Photo Galleries with Finesse
Modula, on the other hand, specializes in enhancing your website’s visual storytelling through captivating photo galleries. This plugin stands out for its ability to create versatile and visually stunning galleries that elevate your website’s aesthetic appeal.
Here’s a snapshot of Modula’s capabilities:
- Customizable Gallery Layouts: Modula offers a range of customization options, allowing you to tailor your gallery’s appearance to match your website’s branding. Choose from various grid layouts to best showcase your images.
- Responsive Design: In today’s multi-device landscape, responsive design is essential. Modula ensures your galleries look impeccable on desktops, tablets, and smartphones.
- Captions and Metadata: Add context to your images by including captions and metadata. This feature enhances user engagement by providing additional information about each image.
- Hover and Lightbox Effects: Modula’s hover effects and lightbox functionality contribute to an interactive user experience. Visitors can engage with your images in a dynamic and immersive way.
Different Versions of Modula
✨Free Version: The free version of Modula provides a solid foundation for creating basic galleries. It’s a great starting point for those exploring the plugin’s features.
✨Premium Packages: Modula offers premium packages for those seeking advanced customization and features. These include options like filters and priority support. Upgrading to a premium package unlocks a world of possibilities for enhancing your galleries.
Preparing Your Website
Setting the foundation right before creating your Modula photo gallery is essential. Properly preparing your website ensures a seamless and efficient gallery creation process.
Installing and Activating Modula and Brizy
First, install the Modula and the Brizy page builder plugin on your WordPress website.
For this article, I will use Modula and Brizy’s free versions.
Both plugins offer plenty of functionalities. If you want to get the most out of them, I recommend upgrading Modula and Brizy to a pro version.

Modula Gallery Plugin
Create stunning, responsive photo galleries with ease. Showcase your work, captivate your audience, and boost engagement. You don’t need to do any coding.
Installing the free versions is straightforward. Head to your WordPress Dashboard, then select Plugins > Add New.
In the search bar, type Modula. Locate the plugin developed by WPChill. Click on the Install Now button. Once finished installing, click on the activate button.

If you decide on upgrading Modula to the pro version, we have a documentation article to help guide you through the process.
Installing Brizy in exactly the same way as Modula:

Once Brizy is active, it will redirect to a Getting Started page. We will get back to this in a minute.
Creating a Photo Gallery with Modula
With your website prepared, it’s time to delve into the heart of the process: creating an impressive photo gallery using the Modula plugin.
Creating a New Gallery
Head to your WordPress Dashboard, then select Galleries > Add New.
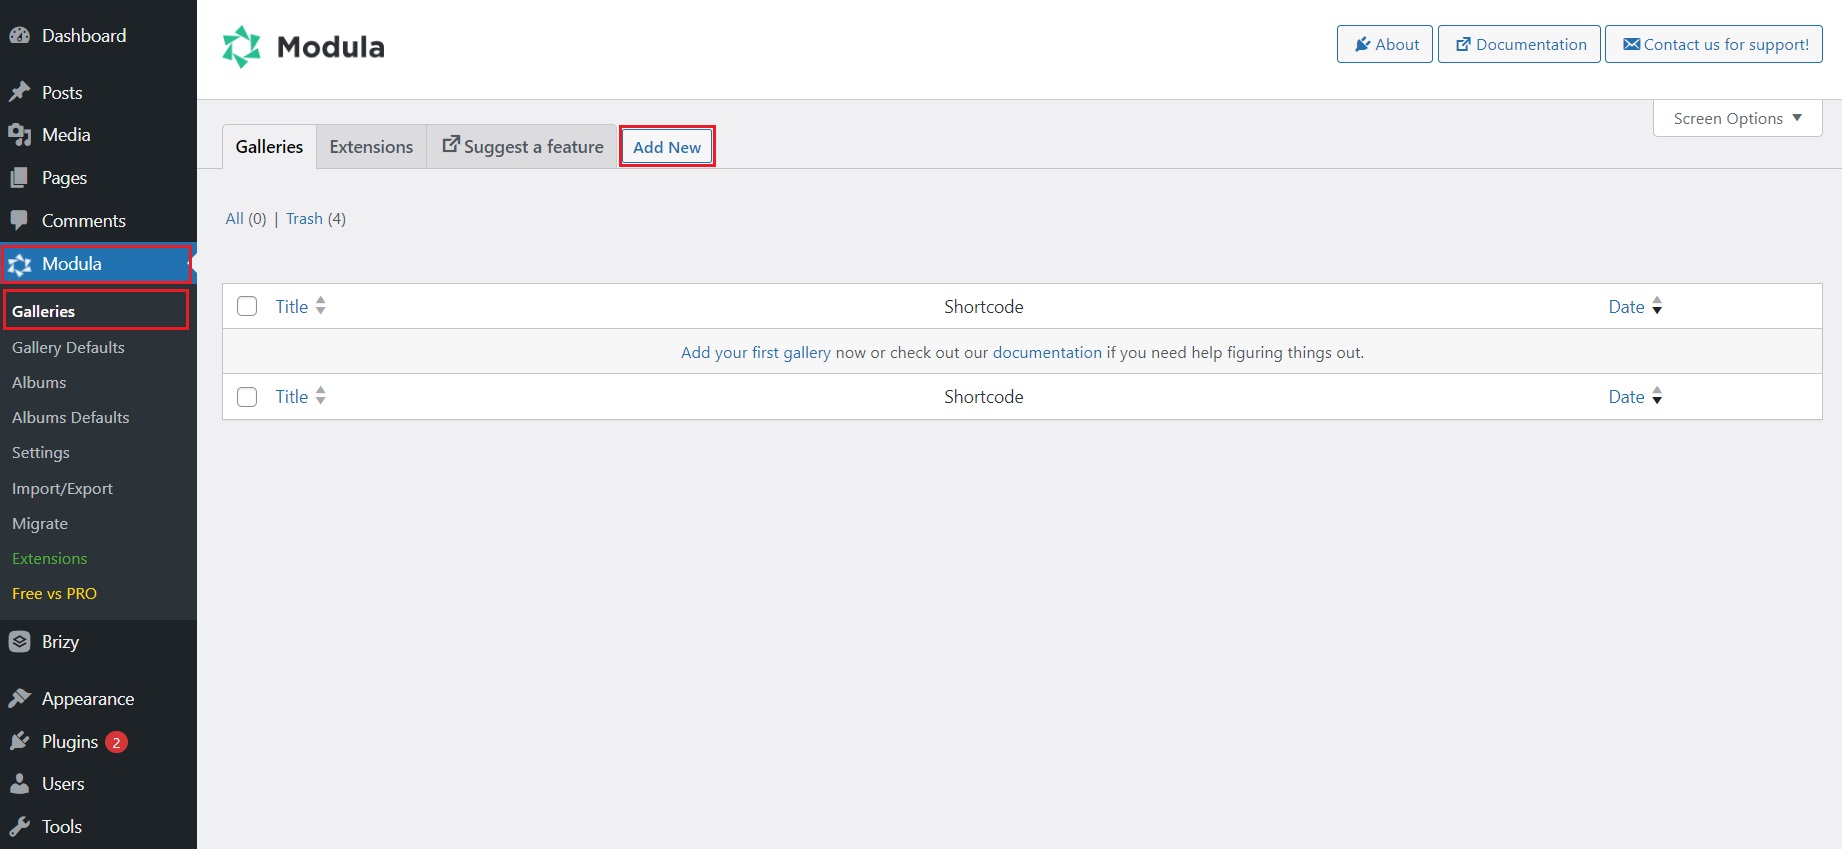
From here, you can give your gallery a descriptive title. In our example, we will create a neon-themed artistic gallery.
The next step is to upload your images. You can begin by clicking on the Upload image files button. Alternatively, you can select images from your WordPress Library.

If you choose to upload images, you must wait a second or two for them to finish uploading. The upload speed will depend on how big the images are and how optimized they are.
For some image optimization tips, make sure to check out this handy article.
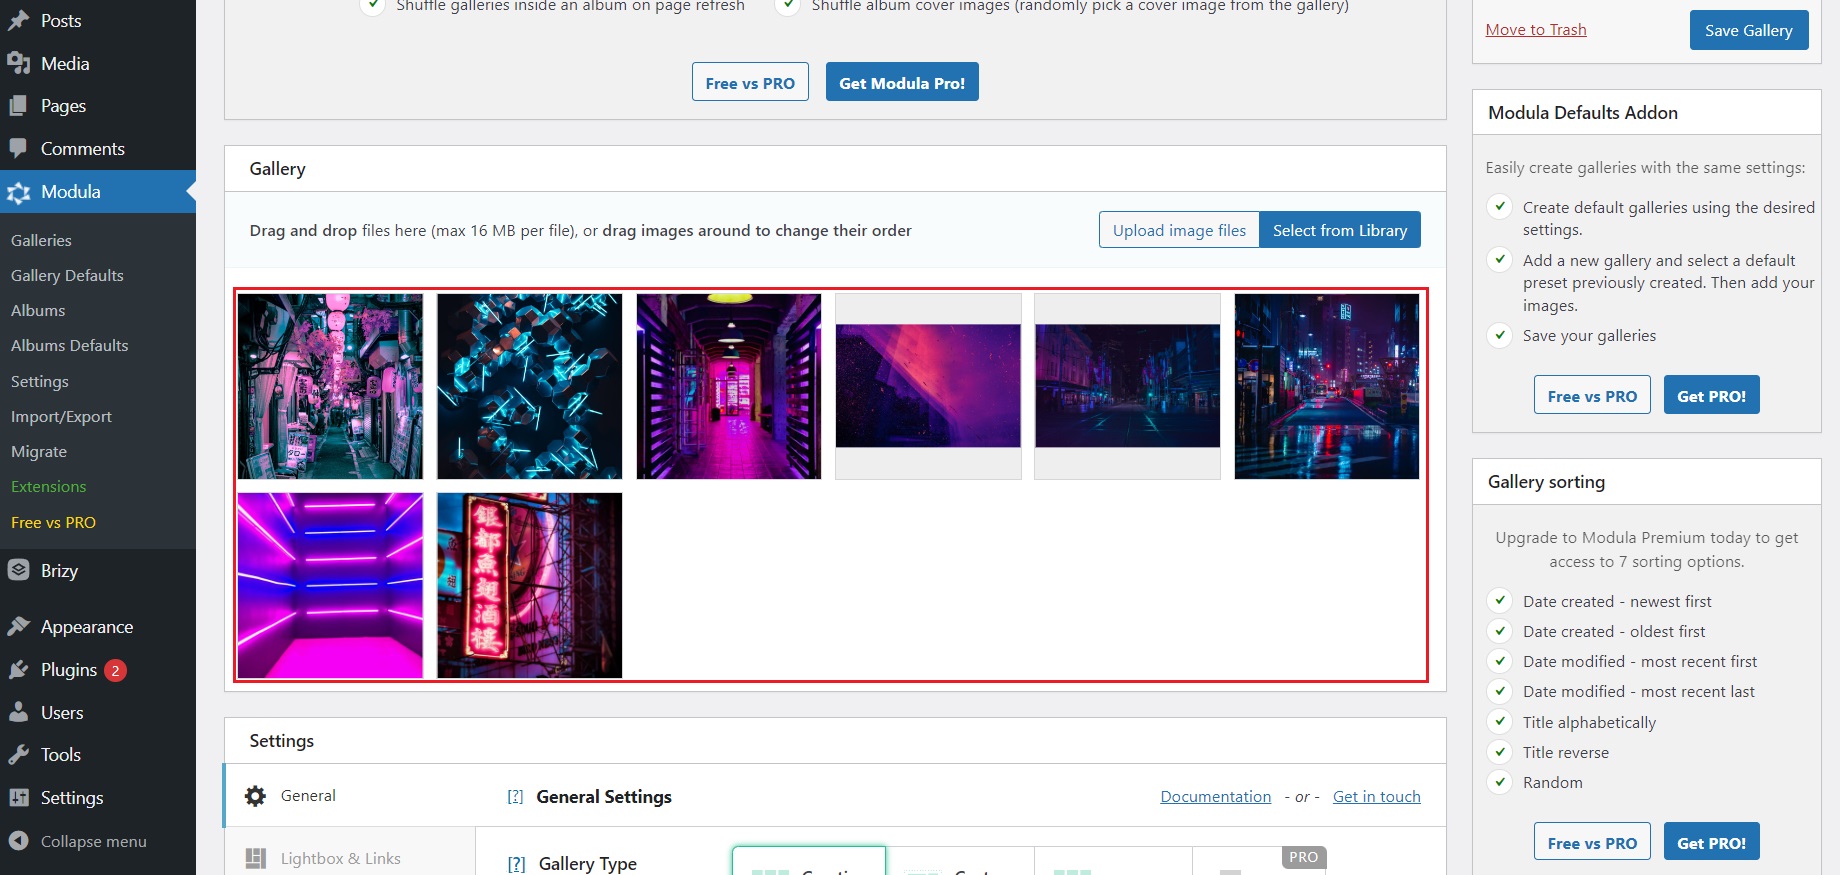
You can re-arrange your images by dragging and dropping them in the desired place.
Configuring Gallery Settings
Once you are happy with what images you want to include in the gallery, it’s time to play around with the gallery settings.
Scroll down until you see the Settings section. Under the General tab, we will select the Creative Gallery Type for this article, but you can experiment with each and choose your favorite. These galleries behave differently, so check out how they work.

Next, give the images a bit of space in between. The Gutter setting does just that. We will give it 20px on all devices. You might need to play around with the values because on the desktop view, 20px might be perfect, but on mobile devices or tablets, 20px might be way too much.

Next, let’s enable lightbox mode for your gallery. Under the Lightbox & Links tab, you have a drop-down menu. Select Open images in a Lightbox option. From there, you can also enable navigation arrows. The default color of the Lightbox will be black with a bit of transparency. You must upgrade to the pro version if you wish to change that.

To take this further, let’s also add some hover effects. Go to the Hover effects tab and select the Pufrobo effect. It’s the only one available with the free version.

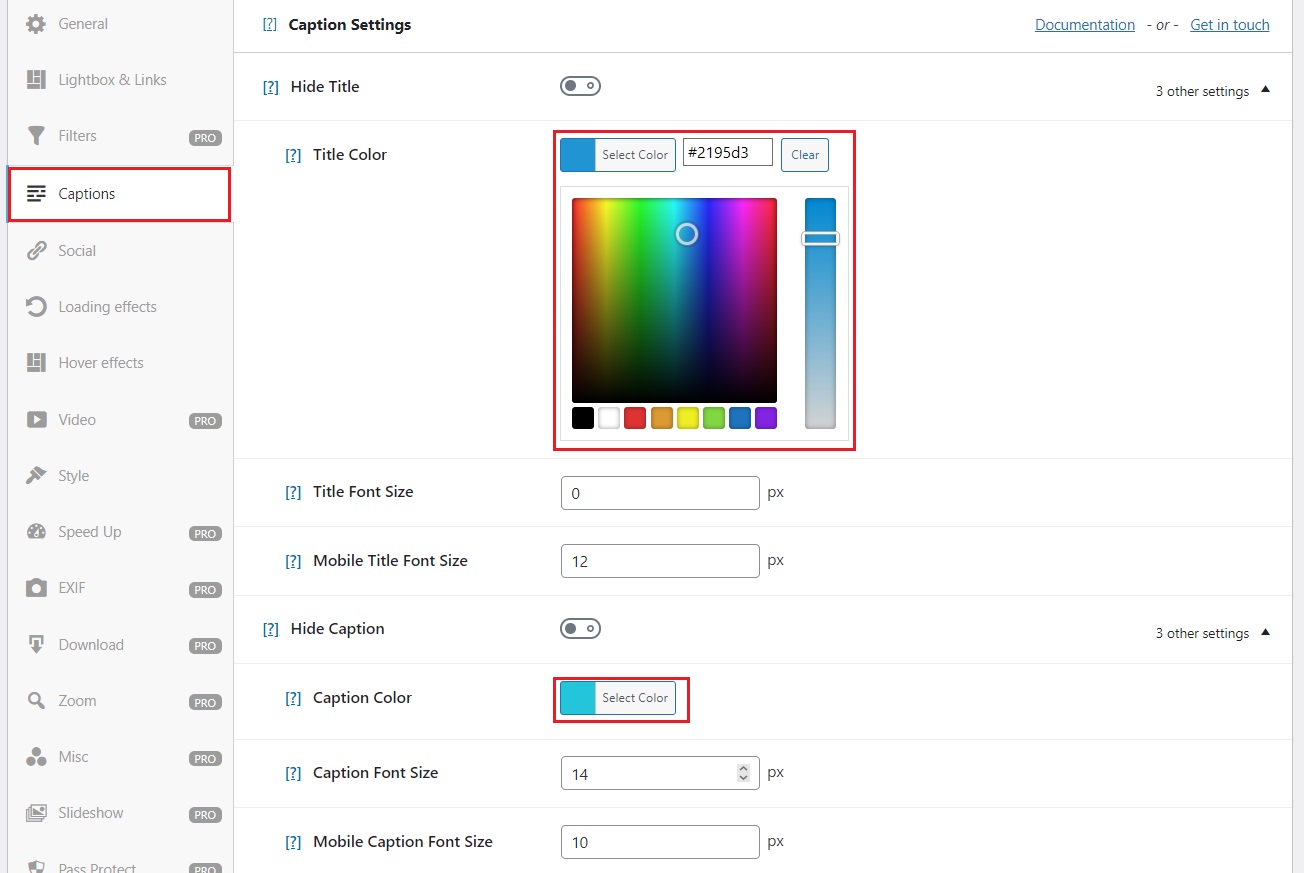
We can also change how the image title and captions will look like. Go to the Captions tab.
Here you can enable the title and captions and select a color from the gradient or paste the color hex code.
Modula’s Pro version comes with many more customization options. You can check the complete list of customization options here.
Once you are happy with the gallery customization, scroll back up and click the Save Gallery button.

Once you save the gallery, you will see a shortcode generated by Modula. Copy that shortcode. We will need it soon!
Integrating Modula Gallery into Brizy
Now that we have a saved gallery, let’s return to Brizy.
From your Dashboard, click on Brizy > Getting Started. From there, scroll down a bit. You will see two primary tabs. Start From a Premade Website or Add Pages to Your Existing Website.
Both methods are explained further if you scroll down on each section. We will add a new post to our existing test website in this example.
Go to your Dashboard and select Posts > Add New. You will see a button on the top of the page called Edit with Brizy.

You will be redirected to Brizy’s sleek page builder.
Brizy has many elements you can use to build a detailed page. I will show you how to display a Modula gallery within a Brizy page builder.
Start by clicking on the big blue “+” button.

A new window will pop up with various blocks. We will select the Create your own blank block.

In the new block area, click the black “+” button or the “+” on the top of the left sidebar.

A window with elements will appear on the left side of the screen. Scroll down until you see the Shortcode element.
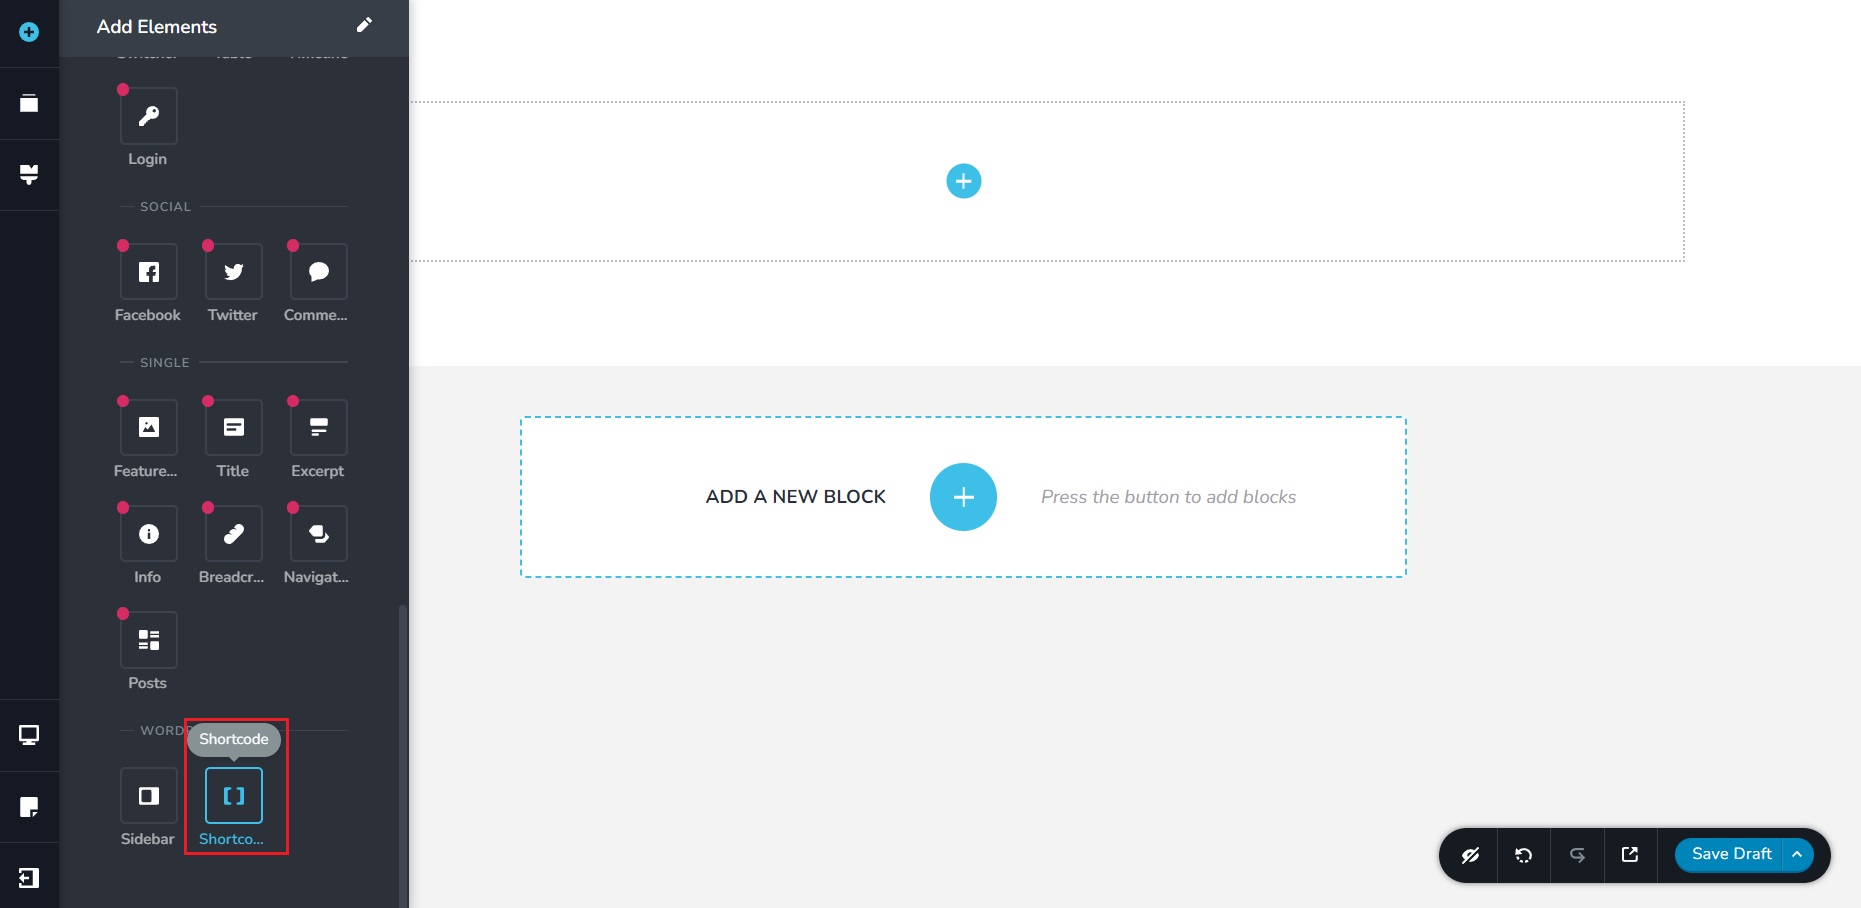
Select the Shortcode element, then drag and drop it into the newly added block.
Next, hover over the shortcode element and select the WordPress icon (the first one on the left).
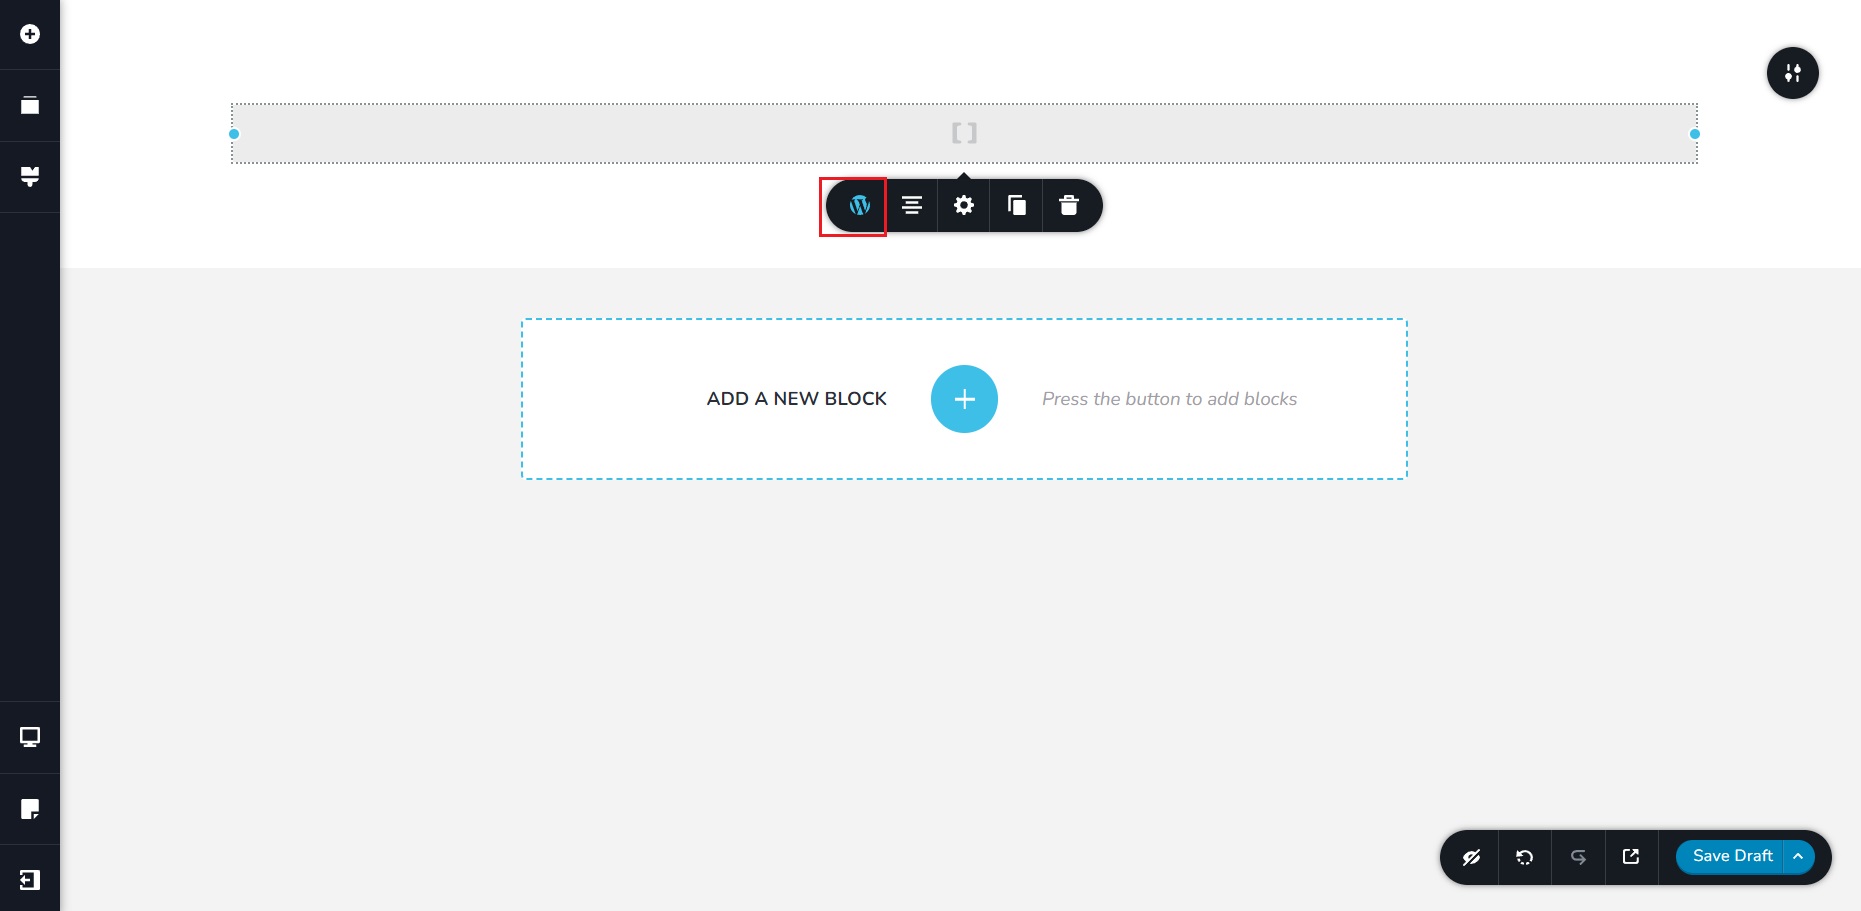
A new small window will pop up where you can paste the Modula shortcode we copied in the previous section.

Once you added everything you need on the page, don’t forget to click the Save Draft button on the bottom right of the page builder.
If you want to publish your page immediately, click the tiny arrow next to the Save Draft button. A small menu will appear where you can select Publish Page.

Here is how the gallery should look on the front end:

You will see the image title text on every image. When you mouse over an image, the hover effect will also play and display the captions.
Remember that the gallery will look different depending on the settings you choose for the customization.
And here is the lightbox view:

You will notice the captions at the bottom of the image and the navigation arrows on the side.
Wrapping up…
Modula offers a canvas for crafting visually appealing galleries, while Brizy empowers you to design custom layouts seamlessly. Together, they can elevate your website’s aesthetic and user engagement.
With the knowledge gained from this guide, the possibilities are endless. Empowered by Brizy and Modula, we encourage you to experiment and create your own stunning galleries that reflect your brand’s essence.
So, go ahead and unleash your creativity – the pixels are yours to harmonize.
Modula Gallery Plugin
Create stunning, responsive photo galleries with ease. Showcase your work, captivate your audience, and boost engagement. You don’t need to do any coding.