Made in Europe, buy from Europe.
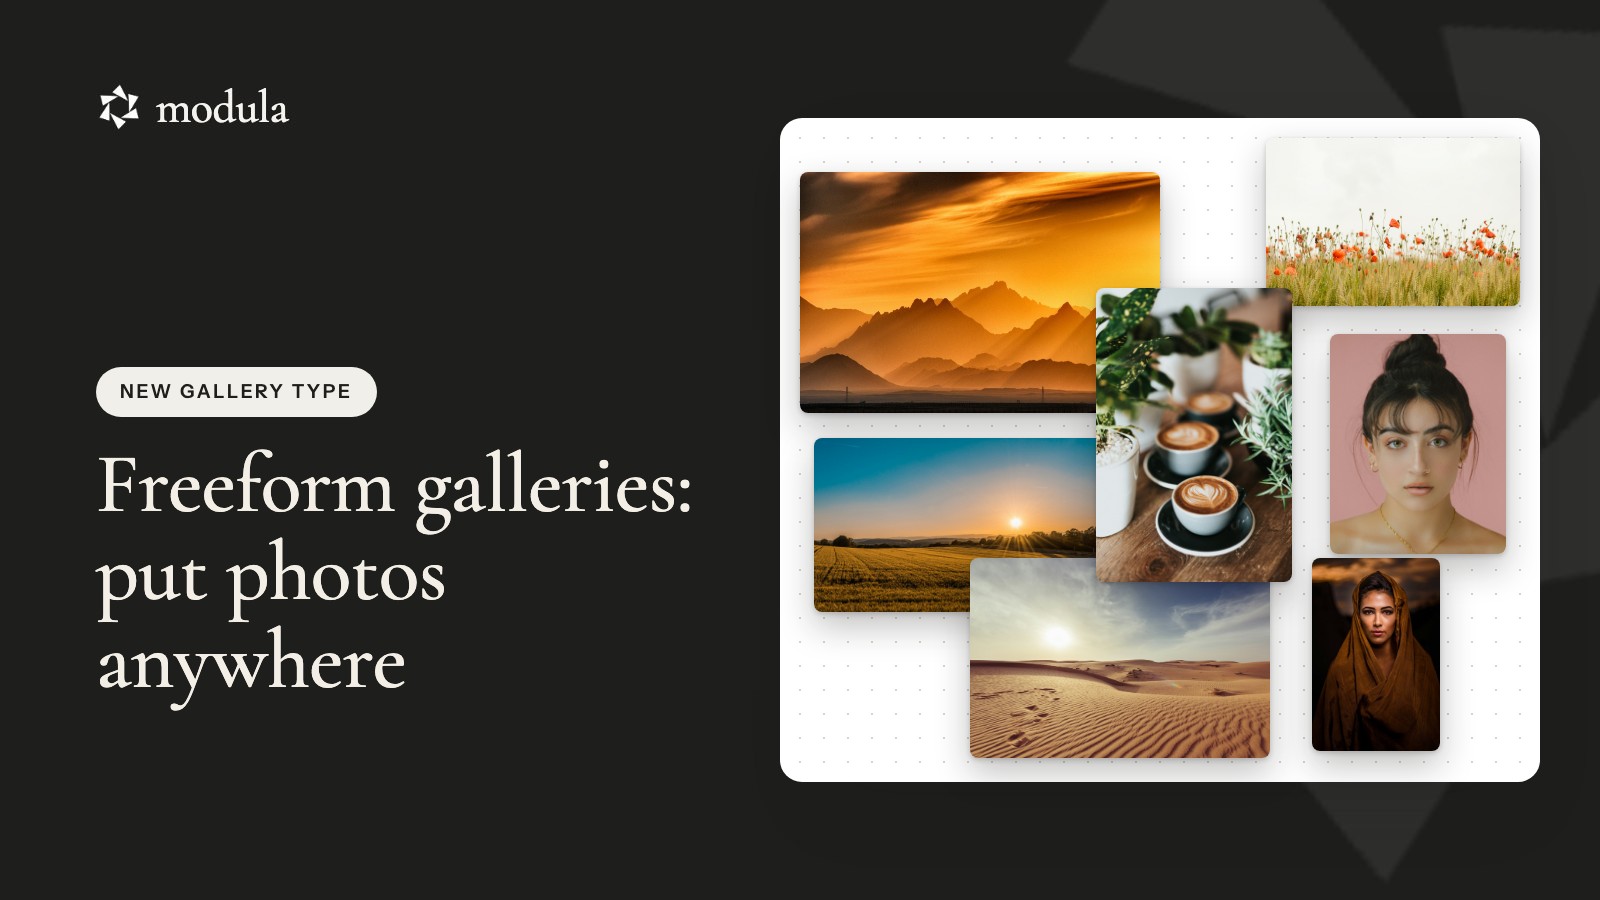
A freeform gallery is a photo layout with no fixed rows or columns. You put each photo where you want it. You make it as big or as small as you like. Photos can even overlap.
Most gallery layouts decide where your photos go. That’s fast, but every gallery ends up looking alike.
Modula’s new Freeform layout gives you the control. You drag photos around the preview, and Modula keeps them neatly lined up.
In this guide, you’ll learn:
- What a freeform gallery is
- How you place, resize and stack photos
- Why a freeform gallery helps
- How to make one in WordPress, step by step
- Answers to common questions
What is a freeform gallery?
A freeform gallery is a gallery you lay out by hand. There is no grid that forces photos into rows.
Think of it like prints on a table. You can put a big photo in the middle, a small one in the corner, and let two photos overlap.
Here’s a live one below.


A live Freeform gallery: eight photos placed by hand, some overlapping.
Place, resize and stack photos
With Freeform, you work right in the preview.
- Move a photo by dragging it.
- Resize a photo by pulling its corner or side.
- Overlap photos by dragging one on top of another.
Photos snap to a fine grid as you move them. Guide lines show up when a photo lines up with another one. So your layout stays tidy, even when it looks loose.
Why use a freeform gallery?
- Your gallery looks one of a kind. No two freeform galleries look the same.
- You choose what stands out. Make your best photo big and put it where people look first.
- Overlaps add depth. Layered photos feel like a mood board or a magazine page.
- Phones are taken care of. Modula builds the tablet and phone layouts for you.
How to make a freeform gallery in WordPress
You can make a freeform gallery in five steps.
Good to know
Freeform is part of Modula Pro. You need Modula 3.0.13 and Modula Pro 3.0.15 or newer.
Step 1: Create a gallery and add photos
Go to Modula → Content and click New gallery. Click + Add and pick your photos.
Step 2: Pick Freeform
Click Layout on the left. Open the Type list. Pick Freeform. You’ll find it under Creative layouts.
Your photos line up three per row. That’s your starting point.
Step 3: Move and resize your photos
Click a photo to select it. Drag it to move it. Pull a corner or a side to make it bigger or smaller.
Guide lines show when a photo lines up with the edge of another photo.
Step 4: Overlap and stack photos
Drag a photo over another one to overlap them. Then pick which one sits on top. Select a photo and use the buttons above it:
- Bring to front puts it on top of everything.
- Move forward moves it up one layer.
- Move backward moves it down one layer.
- Send to back puts it behind everything.
Step 5: Check tablet and phone
Click the tablet and phone icons under the preview.
On tablets, your layout looks the same, just smaller. On phones, the photos stack in one column so they stay big enough to see. Each photo keeps the shape you gave it.
When you’re happy, click Embed. Copy the shortcode and paste it into a page. Or add the Modula Gallery block and pick your gallery.
Frequently asked questions
No. Freeform comes with Modula Pro. You need Modula 3.0.13 and Modula Pro 3.0.15 or newer.
Yes. Drag one photo over another. Then use Bring to front or Send to back to choose which one sits on top.
Photos stack in your gallery order, the same order the lightbox uses. To change it, use Sort or drag-and-drop reorder.
Yes. Spacing sets the gap of the grid that photos snap to. Photos you overlap on purpose stay overlapped.
Your Freeform layout is saved. Switch back to Freeform and your photos return to where you put them.
Wrapping up
A freeform gallery lets you lay out photos the way you see them in your head. Drag, resize, overlap, and you’re done.
Update to Modula 3.0.13 and Modula Pro 3.0.15 to try it.