Are you looking for a WordPress photo gallery plugin to help you easily create galleries with categories? Welcome aboard!
This guide will demonstrate all the steps to filter your WordPress portfolio by category using the Modula gallery plugin.
Are you ready? Let’s begin!
This article will show you the following:
- Best portfolio plugin with categories.
- How do you set up a gallery wall in WordPress with categories?
- More customization is available for your WordPress gallery with a category filter.
- And much more.
Why use Modula to create a WordPress image gallery with categories?
Are you looking for an easy way to filter your WordPress portfolio? Have no fear; Modula is here!
Don’t worry—you won’t need coding skills or a degree in rocket science. Modula is user-friendly and fully mobile-responsive!
Modula has lots of features to help you create and style your galleries.
Here are some examples of what kind of galleries you can build with Modula:
- WordPress video portfolio.
- WordPress image carousel.
- Online photo album.
- WordPress grid gallery.
- WordPress thumbnail gallery.
- Photo Gallery website.
- And much more.

Modula Gallery Plugin
Create stunning, responsive photo galleries with ease. Showcase your work, captivate your audience, and boost engagement. You don’t need to do any coding.
How to create a WordPress photo gallery with categories using Modula?
Creating a new image or video gallery with Modula is super easy. You can show your newly built gallery in minutes!
After that, you can edit it for as long as you like, tweaking your gallery to fit your website and stand out.
To create a WordPress gallery with categories, we need to install and activate Modula. To do this, you will also need Modula’s Starter pricing plan.
Modula Gallery Plugin
Create stunning, responsive photo galleries with ease. Showcase your work, captivate your audience, and boost engagement. You don’t need to do any coding.
Once the plugin is installed and activated, you can create your portfolio.
Step 1: Create a new gallery portfolio with categories
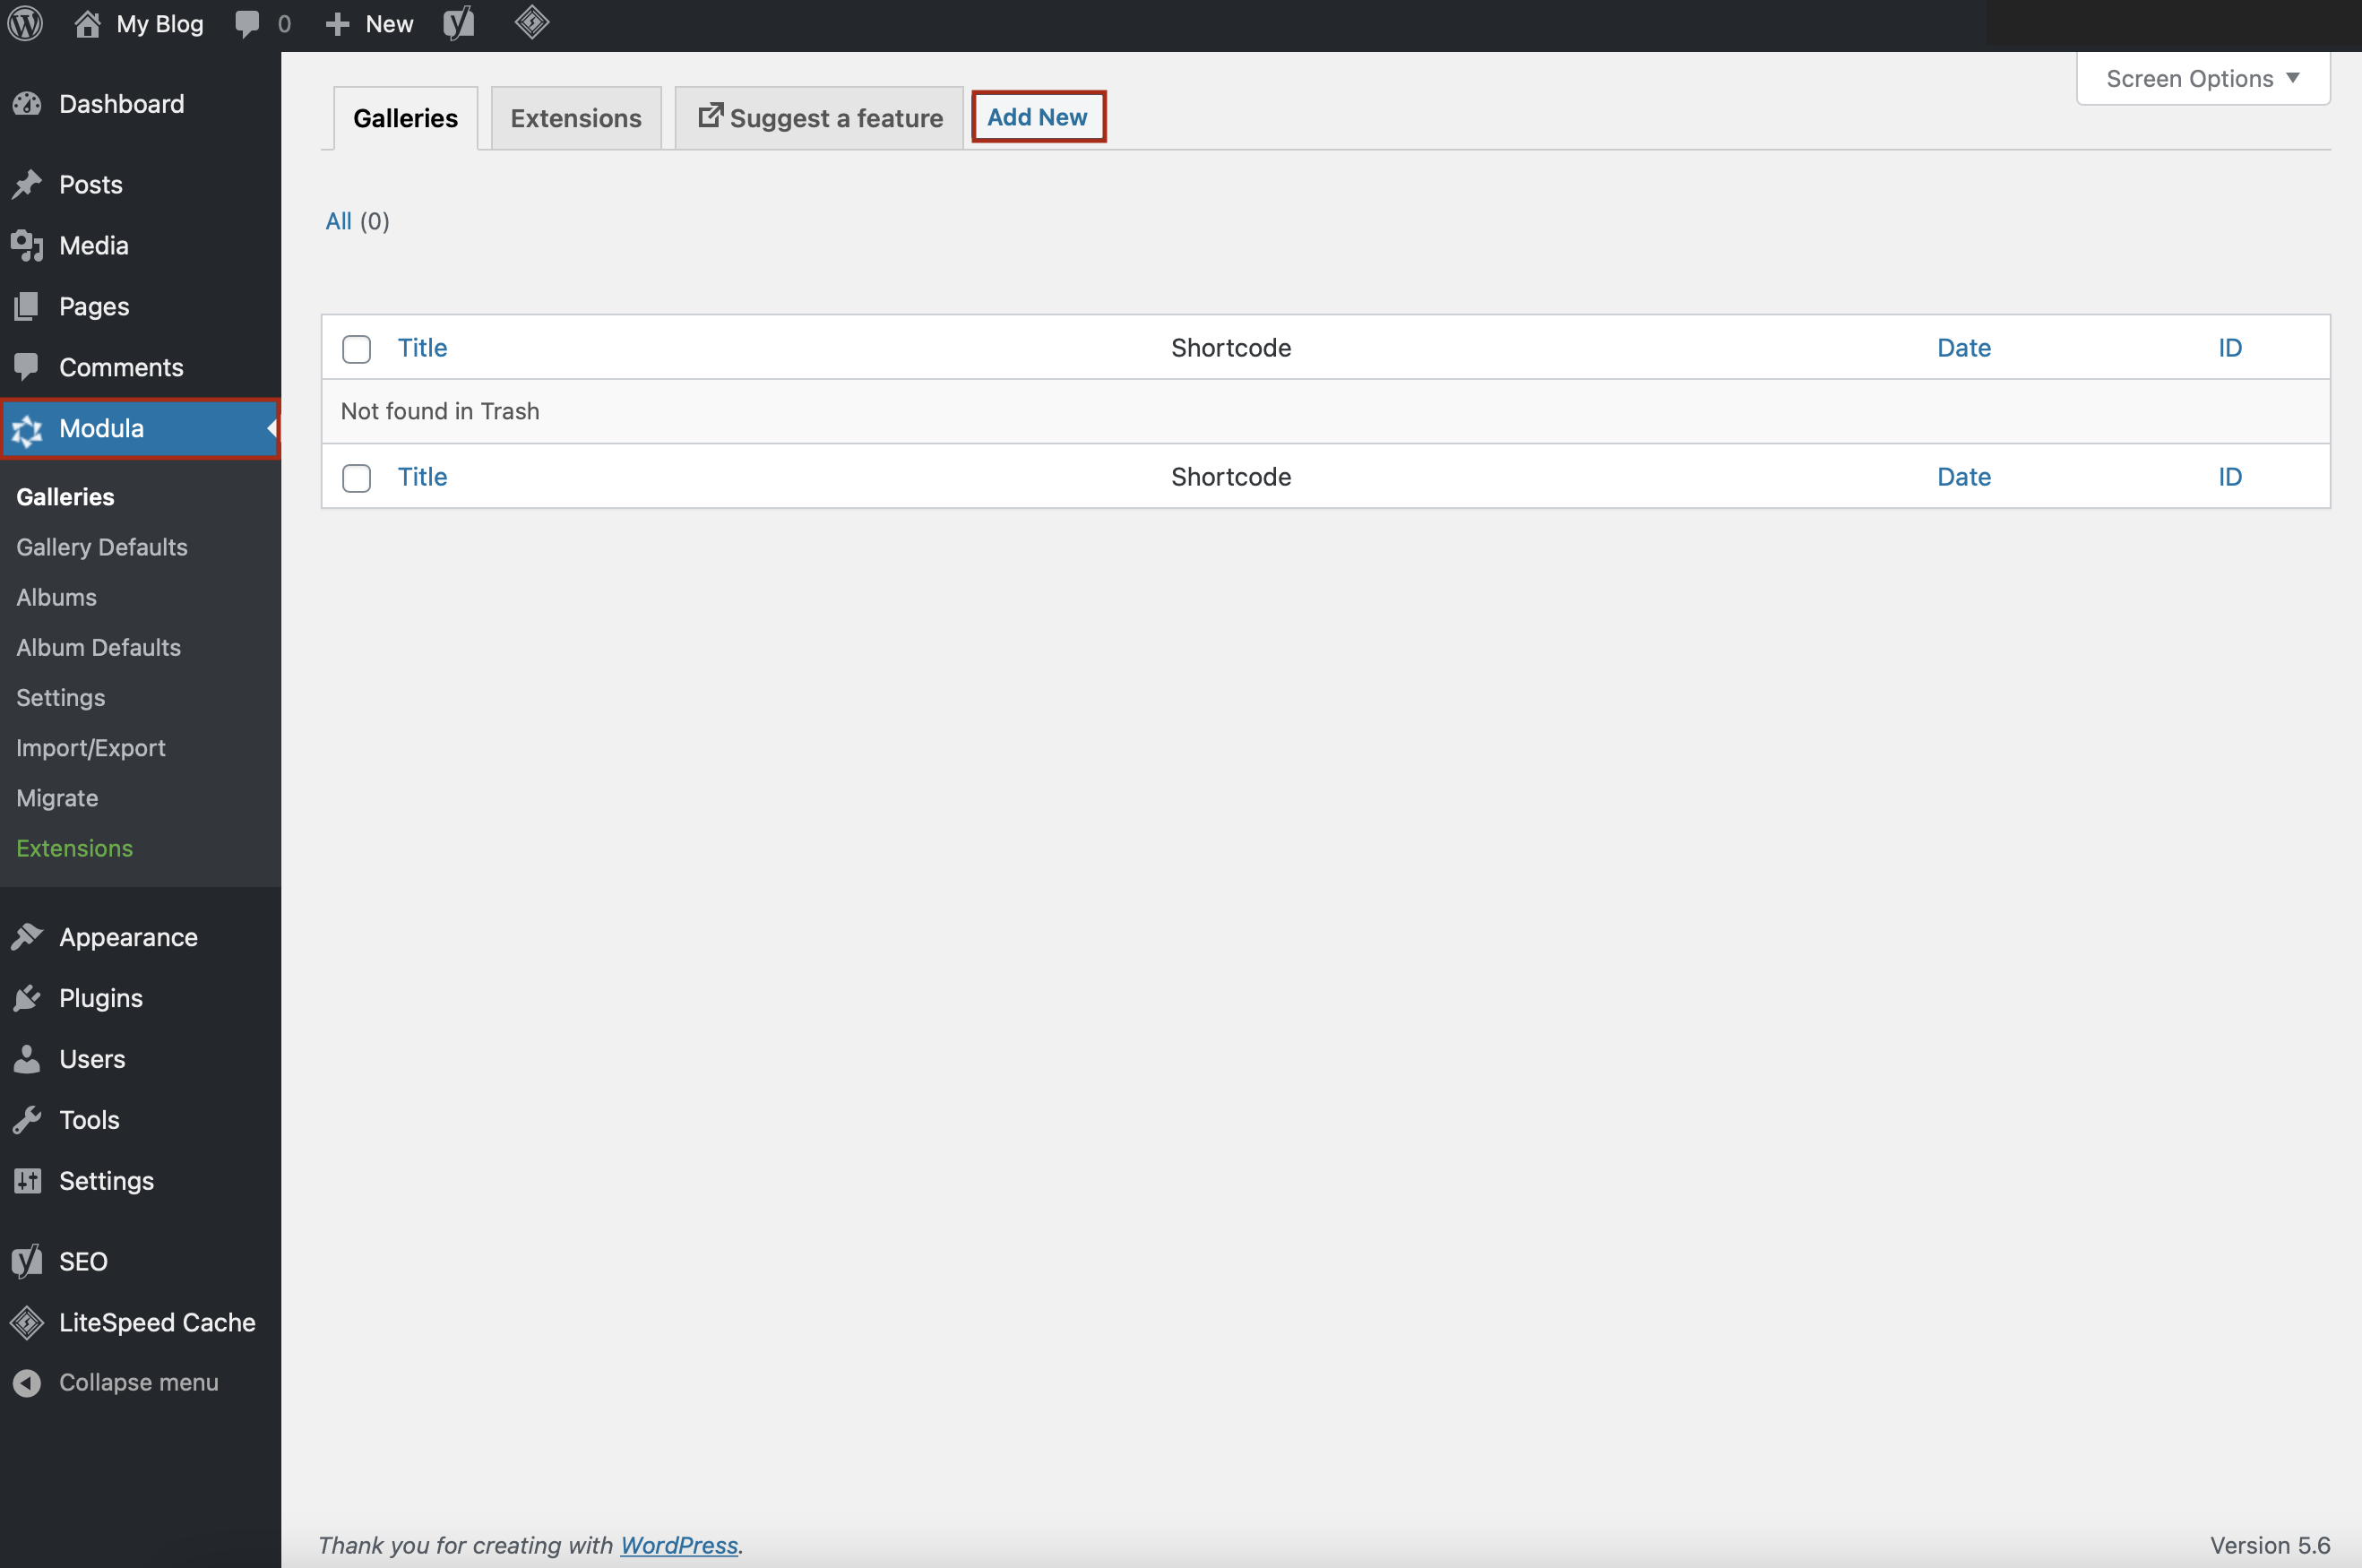
To create a new photo gallery with categories and filters, go to Modula > Galleries > Add New.
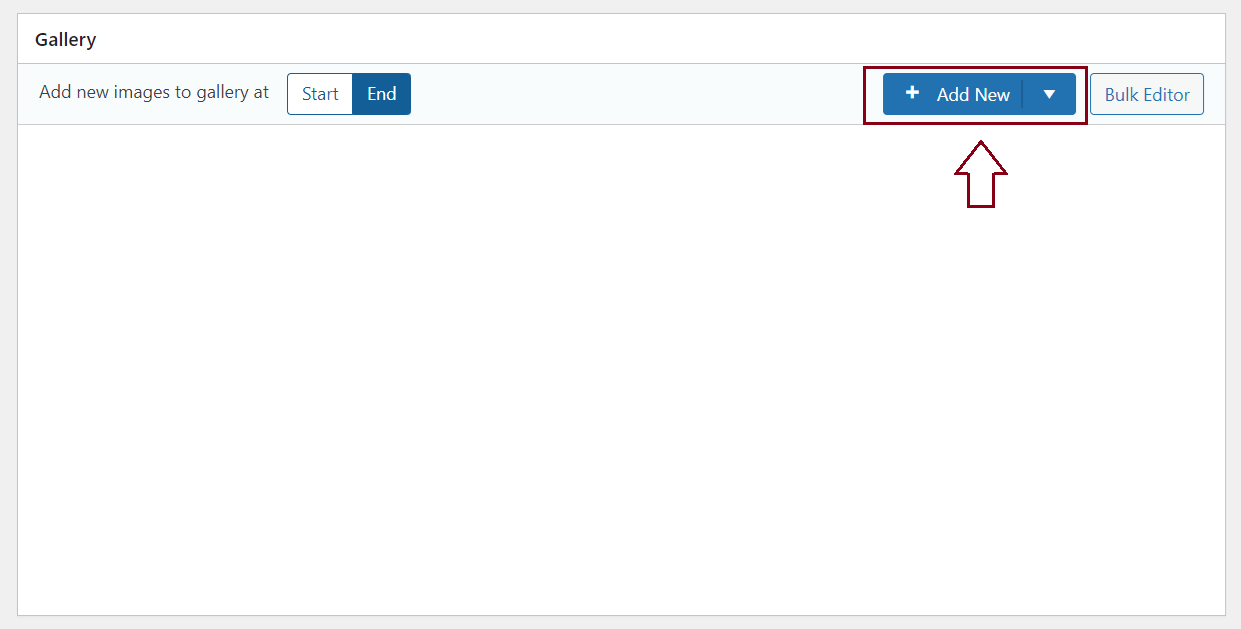
Next, add a suggestive title and start uploading images or selecting them from the Library. The drag-and-drop builder allows you to organize your pictures.
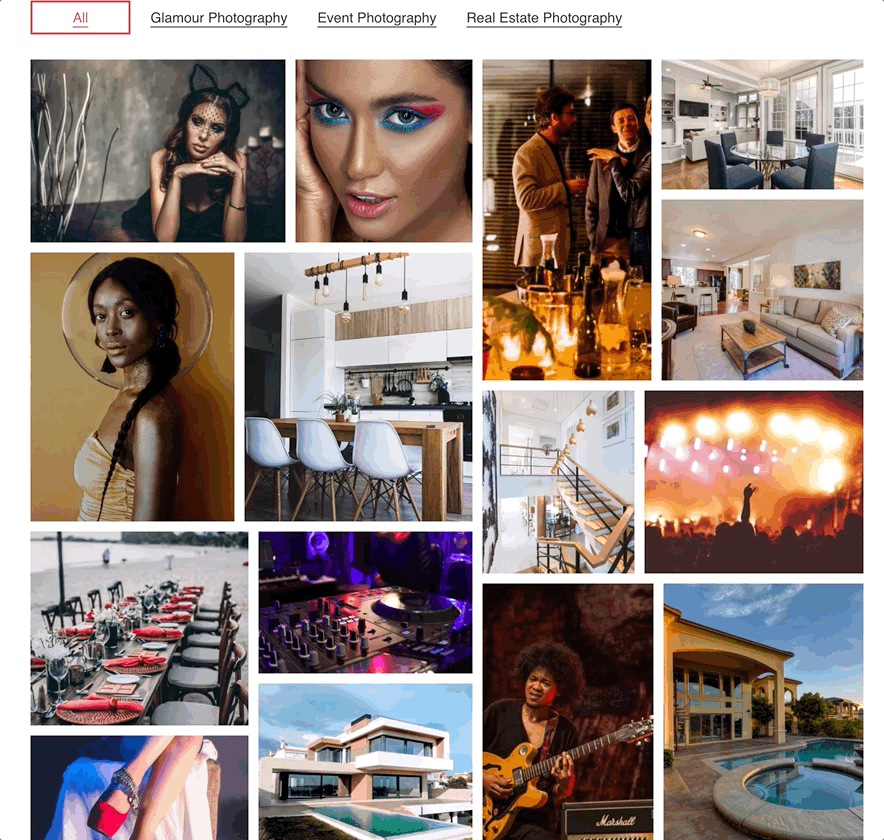
Step 2: Filter WordPress portfolio by category
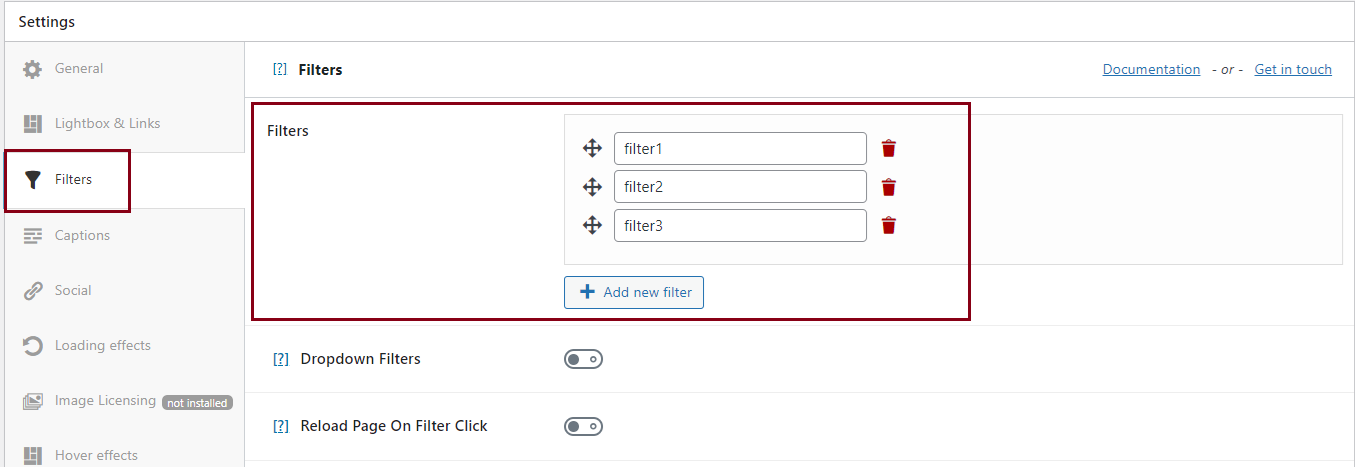
Your gallery can contain many images, so it will be easier for your visitors if you sort them using filters.
You can do that with Filters functionality. Go to Settings > Filters > Add new filter and write down as many filters as you need.
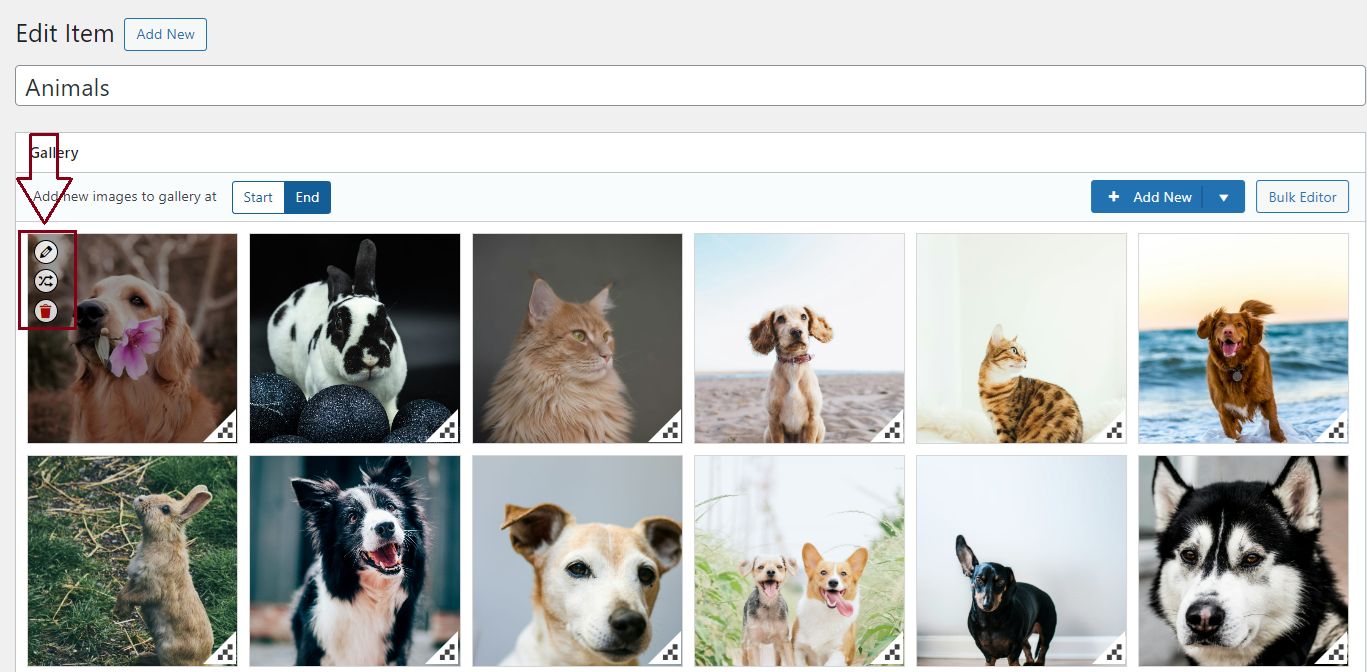
After creating filters, you need to assign images to them. To do this, you review an image and click the edit icon.
This icon is on the left side of each image, as shown below:
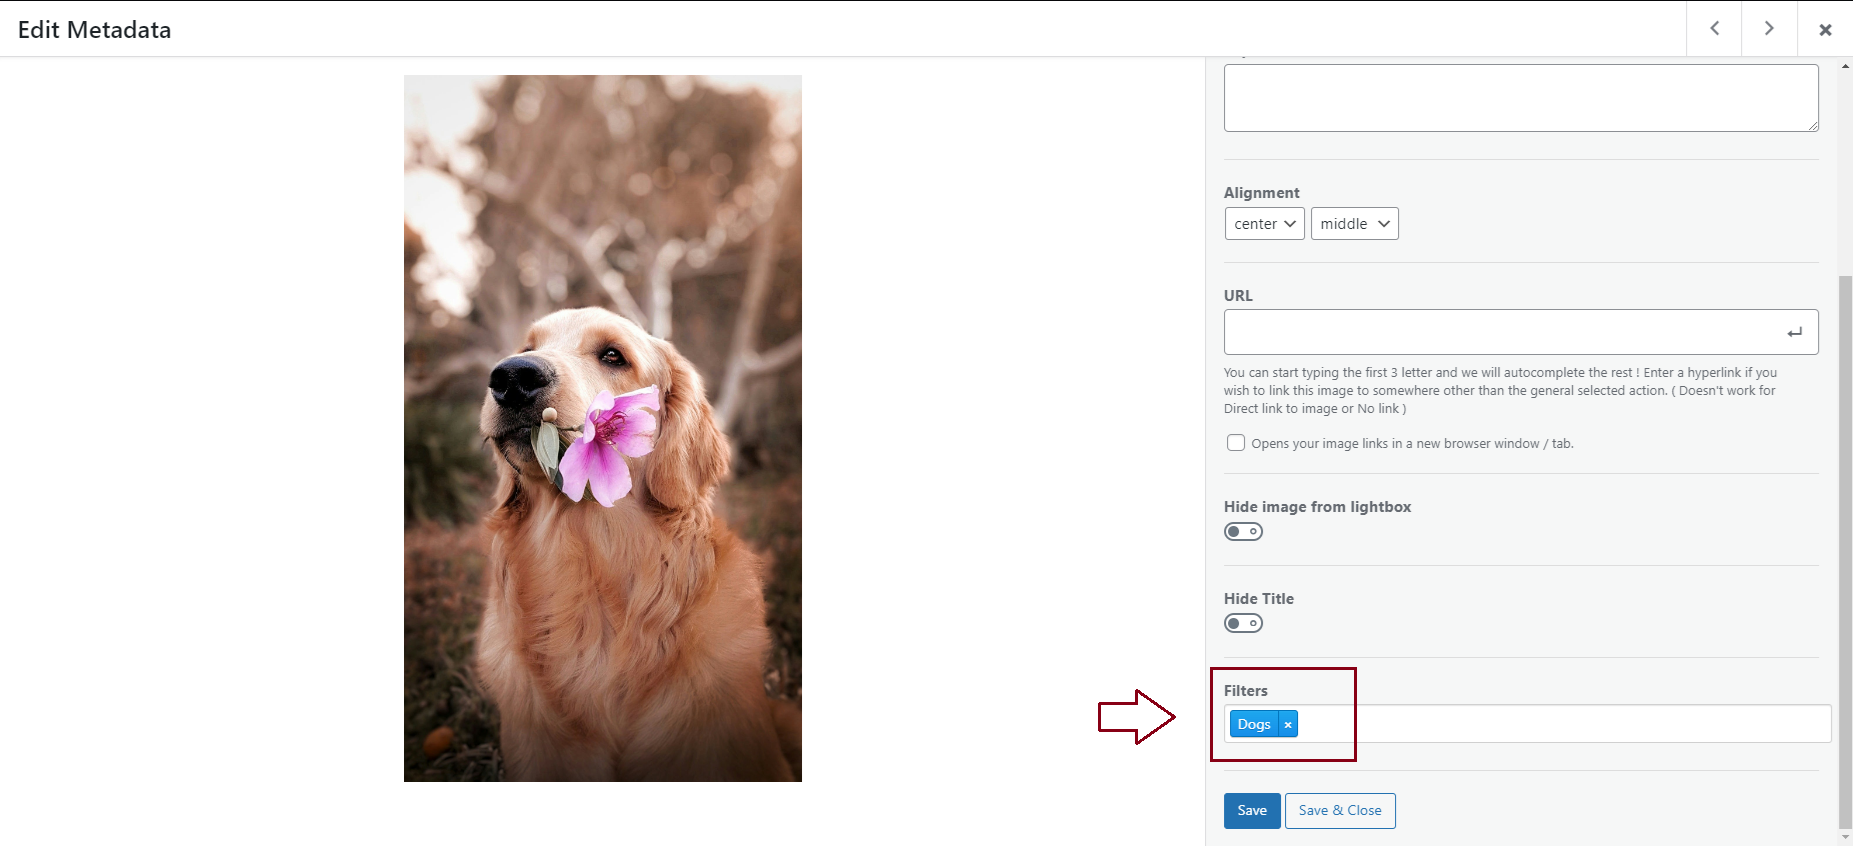
Navigate to the filters section and add a filter or more as you like.
If you want to add a filter to more than one image, you can go to the Bulk Editor button.

This will take you to a new page where you can select all the photos you want to group and add filters from your list.
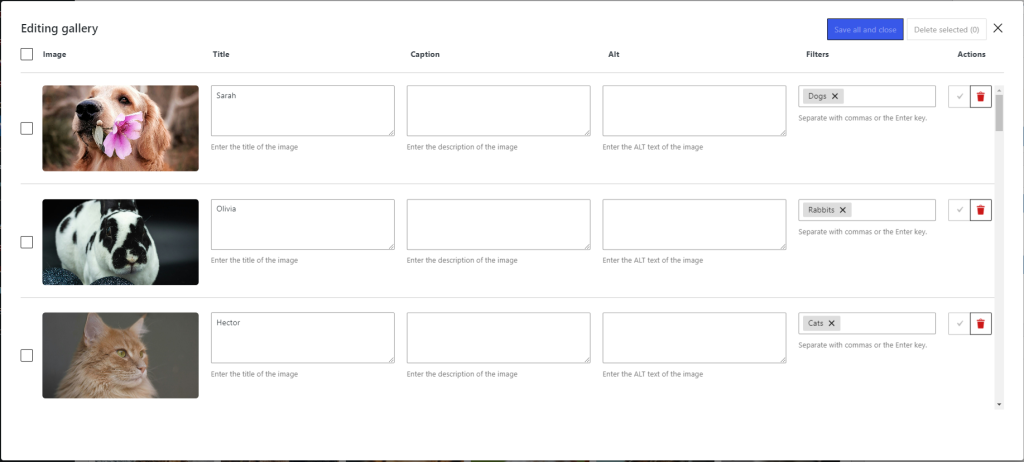
Click Save and Save & Close to ensure your WordPress portfolio is filtered by category.
If you want to repeat this process, you can click the Save button and Deselect All, then repeat the method below. The process is the same for both image and video portfolios.
Step 3: Customize filters
After selecting the filters and adding them, you can edit how they appear.
How can we style our filters to create a photo gallery with categories and descriptions?
It’s simple. Go to the Filters section. Here, you will find several features for customizing your filters.
You can enable dropdown, which will display filters on the page as a dropdown menu. Furthermore, the page can be reloaded when a user clicks a filter.
If you’re wondering how to hide all filters in the Modula gallery, tick the Hide “All” filter, and they will disappear.
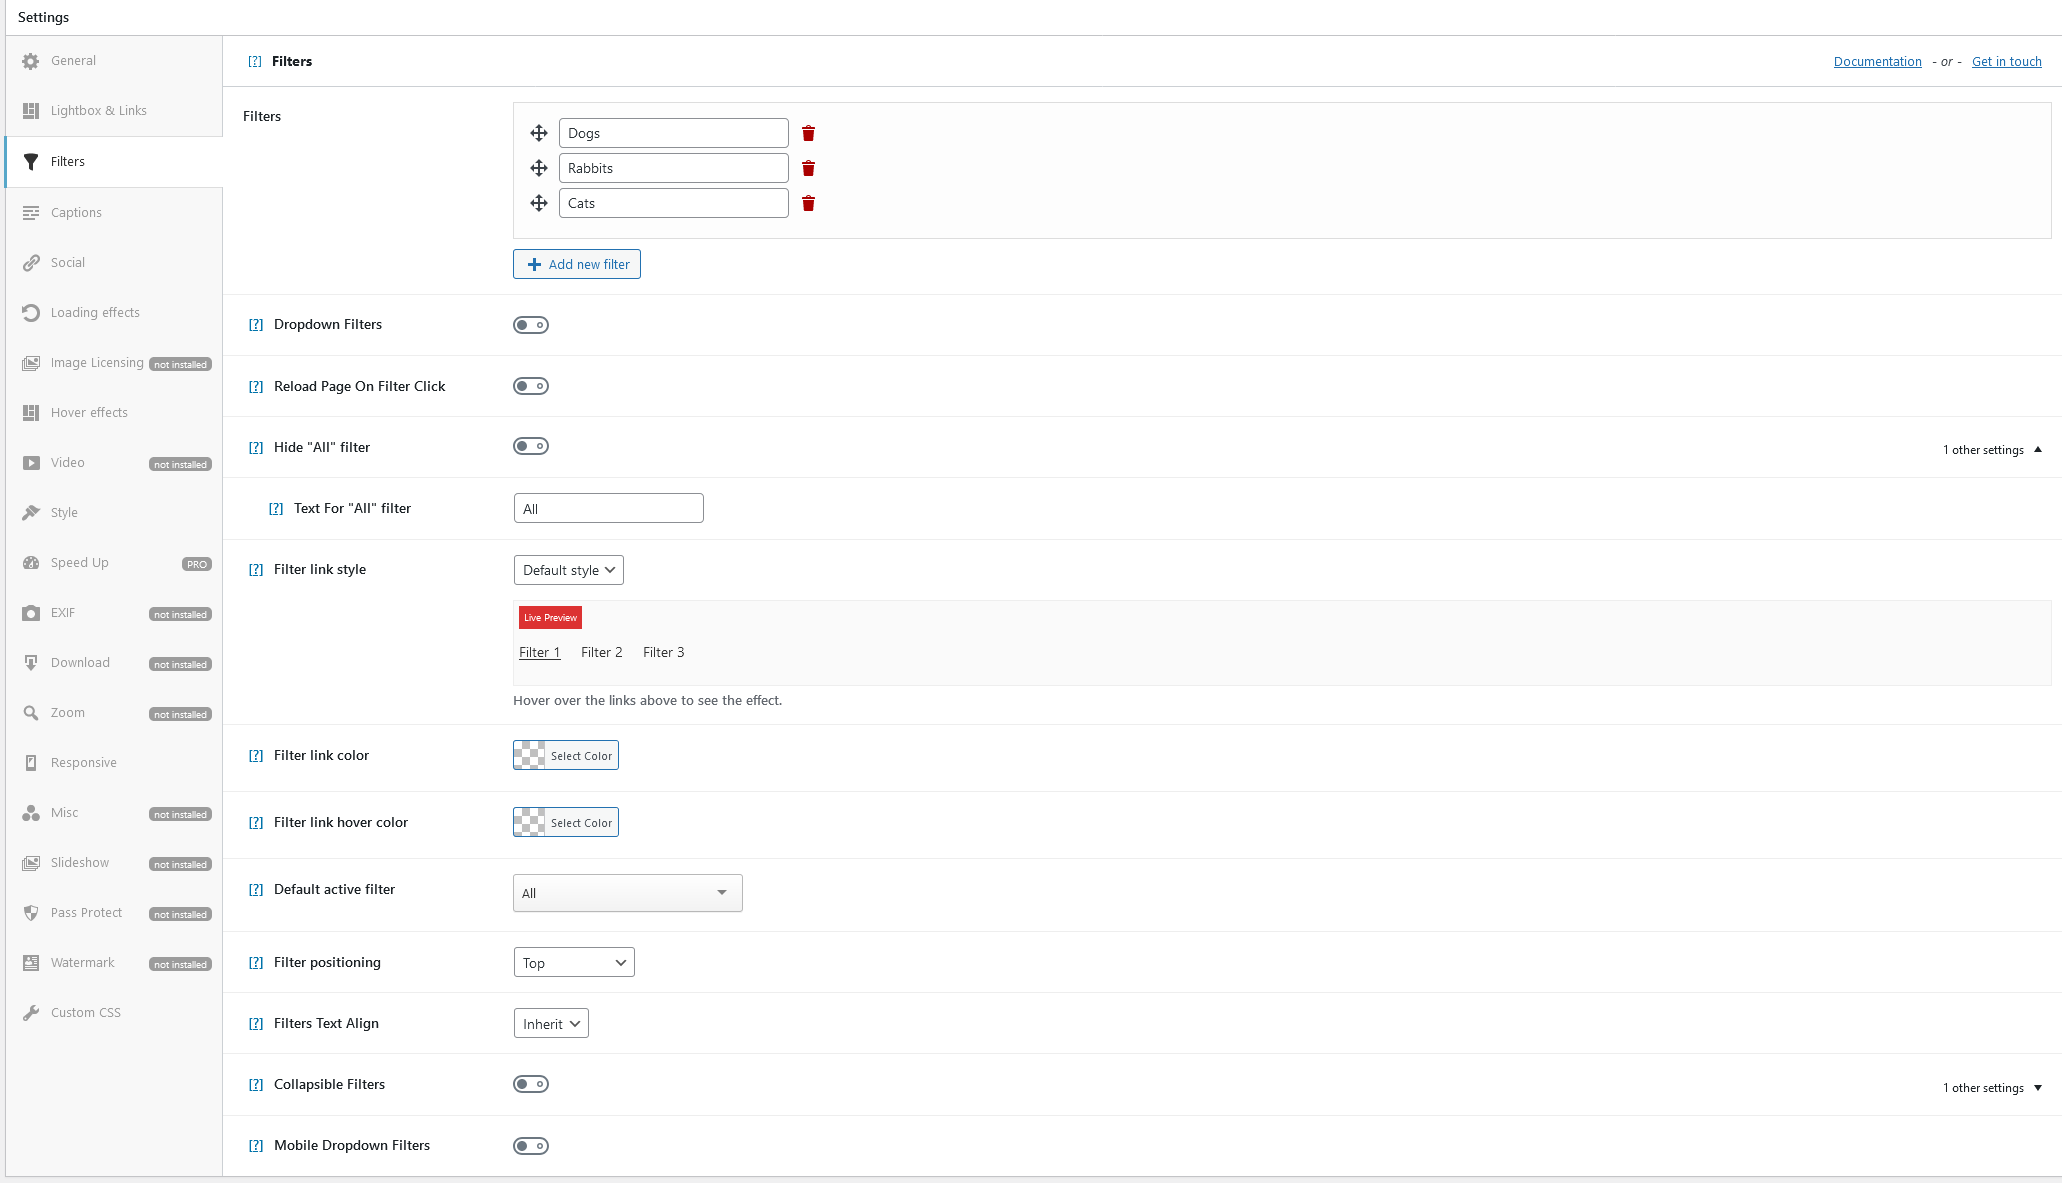
You can change the color of the filter link or filter text, and of course, you can change the color on hover, too.
At the beginning of the page, a default filter will appear. The default filter is All so that all visitors can see all images. After clicking on a filter, the selected option will load.
If you need to customize your filters further, you can use Modula custom codes to change the filters’ font, add padding, increase spacing between filters, and make the font larger.
Once you’re done with editing filters, don’t forget about customizing the entire gallery.
Customize your gallery
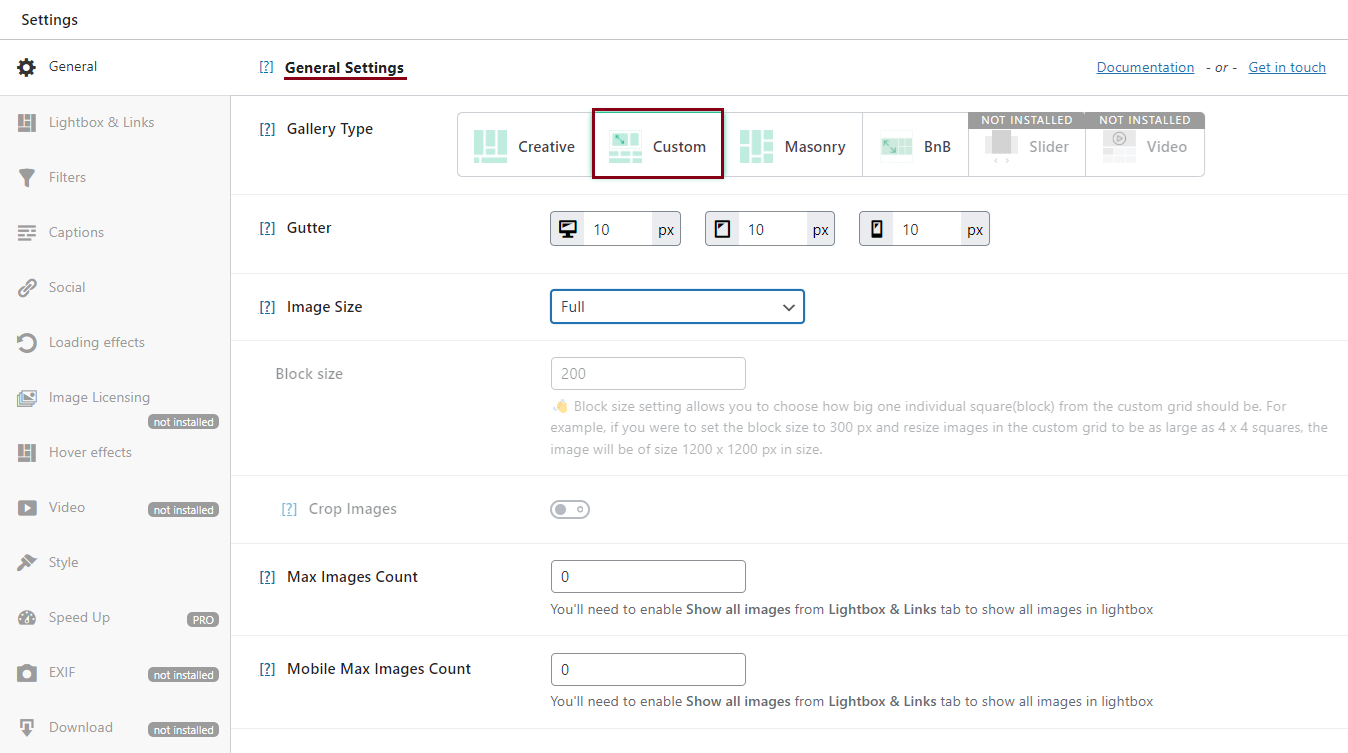
The best part about Modula is that it provides six grid types to display your images as you please.
Go to Settings > General > Gallery Type and choose a gallery type.
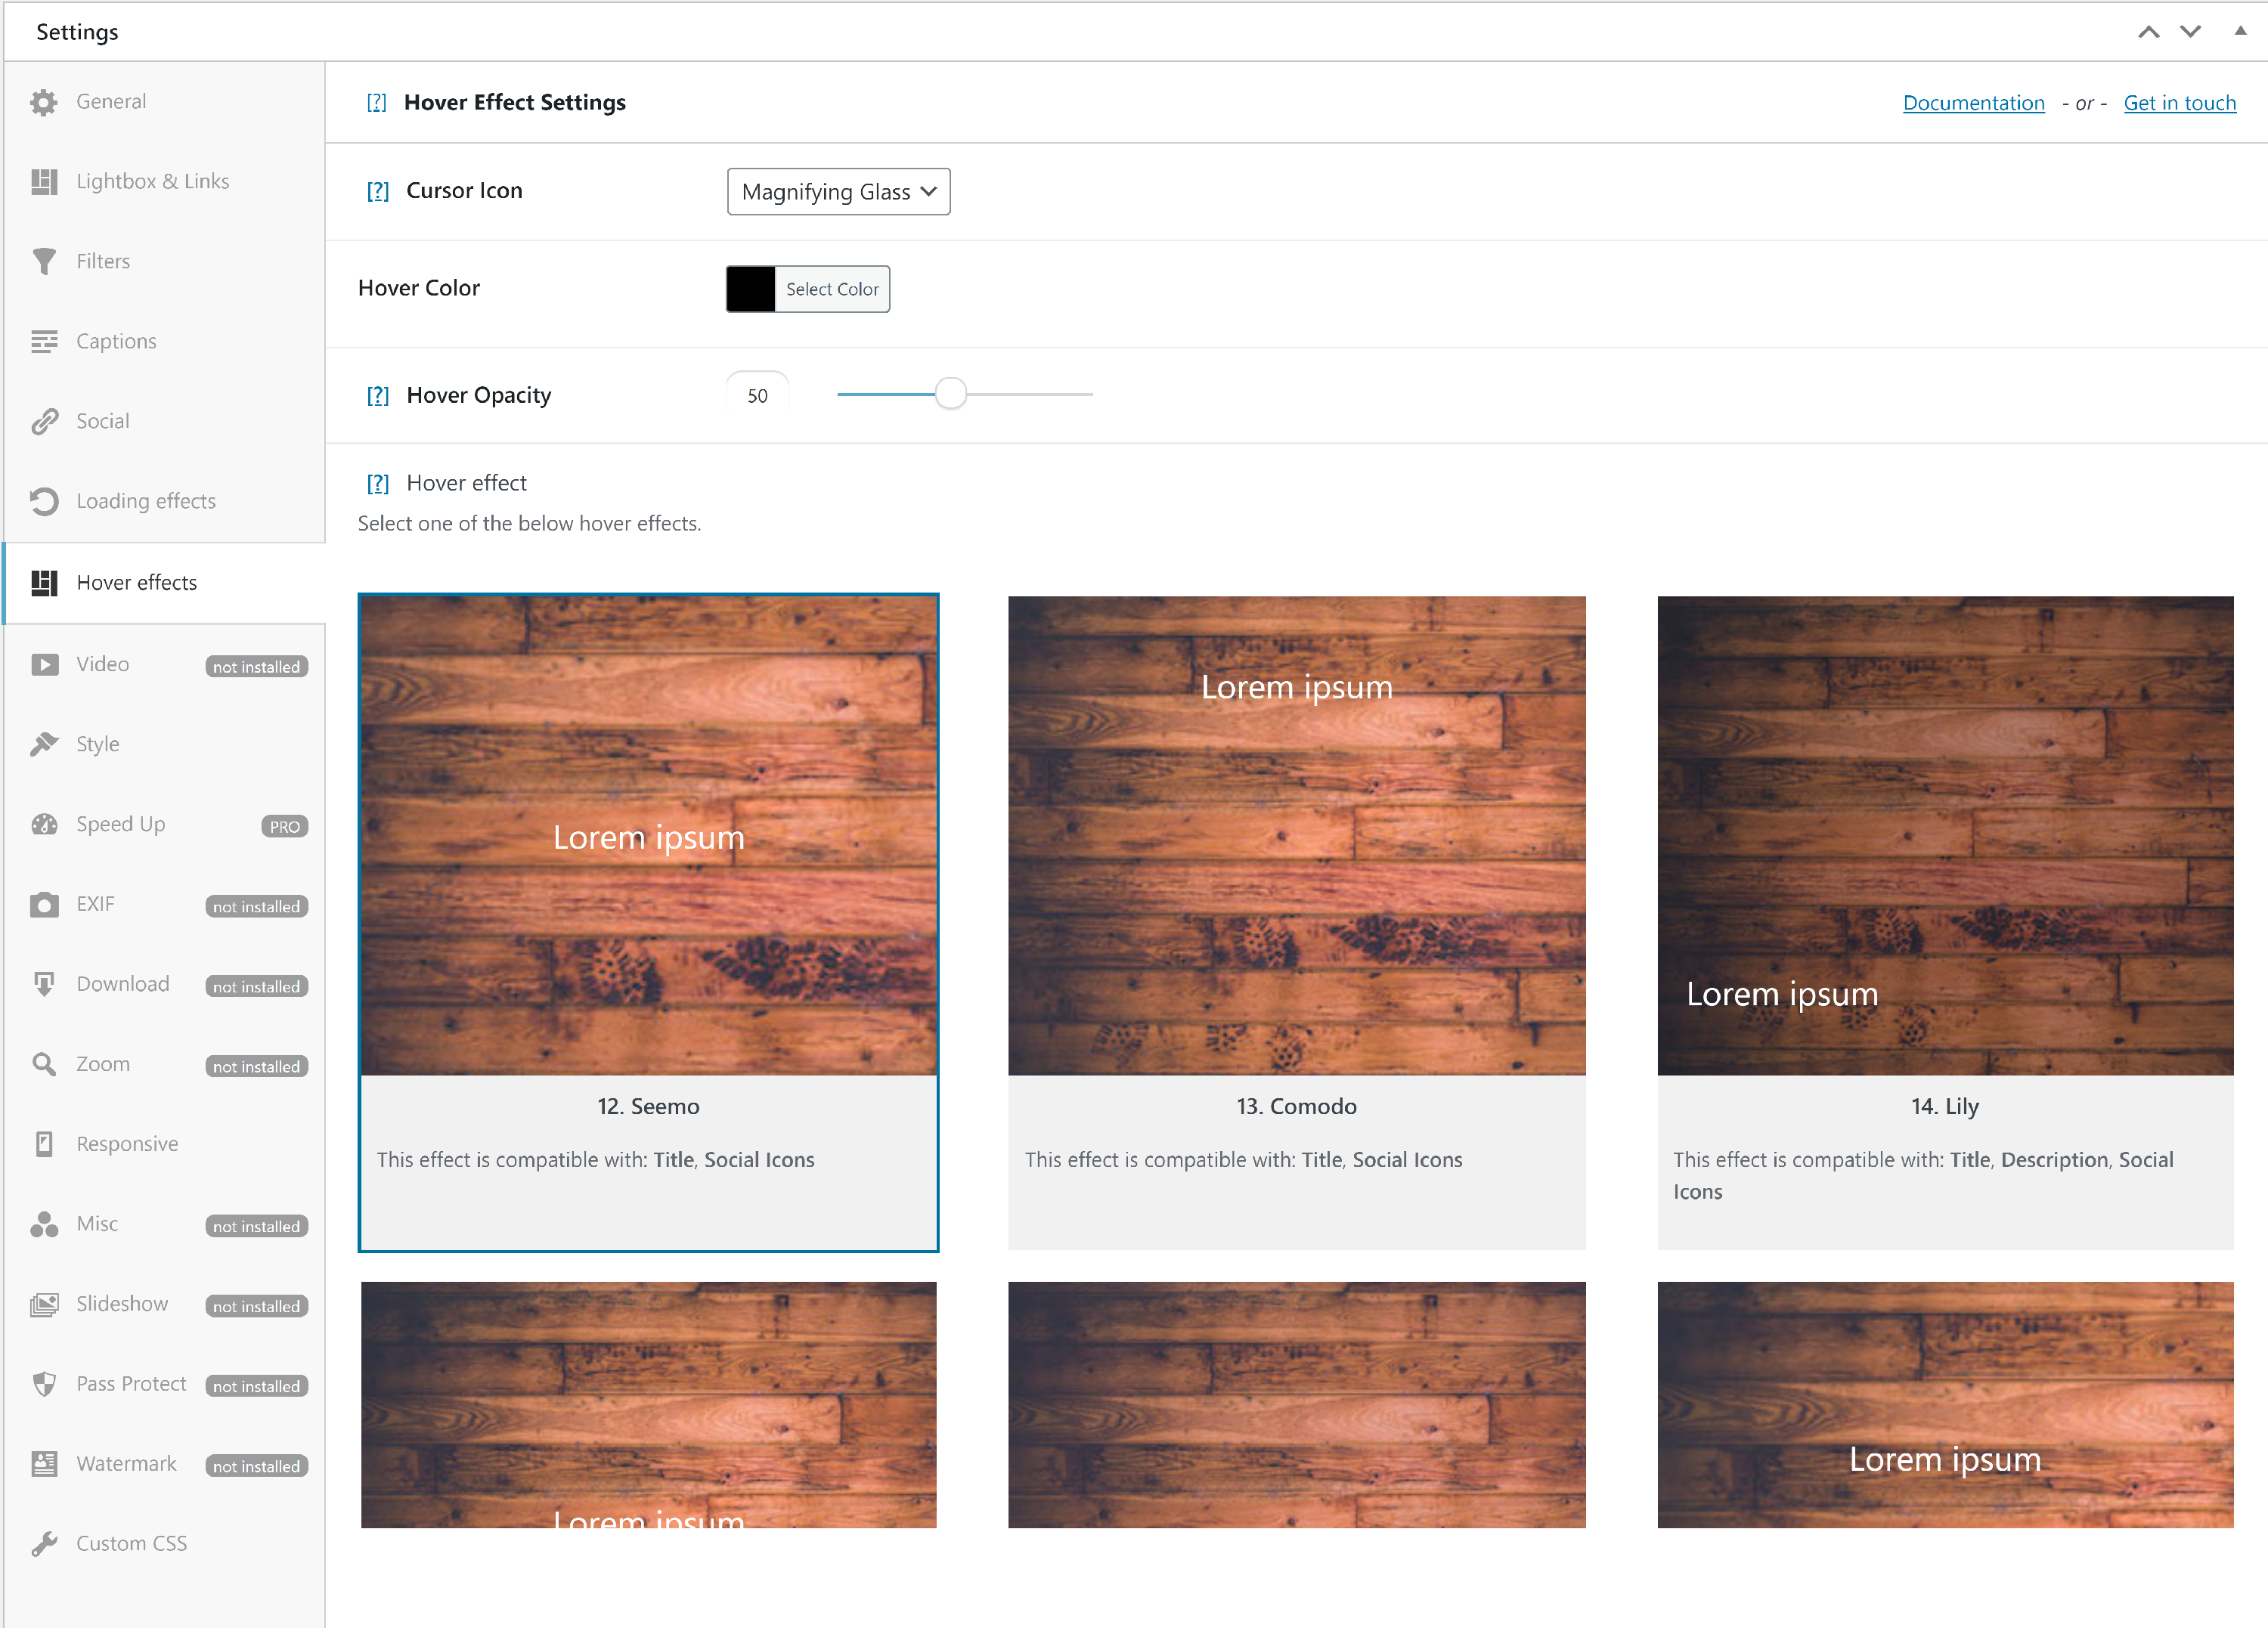
You can also add hover effects to create a visually appealing gallery.
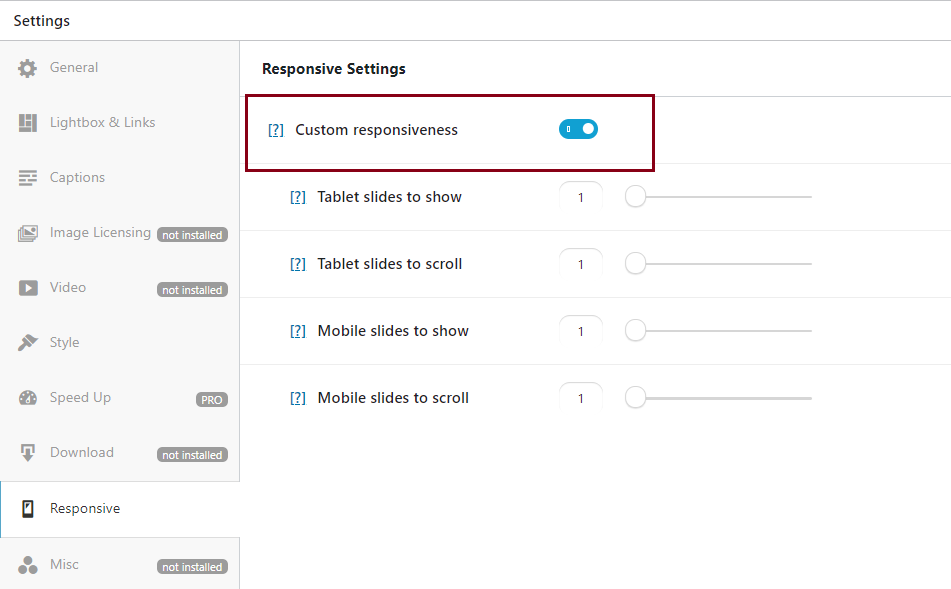
Then, it’s best practice to make your gallery mobile responsive. But how do you create a responsive photo gallery with categories?
Go to Responsive > Custom Responsiveness and enable the button. Your image gallery with categories is fully responsive now.
After finishing all the styling for your responsive image gallery with categories, don’t forget to save it. Then, add the generated shortcode to your page or post.
Final thoughts
Modula is perfect for anyone looking for a powerful plugin designed to style galleries.
As you can see, the steps needed to create a gallery grid with categories are super simple. We’ve not had to use any code; Modula does all the hard work for us!
Modula is an easy-to-use WordPress photo gallery plugin with categories suitable for beginners and professionals.
You can achieve all this with Modula’s Starter pricing plan. Why not find out more about what’s on offer?
Create your WordPress gallery with Modula, and you won’t be disappointed. Nor will your visitors; your creative content deserves the best, so give it the perfect send-off using Modula.
Modula Gallery Plugin
Create stunning, responsive photo galleries with ease. Showcase your work, captivate your audience, and boost engagement. You don’t need to do any coding.


You could have mentioned this is a PRO feature? Waste of time.,
Hi Tim! This was mentioned at the end of the article, but upon double checking, we moved it to the top of the article to make it more visible. Sorry for the trouble and we appreciate your feedback!