 Made in Europe, buy from Europe.
Custom CSS lets you change parts of Modula galleries that the settings don’t cover. CSS is the code that controls how a page looks. With it you can hide, color, resize or frame an element.
You can add CSS to one gallery, where it loads only with that gallery. You can also add it to your whole site.
Which selectors to use
A selector is the part of the code that says what to change. Every gallery has its own ID selector, for example #modula-12. Start your rules with it, so they change only that gallery.
Here, 12 is the gallery ID, the number in its shortcode [modula id="12"]. Inside the gallery, use these classes:
.modula-item: Each tile, the box that holds one image..modula-item imgis its image..filters: The filter bar..modula_menu__linkis each filter in it..modula-fancybox-container: The lightbox, the pop-up that shows a large image. The lightbox of one gallery also has.modula-lightbox-12.
For rules that should change every gallery, use .modula instead of the ID.
Add CSS to one gallery
Each gallery has its own CSS box. CSS you add there changes only that gallery.
- Go to Modula → Galleries and open your gallery.
- Click CSS in the left rail.
- Next to Custom CSS, click Copy to copy the gallery’s selector, for example
#modula-89. -
Type your CSS in the box, and start each rule with the selector. The preview shows the change, and the gallery saves on its own.
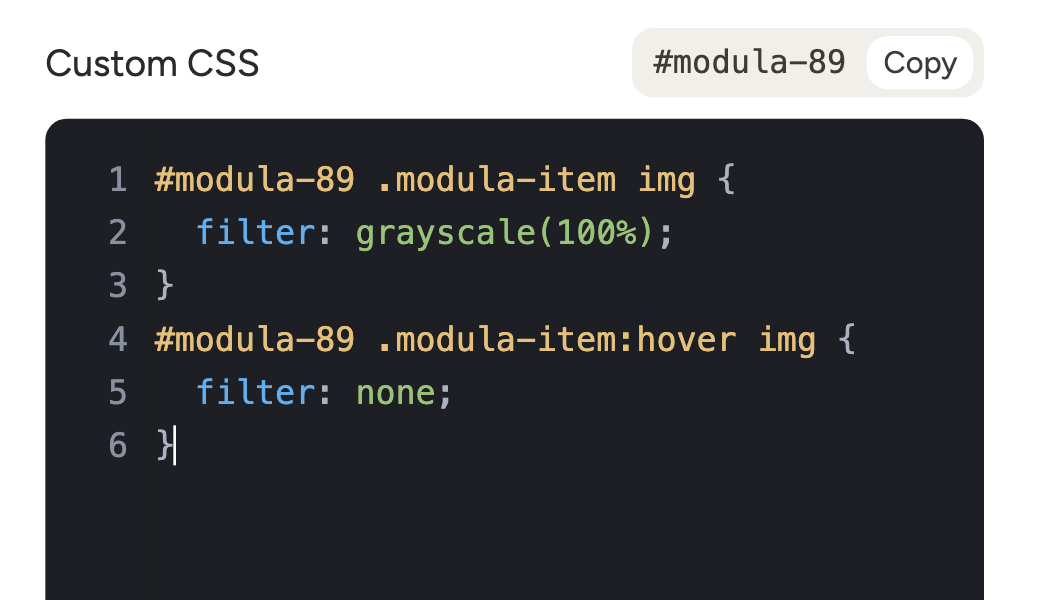
The example shows the images in black and white, and in color when the mouse is over them.
Let Modula write the CSS
If you don’t write CSS, describe the change and Modula’s AI writes the rules for this gallery.
- Under the Custom CSS box, click Describe the change instead. The Generate custom CSS window opens.
- Under What should change?, describe what you want. For example, write “round image corners, softer tile shadow, larger title on hover”.
- Click Generate.
- Read the result under Generated CSS. You can edit it there, or click Regenerate for another try.
- Choose Replace existing custom CSS or Append to existing custom CSS.
- Click Apply CSS.
Note: The generated rules use the gallery’s selector, so they change only this gallery. The CSS is written by Modula’s AI service, so your site needs to reach the internet. Check the preview before you publish.
Add CSS to every gallery
CSS that should change all galleries goes in your site-wide CSS. The place depends on your theme.
- With a block theme: Go to Appearance → Editor → Styles. Open the ⋮ menu and choose Additional CSS.
- With a classic theme: Go to Appearance → Customize → Additional CSS.
For example, this code shows every gallery in black and white:
.modula .modula-item img {
  filter: grayscale(100%);
}
Ready-made CSS
These guides have code you can copy for the most common changes: