 Made in Europe, buy from Europe.
You can add Modula galleries to any page you build with Beaver Builder. Beaver Builder lets you build a page by dragging parts onto it. A gallery adds visual appeal to your website. You place a Modula module on the page and pick your gallery.
Add Modula galleries in Beaver Builder
- Create your Modula gallery and save it. If you have trouble with your first gallery, follow How to Create Your First Gallery.
-
Open the page you want to change with Beaver Builder.
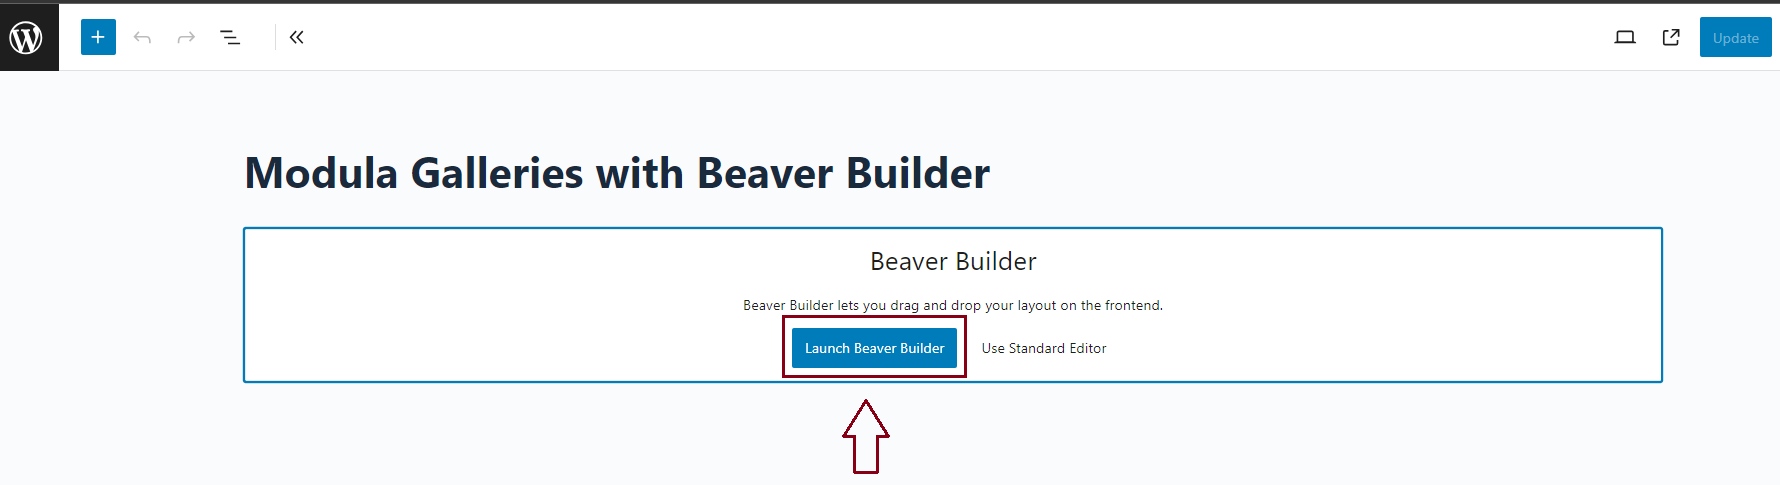
- In the Modules panel, open the Modula group. Beaver Builder Lite has no search box in this panel.
- Find the Modula module in that group. Drag it onto your page and drop it in the section you want.
-
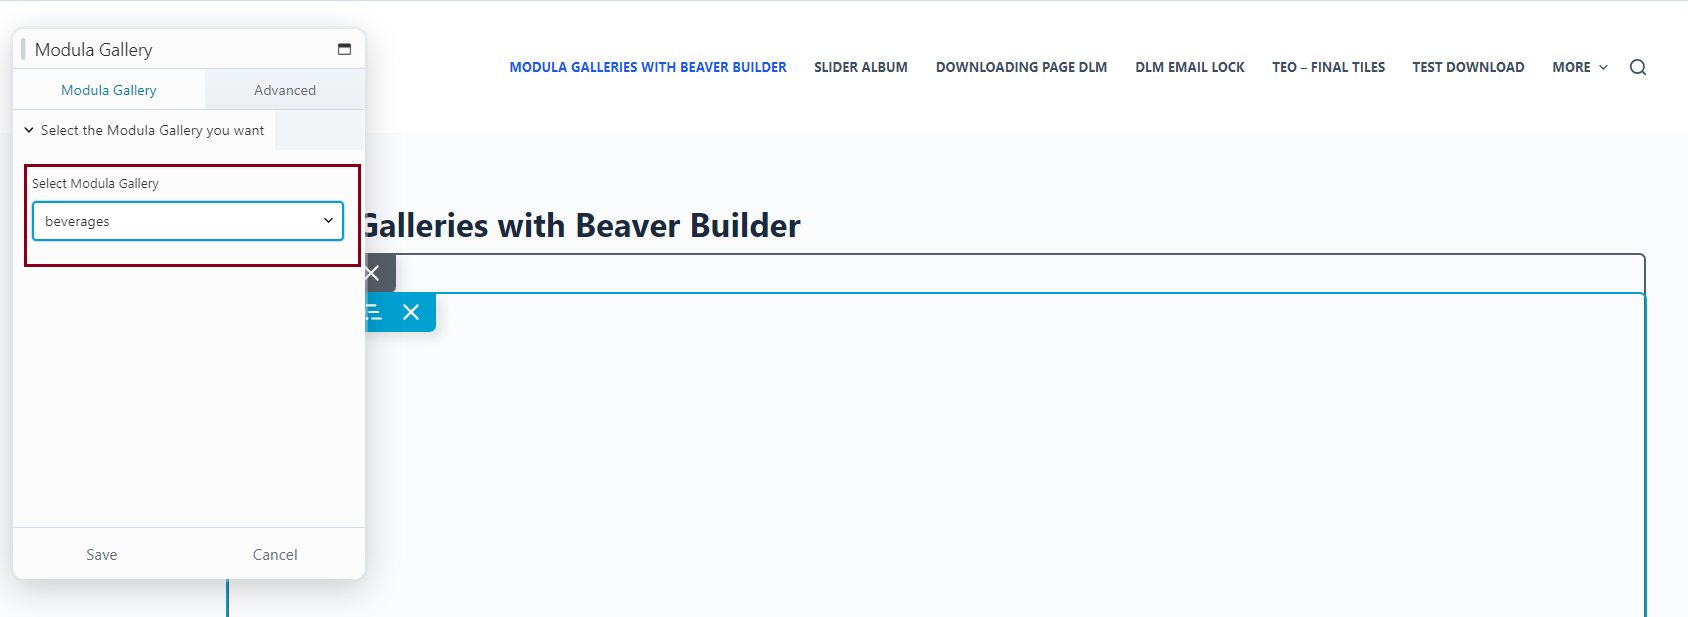
The Modula module has a drop-down menu. Pick the Modula gallery you want to show from this menu.
-
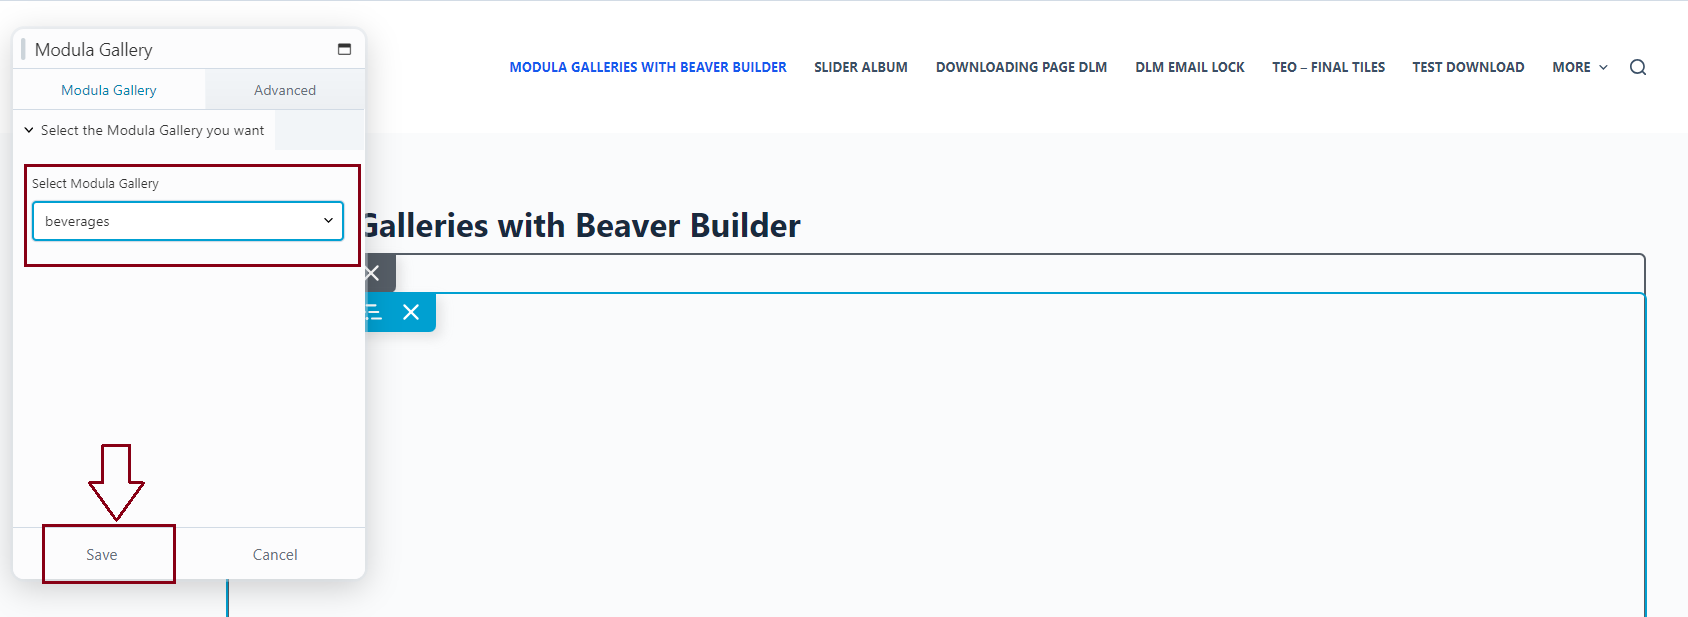
Save your changes in Beaver Builder.
Your gallery now shows on the page. You can keep designing the rest of the page in Beaver Builder, around your gallery.
Other ways to show a gallery
You can also add a gallery to a page without a page builder. See Insert Modula galleries in WordPress posts and pages.
If you use a different builder, see how to add Modula galleries to Elementor or SiteOrigin Page Builder.