 Made in Europe, buy from Europe.
Modula can add image licensing to your WordPress galleries. Image licensing is how credit should be given for an image or other visual content made by someone else.
Licensing is common with copyrighted or licensed content. It shows the source of the content and gives credit to the original creator.
Set up image licensing for all galleries
Modula can add license information to all your galleries at once. Follow these steps.
- Go to Modula → Settings → Galleries → Image licensing.
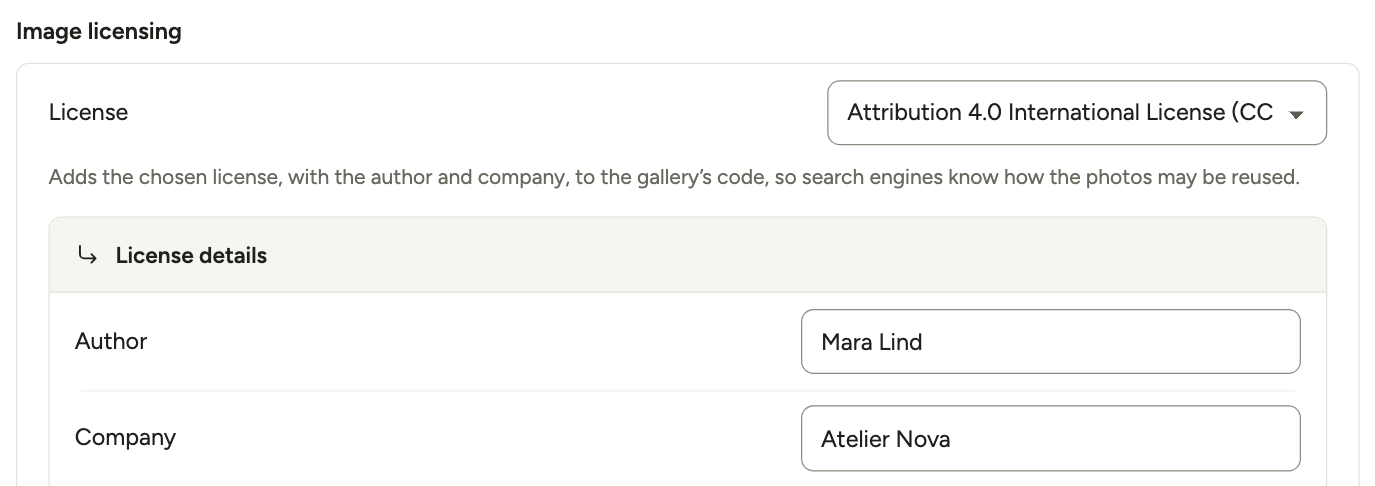
- Choose a license in License. As soon as you pick one, License details appear under it.
-
Fill in the details:
- Author: Your name, so Google can filter images by author.
- Company: Your company’s name, so Google can filter images by company.
- Click Save changes.
The license you choose, with the author and company, is added to your galleries’ code as structured data. Structured data is a format that search engines can read. They then know how the photos may be reused.
To help Google find your images in the first place, see how to get your images indexed by Google.
The licenses you can choose
These are the licenses you can choose from:
- None
- Attribution 4.0 International License (CC BY 4.0)
- Attribution-ShareAlike 4.0 International License (CC BY-SA 4.0)
- Attribution-NonCommercial 4.0 International License (CC BY-NC 4.0)
- Attribution-NonCommercial-ShareAlike 4.0 International License (CC BY-NC-SA 4.0)
- Attribution-NonCommercial-NoDerivatives 4.0 International License (CC BY-NC-ND 4.0)
- Attribution-NoDerivatives 4.0 International License (CC BY-ND 4.0)
- CC0 Universal Public Domain Dedication license (CC0)
Click a license’s name to read what it allows on the Creative Commons site.
These are different types of Creative Commons (CC) licenses. They give you a flexible way to share and use creative content. Each license sets conditions on how the content can be used.
In this context, “image licensing” means following the attribution conditions in each license. Attribution means giving credit to the creator.
Show the license to your visitors
The Image Licensing extension shows the license to your visitors. They then know what license the pictures have, and whether and under what conditions they may use them.
Without the extension, the license is only in the code of your galleries.
A license for each gallery (Pro)
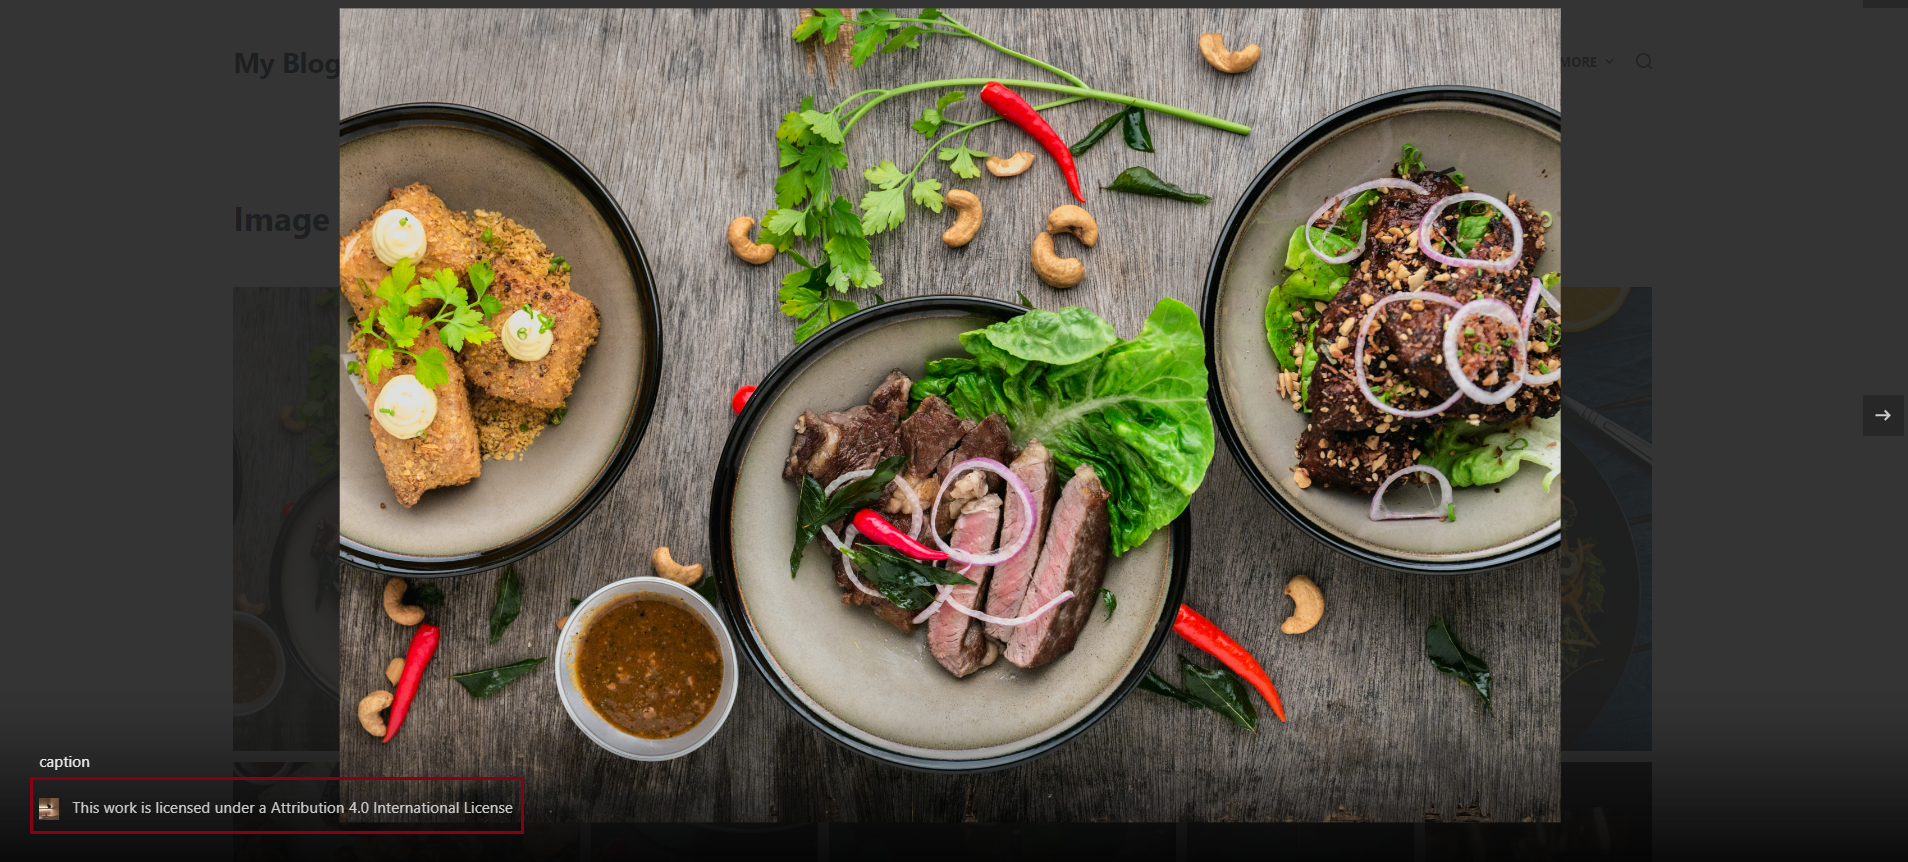
With the Image Licensing extension (Modula Pro, Trio plan and higher), each gallery can have its own license. It shows under the gallery, in the lightbox under each image, or both. The lightbox is the window that opens when someone clicks an image.
You can also create your own licenses next to the Creative Commons ones. To switch the extension on, see Install Modula Pro extensions.
Set the license of a gallery
- Go to Modula → Galleries and open the gallery.
- Click Protect in the left rail.
- Click Image licensing to open it.
-
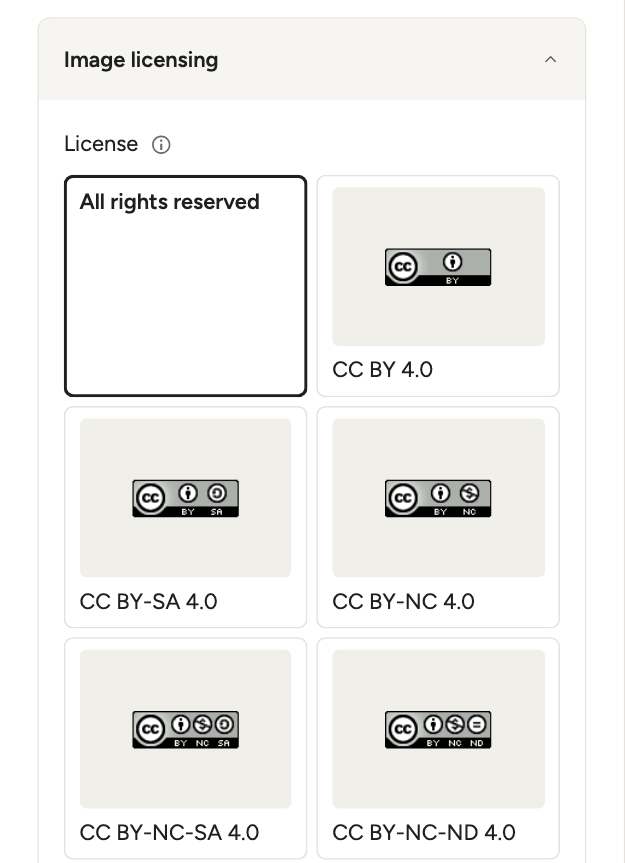
Choose the License.
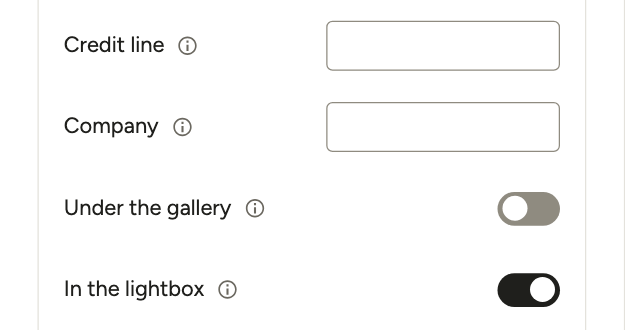
- Fill in the Credit line, which is the author, and the Company.
-
Choose where the license shows: Under the gallery, In the lightbox (under each image), or both. Your changes are saved as you make them.
This is how the license looks in the lightbox:
Create your own license
- Go to Modula → Galleries.
- Click the Licenses tab. It lists the licenses you made.
- Click Add New License at the top.
- Type the name of the license in the title field.
- Fill in the Company Name and Author Name.
- Fill in the License Page URL, which is the page with your terms.
- Fill in the Buy Page URL, which is where people can buy a license.
- Click Publish. You can now choose it in Modula → Settings → Galleries → Image licensing. The License list in the gallery editor shows only All rights reserved and the Creative Commons licenses.
Note: Without the extension, galleries don’t show a license to visitors. The license from Settings is only added to their code.
The extension adds the license under the gallery and in the lightbox, and a different license for each gallery.
If you are not sure which license to pick, read Image licensing explained. It compares the license types and what each one lets people do with your photos.