Creating visually appealing galleries with Modula in WordPress is a breeze, and sharing them on your posts or pages is just as easy. If you encounter any challenges, this step-by-step guide will walk you through the entire process.
Create a New Gallery
-
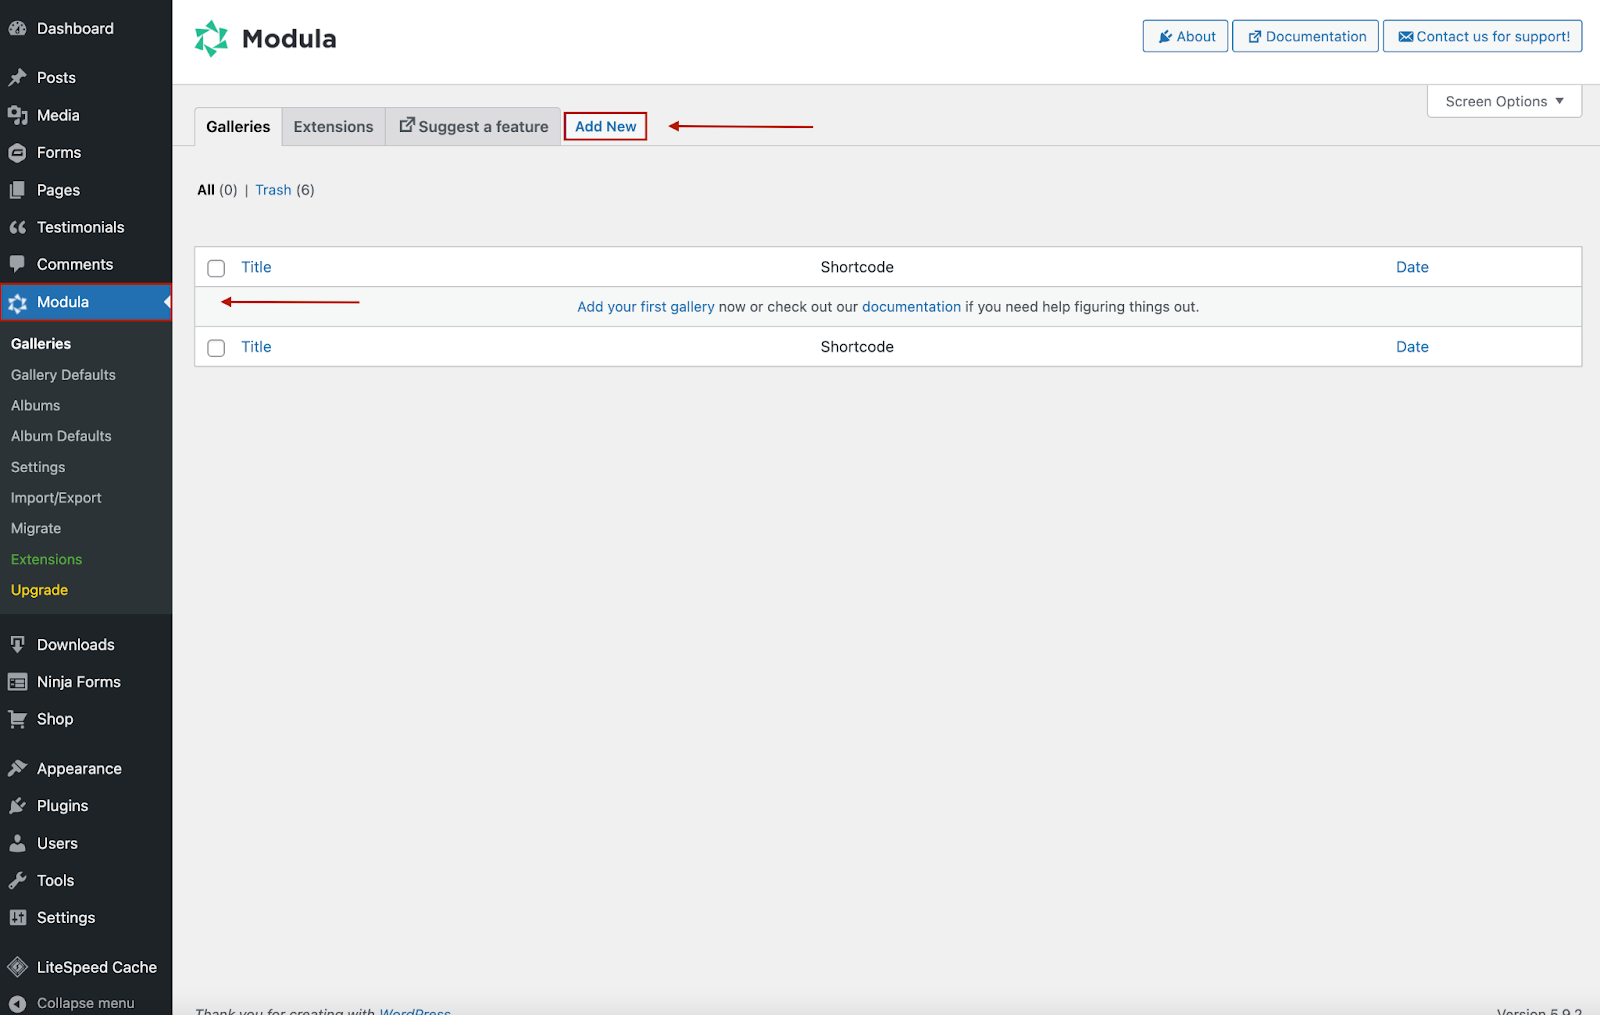
Head to your WordPress Dashboard > Modula > Add New.
-
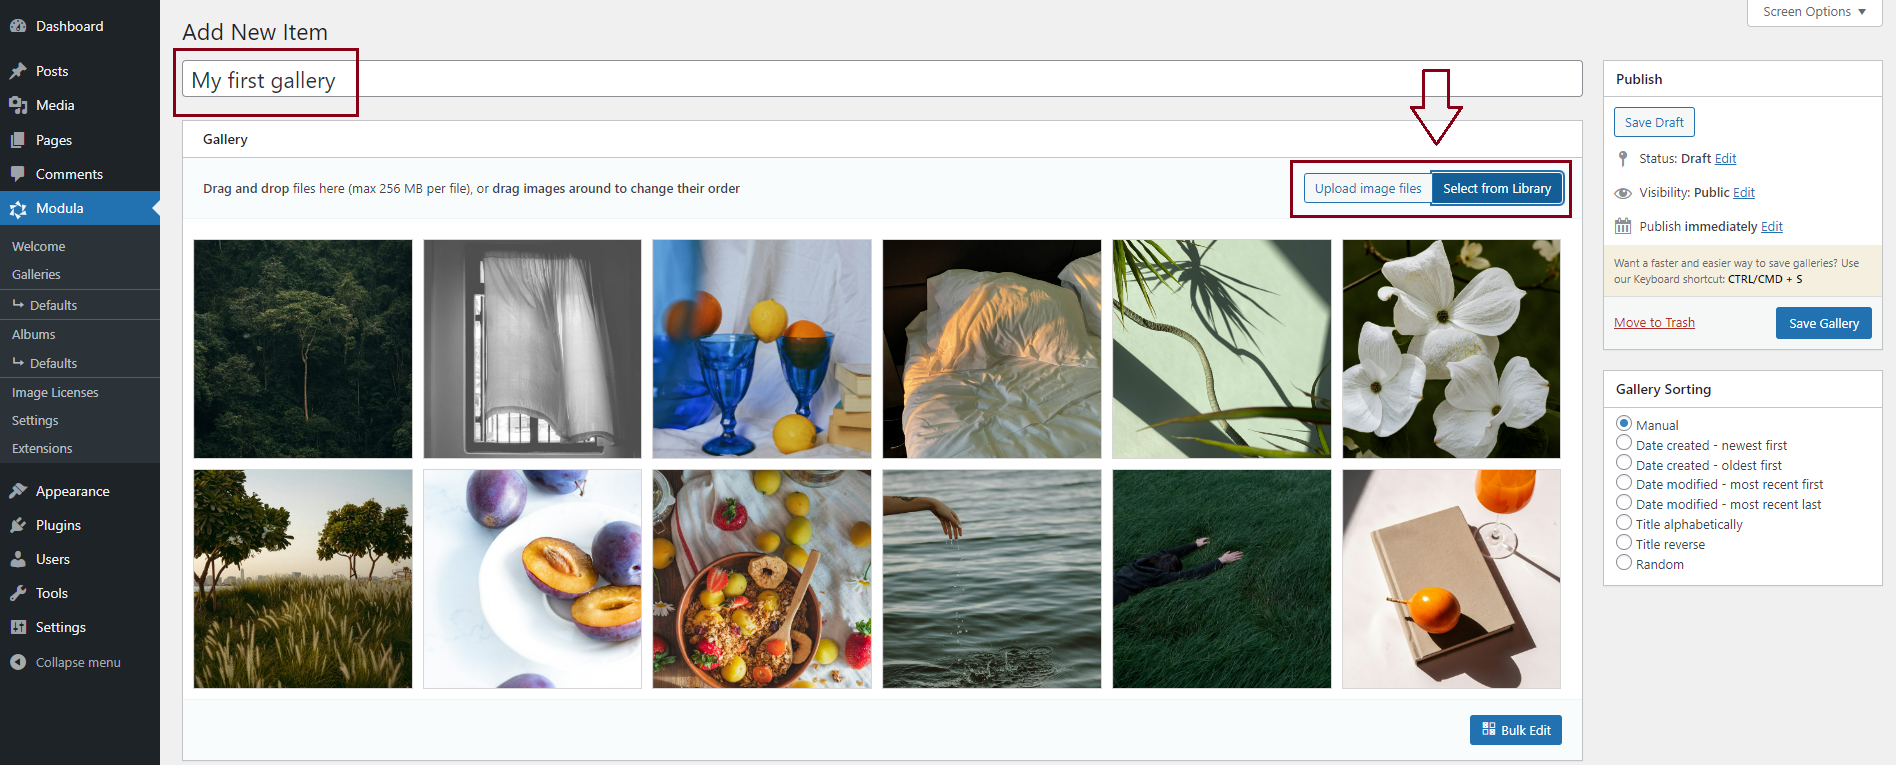
You will be redirected to a page where all the magic happens. You can start by giving your gallery a name to differentiate it from the others. Then, upload your images, or select them from your WordPress Library. You can drag and drop images to arrange them as you wish.
-
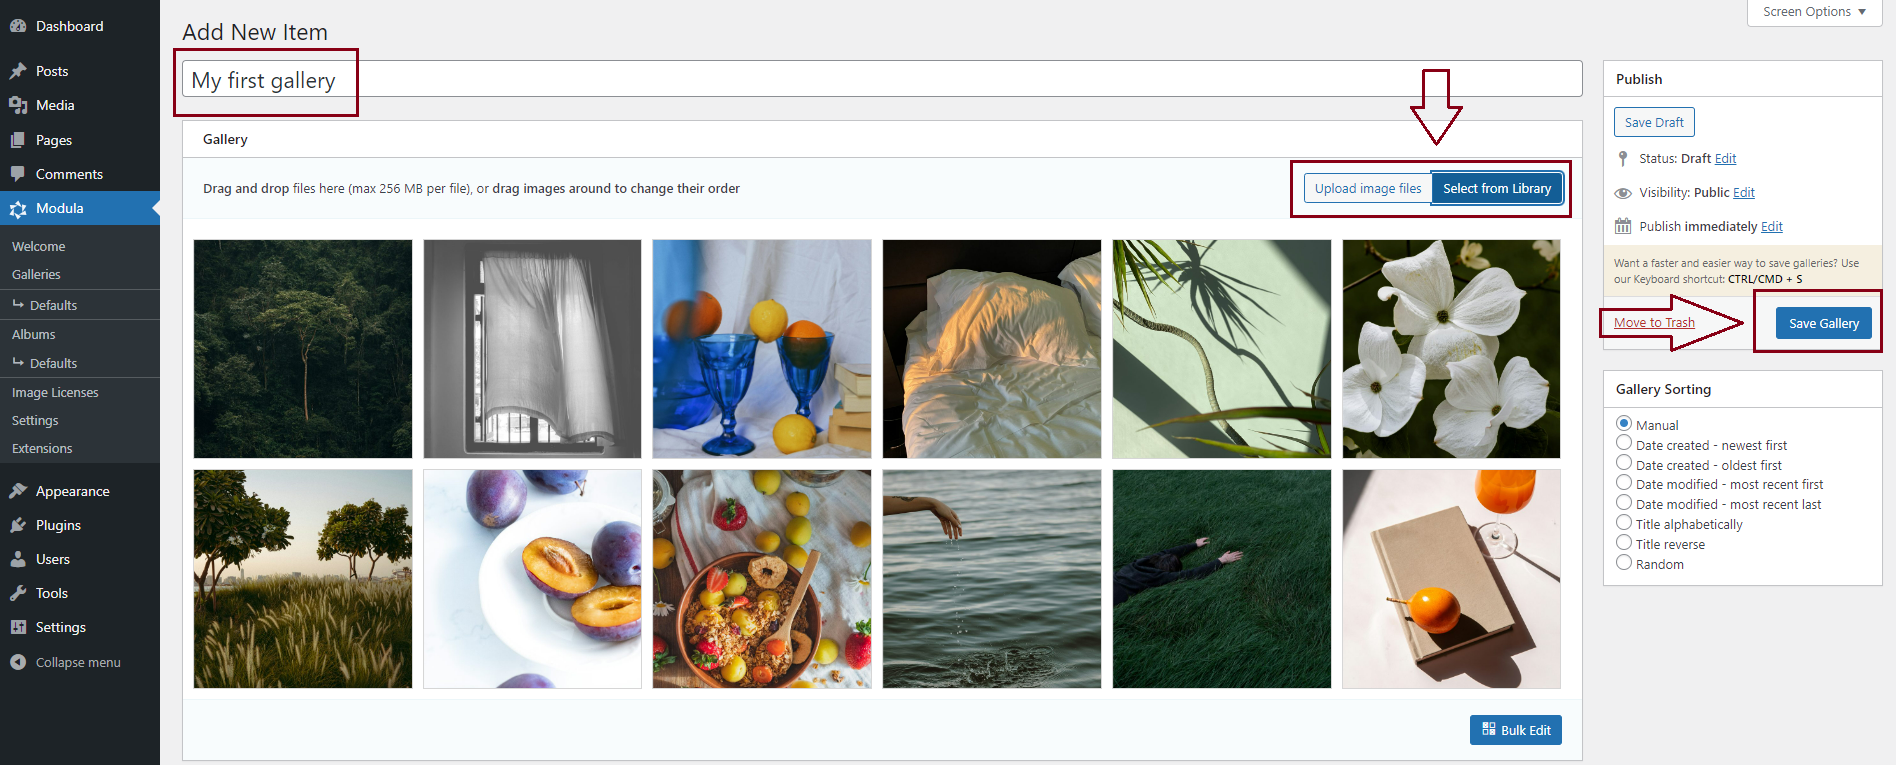
Once you’re done designing and customizing your gallery, don’t forget to click Save Gallery.
Inserting Modula Galleries Using Shortcodes
Modula simplifies the process of inserting galleries into your posts or pages, regardless of your theme, custom styling, or page builder. Follow these steps:
-
Copy Shortcode
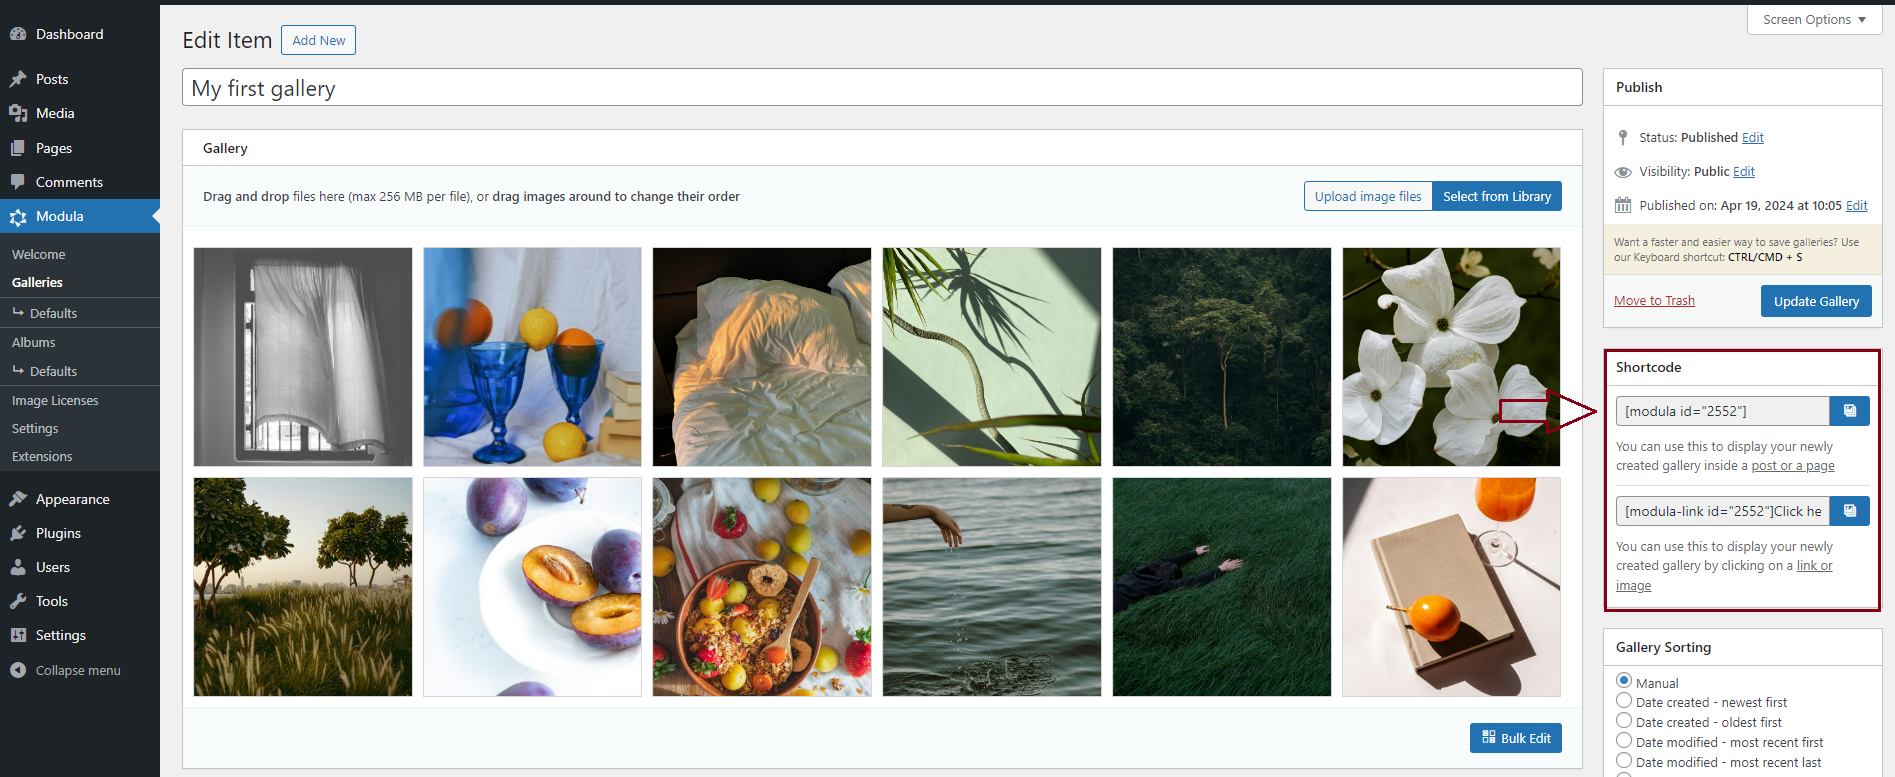
After creating your gallery, locate the shortcode in the edit area.
-
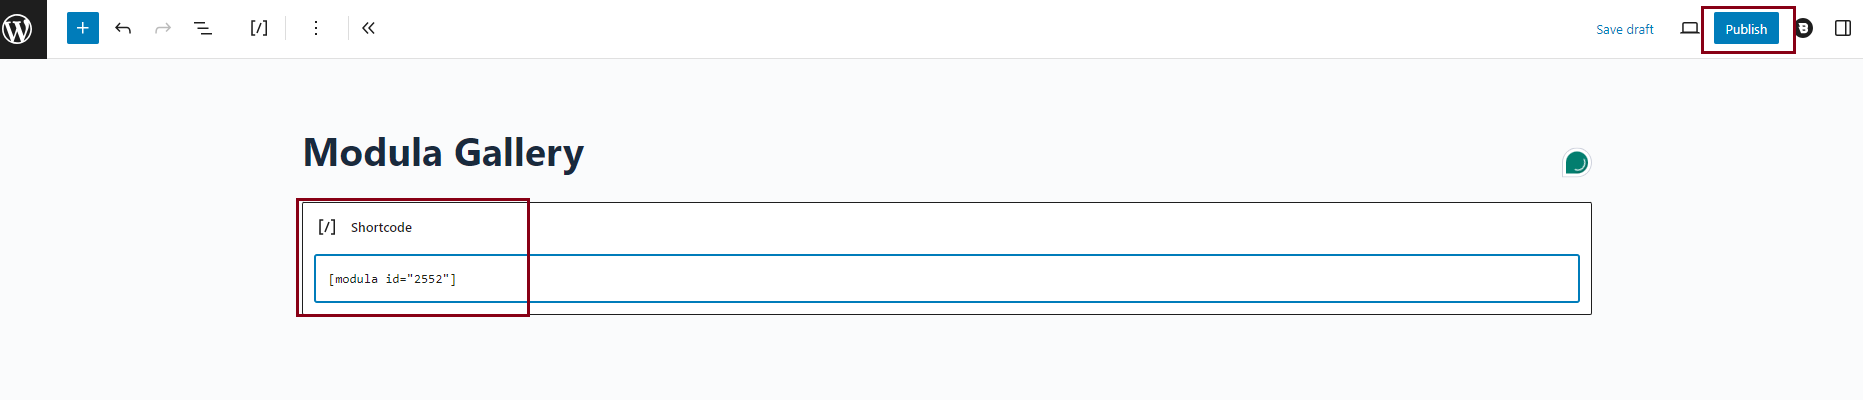
Paste Shortcode in Post/Page
Copy the shortcode > Open the WordPress post or page where you want to insert the gallery > Paste the shortcode in the desired location.
Insert Modula Galleries in the Gutenberg Block Editor
Modula provides an alternative method for inserting galleries through the Gutenberg block editor:
-
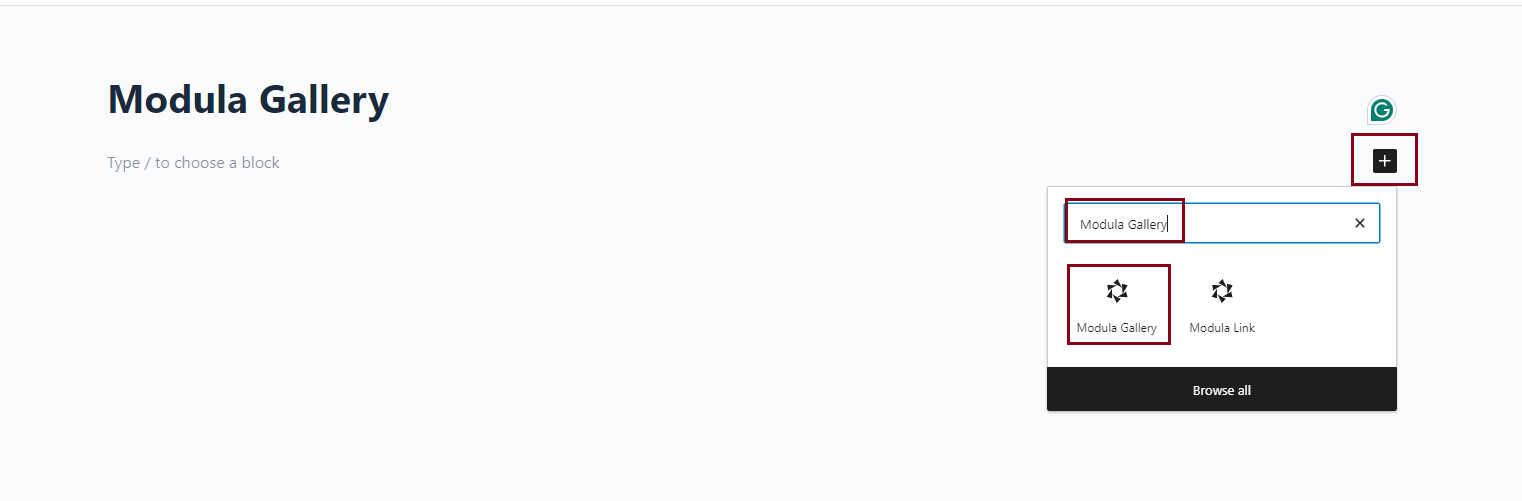
Use the Gutenberg block editor
Edit your page > then use the ‘+’ button to search for and insert the Modula Gallery block.
-
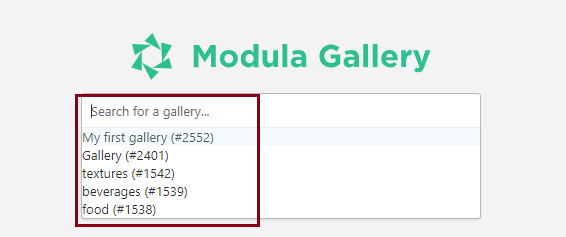
Select Gallery from Drop-down
Choose your gallery from the drop-down menu within the Modula block.
By following these steps, you’ll seamlessly integrate Modula galleries into your WordPress posts and pages, enhancing your website with stunning visual content.