Looking to upload a bunch of images to your gallery in one go? Modula makes it super easy! If you have images stored in a ZIP file, you can quickly create a stunning gallery in just a few steps. Follow this guide to see how simple it is to build a gallery from a ZIP file in Modula.
Steps to Create a Gallery from a ZIP File
-
Create a New Gallery
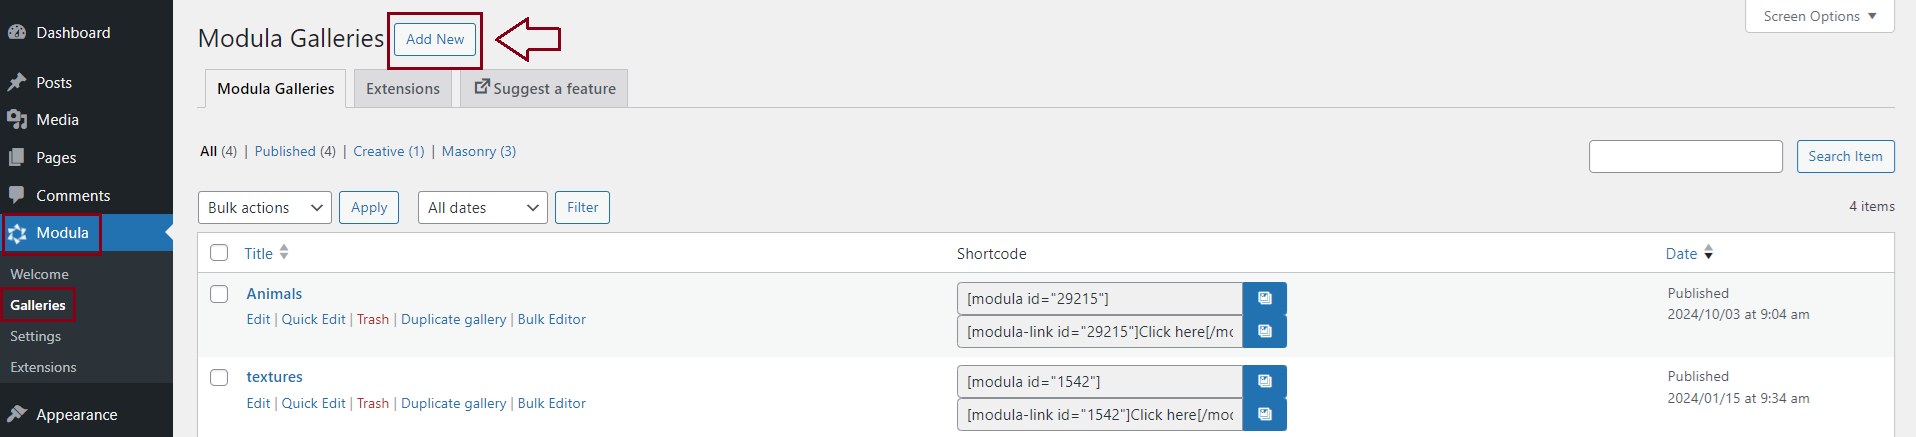
Start by logging into your WordPress admin dashboard. On the left sidebar, click on Modula, then navigate to Galleries.
To begin, click the Add New button to create a new gallery.
-
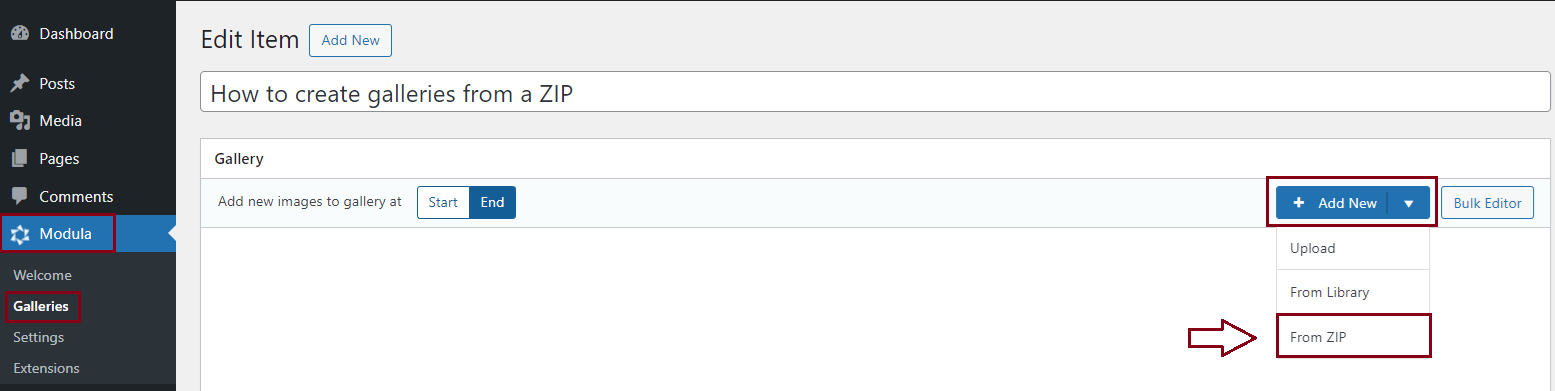
Select ‘Upload from ZIP’ Option
In your gallery, look for the “Add New” button, then choose “From ZIP”. This will open your file explorer where you can select the ZIP file containing your images.
-
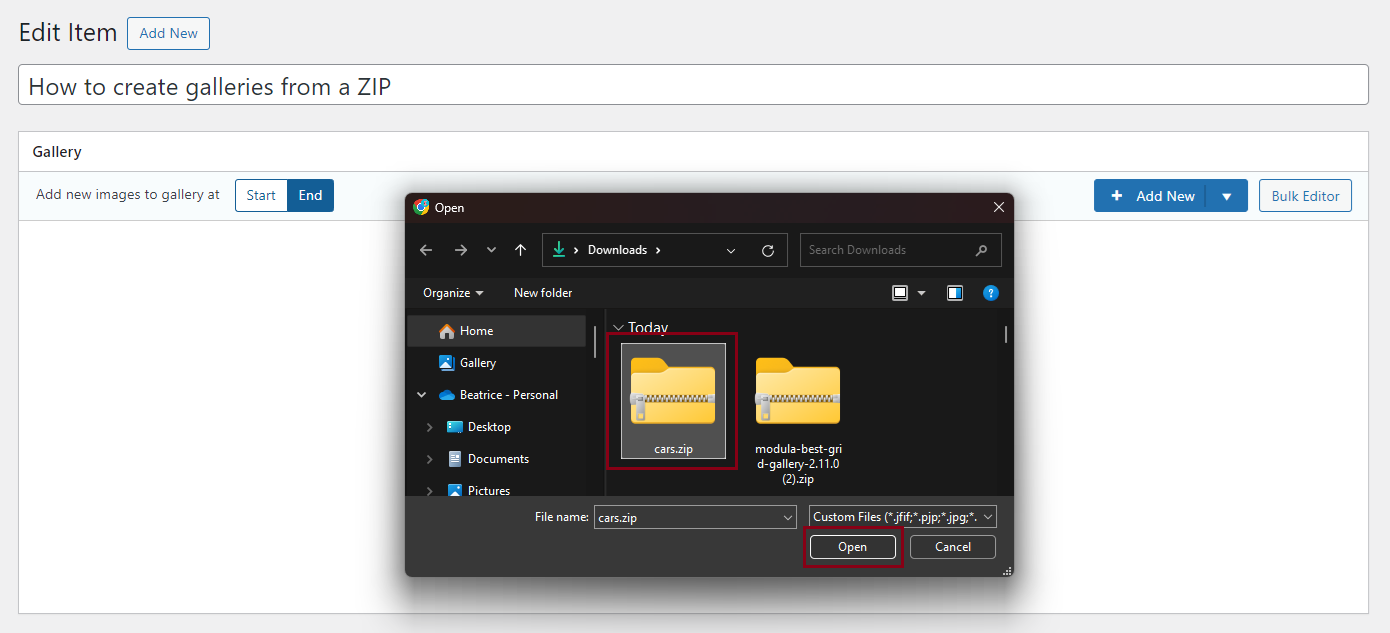
Choose Your ZIP File
Find the desired ZIP file on your computer, select it, and click Open to start the upload process.
-
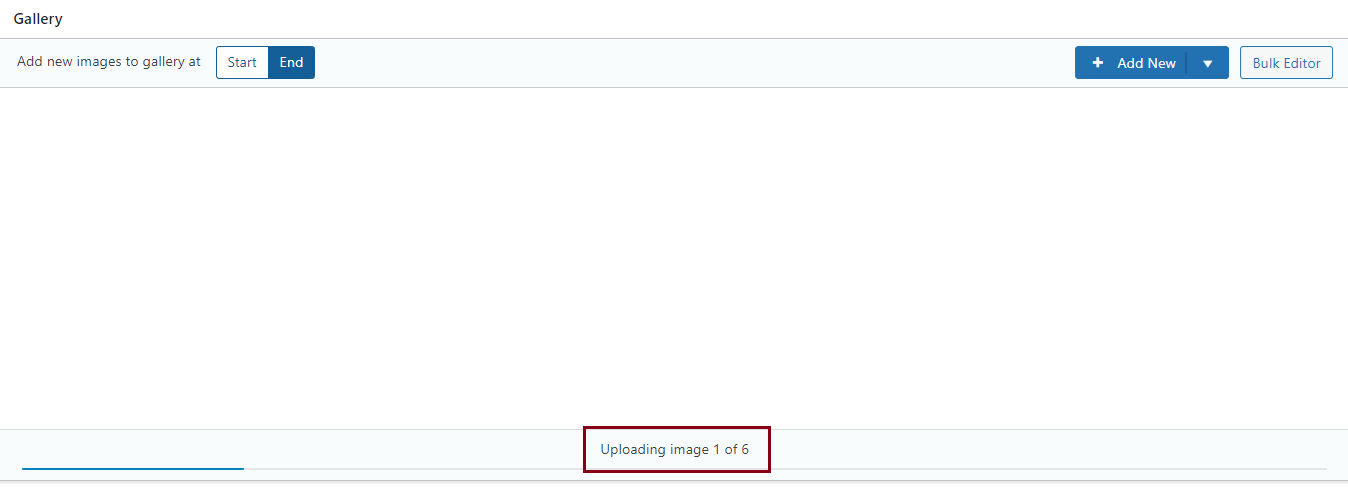
Monitor the Upload Progress
You’ll see a progress bar that updates as your images are uploaded, e.g., “Uploading image 1 of 6” This ensures you know the upload is going smoothly.
-
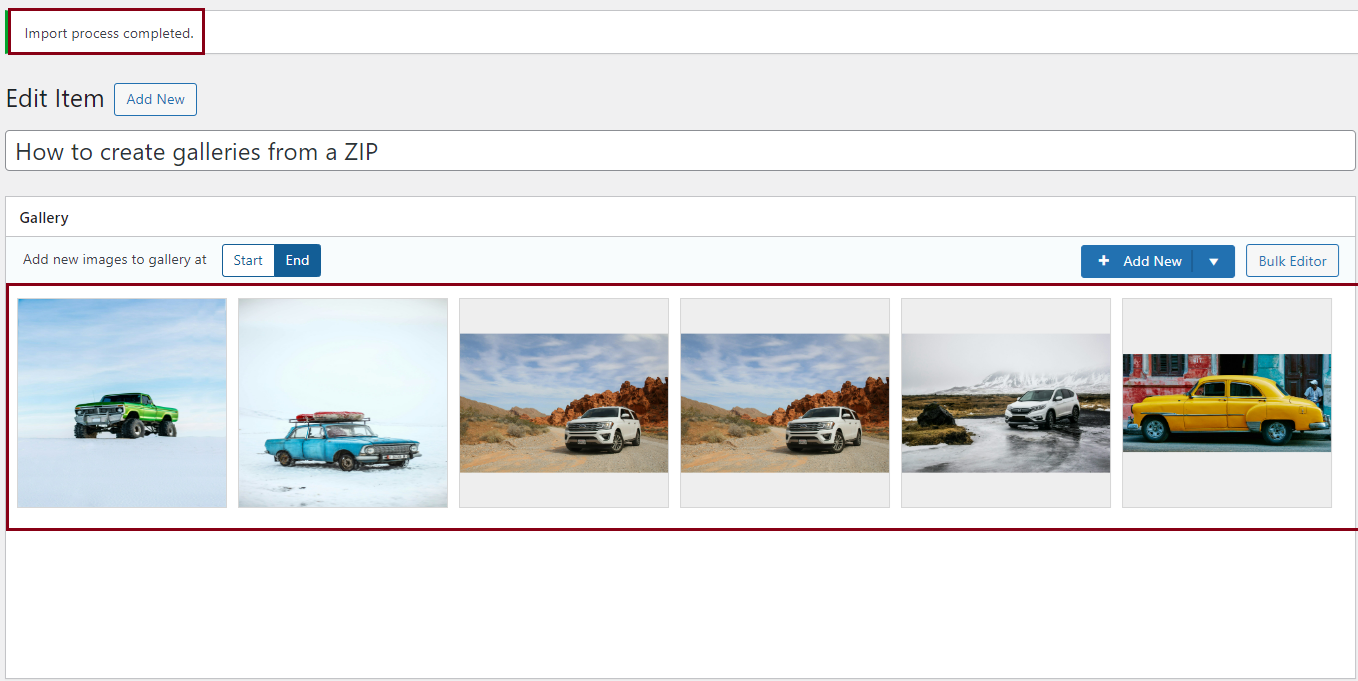
View Your Uploaded Images
Once the upload is complete, all the images from your ZIP file will be displayed in your gallery. Now, you can make adjustments, reorder, or customize the settings as you wish.
By using Modula’s ZIP upload feature, you can save time and create your galleries more efficiently. Whether you’re adding a few images or an entire folder, Modula streamlines the process so you can focus on curating the perfect gallery