Let’s explore integrating gallery and translation plugins to make your website more accessible. Whether you’re starting fresh or enhancing an existing site, this guide offers step-by-step instructions and insights to succeed. Dive in and unlock your website’s potential with Modula and Polylang.
Step-by-Step Guide
-
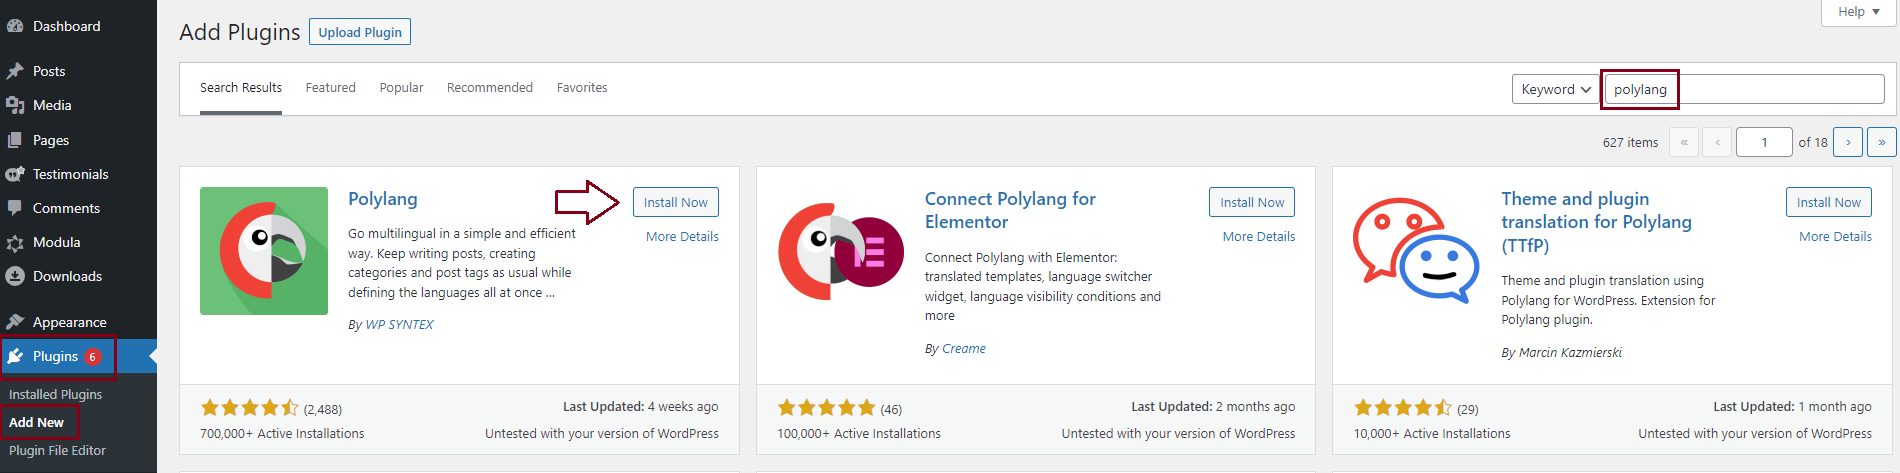
Install and activate the Polylang plugin
You can do this by going to your WordPress dashboard > Plugins > Add new > Search for Polylang > Install and Activate it.
-
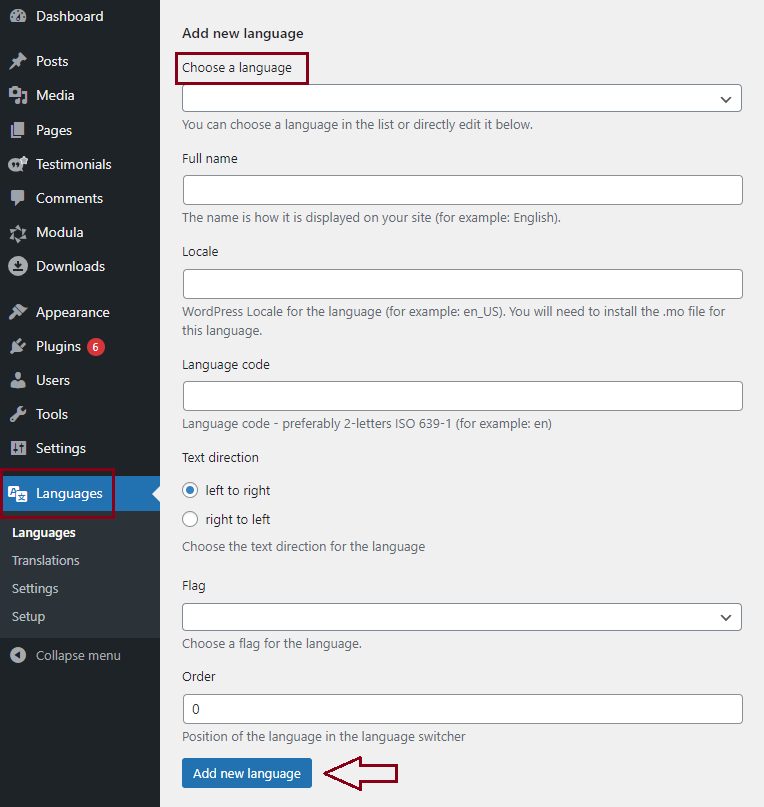
Setup your languages
Go to your WordPress dashboard > Languages >Add new language > Add the languages you need.
-
Create pages, posts, and categories in your languages
You will need to create pages, posts, and categories in your main language and also in the other languages that you set. Basically, you will set the page where the user will be redirected when he/she changes the language on your site. In order to achieve this please follow this tutorial here
-
Add your Modula gallery on the main language pages
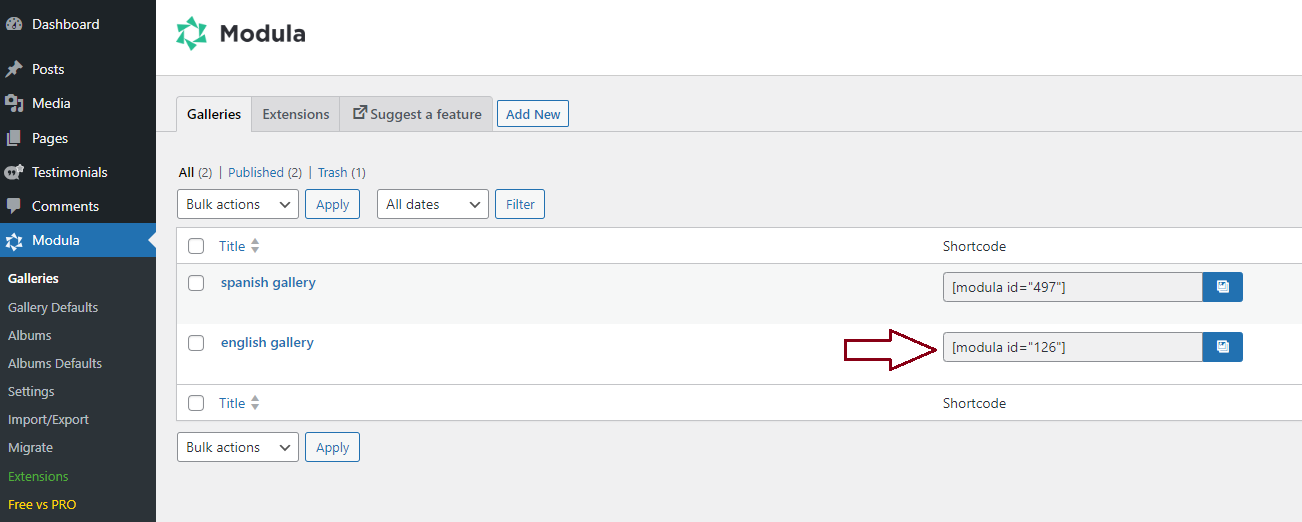
Create multiple galleries so you can choose which ones you need on the pages you created. Here you can see how to create your galleries.
To add them to your pages you need to copy their shortcode > go to Pages > Edit a page you created > Paste there the shortcode of your gallery > Publish.
First step 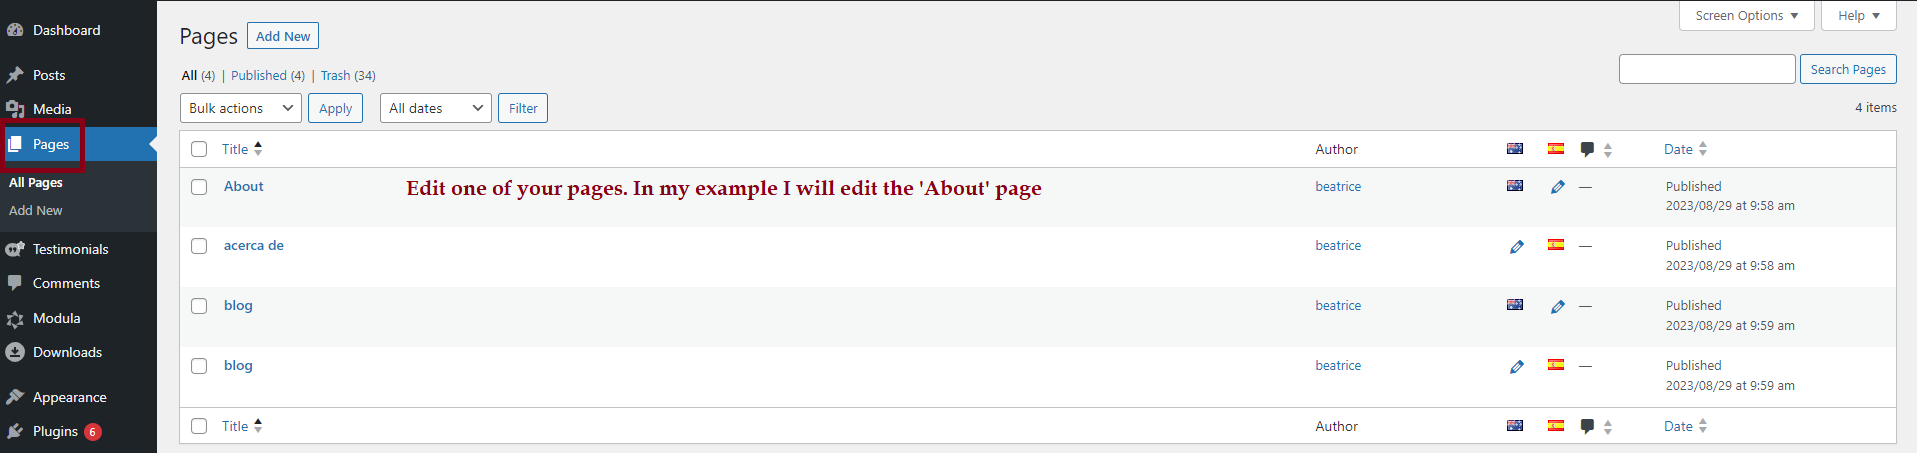
Second step 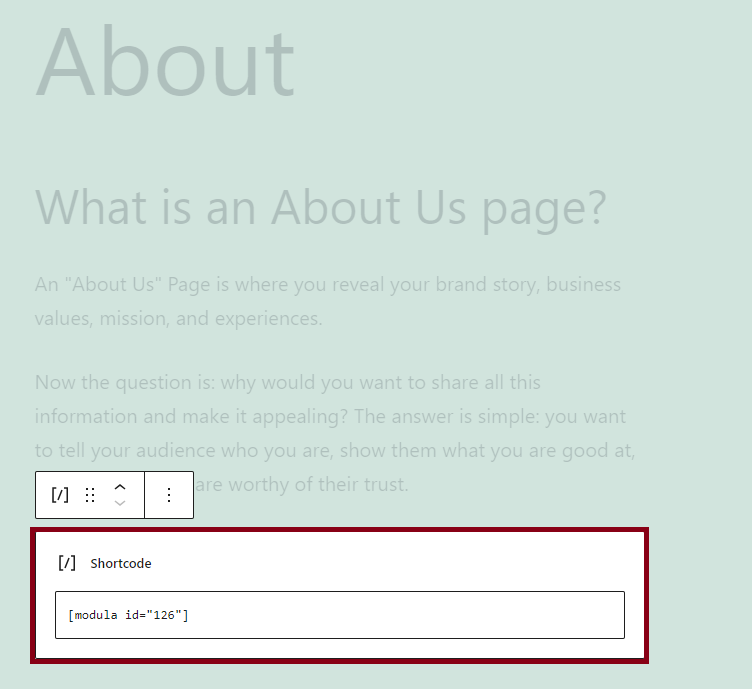
Third step -
Add your gallery to the translated page
Go to your main language page (the one created above) > On the right side you will see ‘Language‘ and ‘Translations’. Choose there the page you want your user to be redirected to when he/she changes the language.
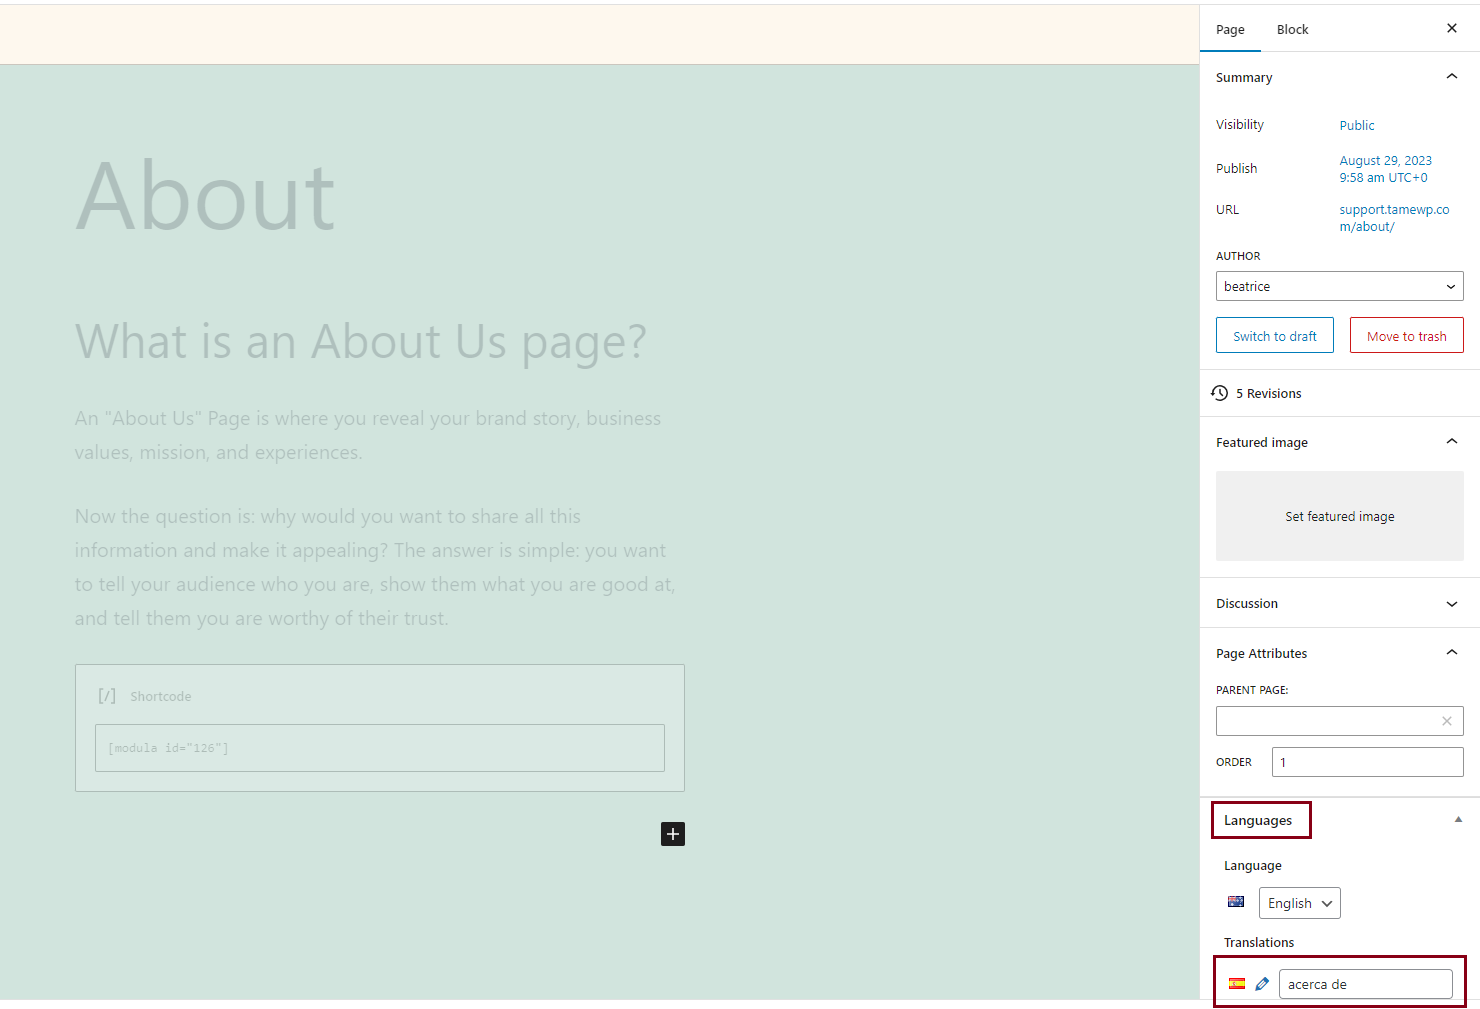
Click on the pencil icon so you can edit that page and add there the shortcode of the Modula gallery that you want.
Examples
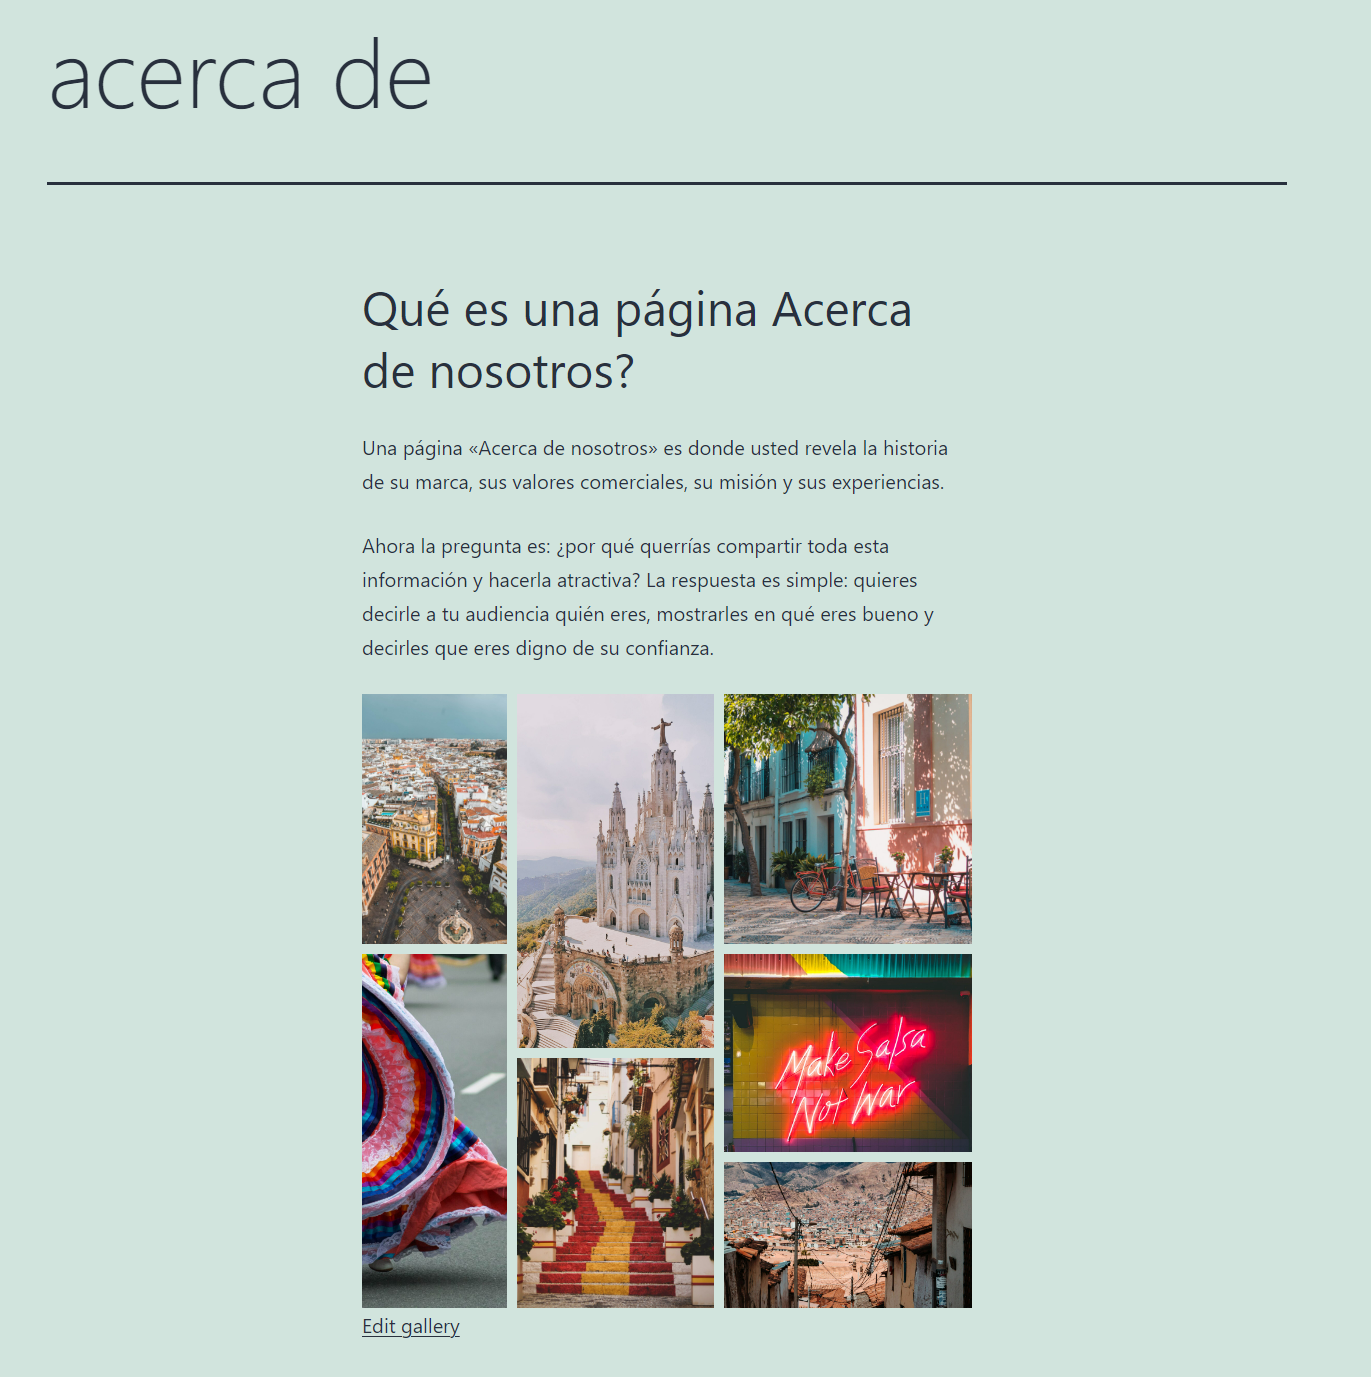
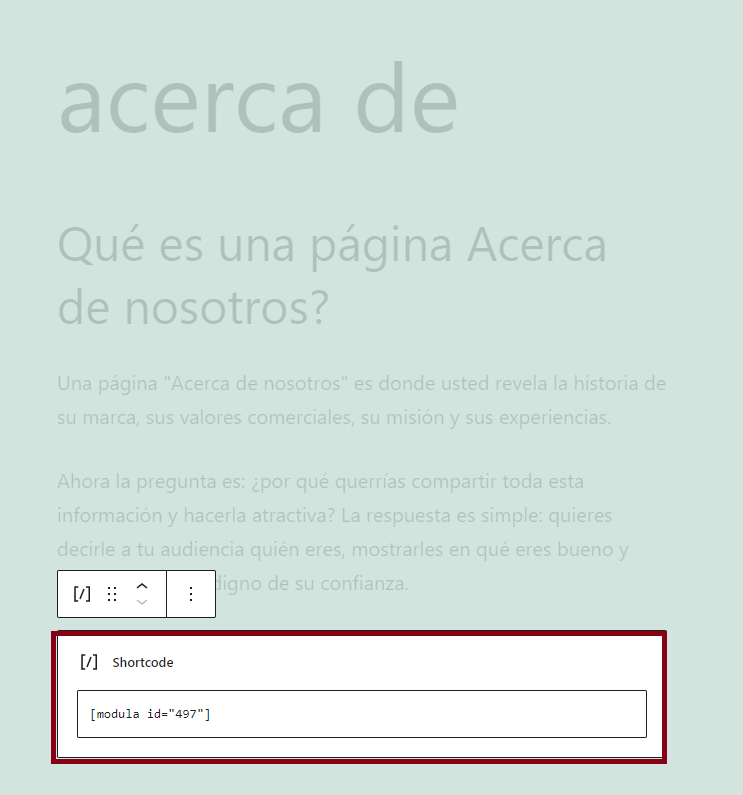
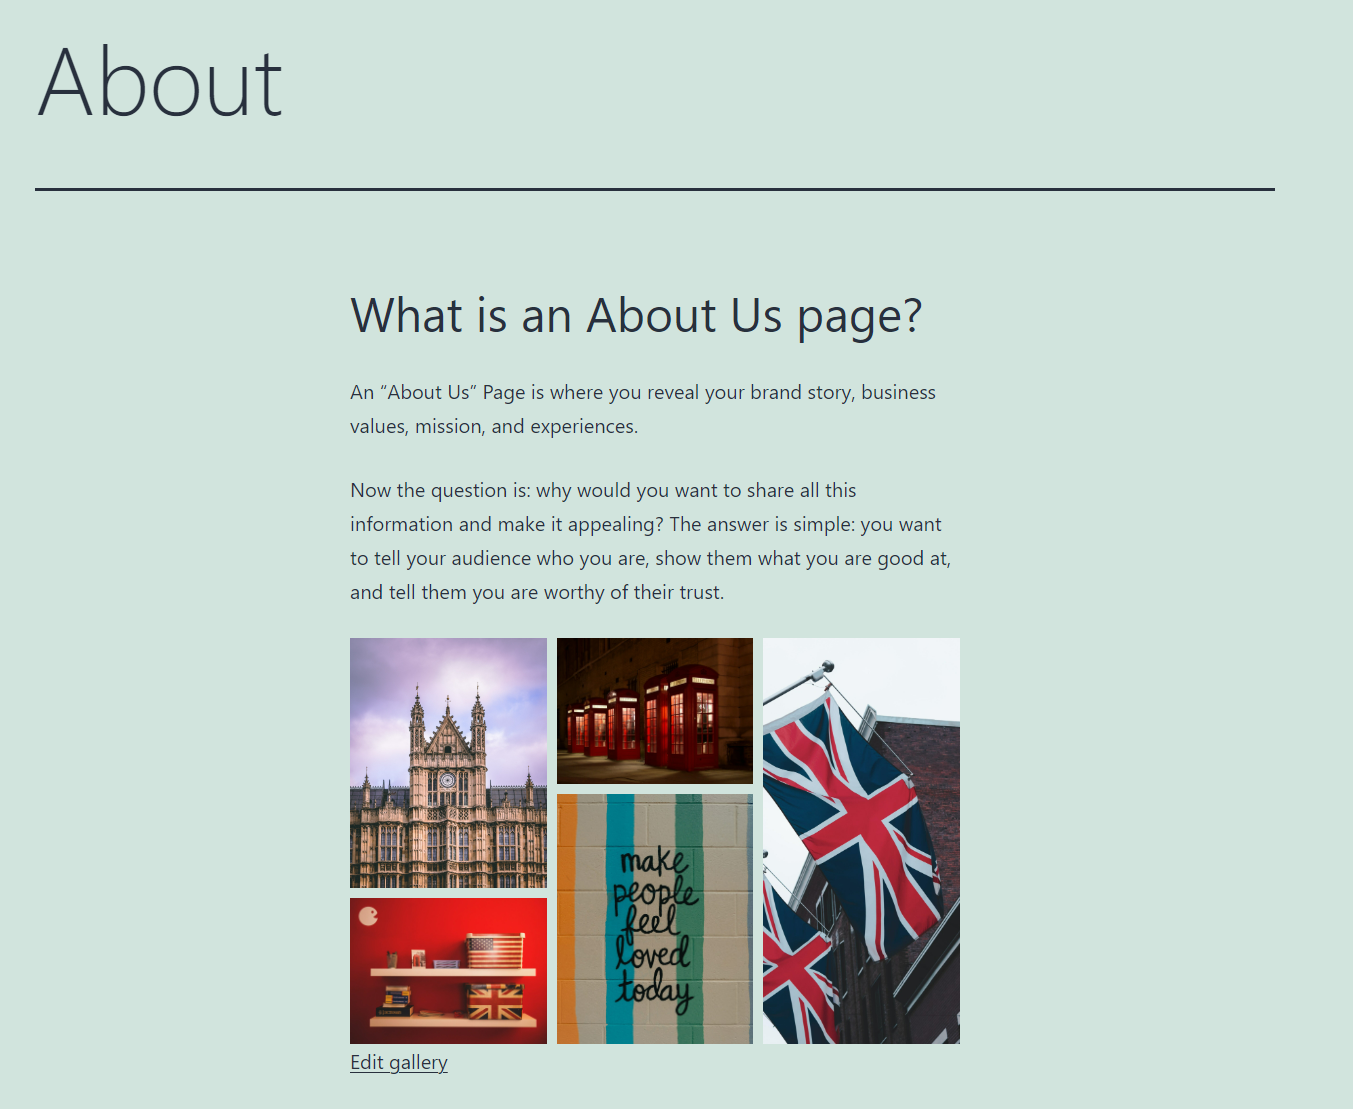
Here is how the gallery on my English page looks.
Here you can see how it looks when I change the language to Spanish.