Add captions and titles to your galleries
To add captions and titles to your images, simply go to Modula > Galleries and open the gallery you want to edit. Once you’re in the gallery edit page, just click the edit icon on any image you’d like to update.
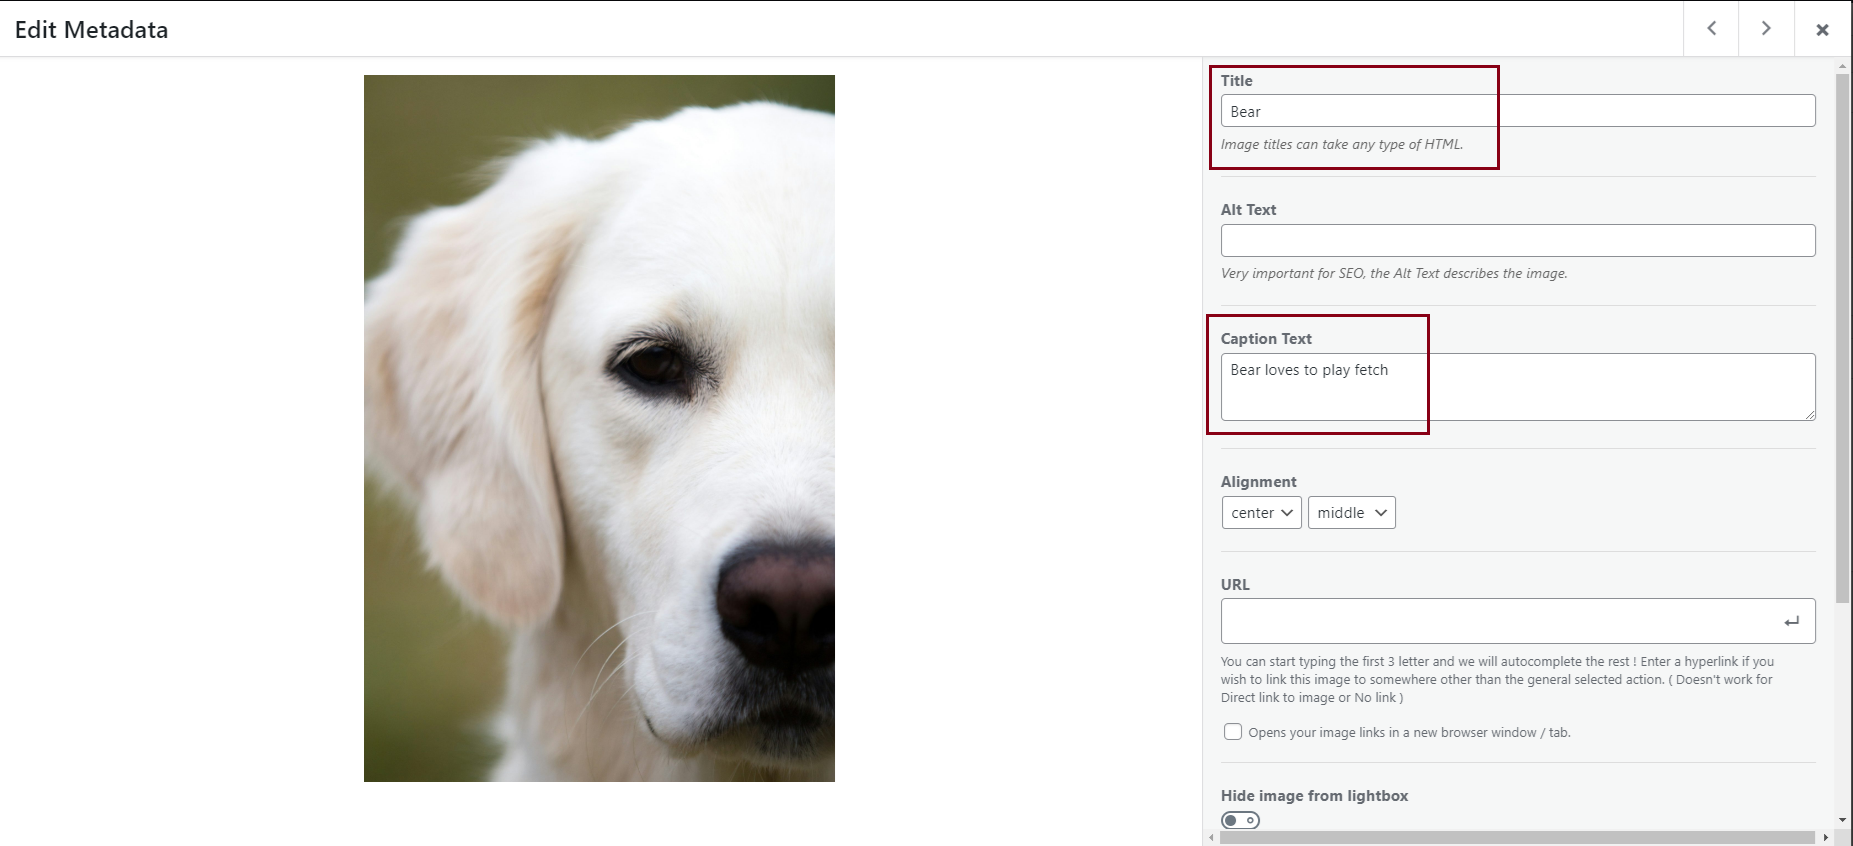
Simply click on the edit icon for any image you’d like to update.
Then enter your desired text into the Title and Caption Text area.
Changing Title and Caption Colors
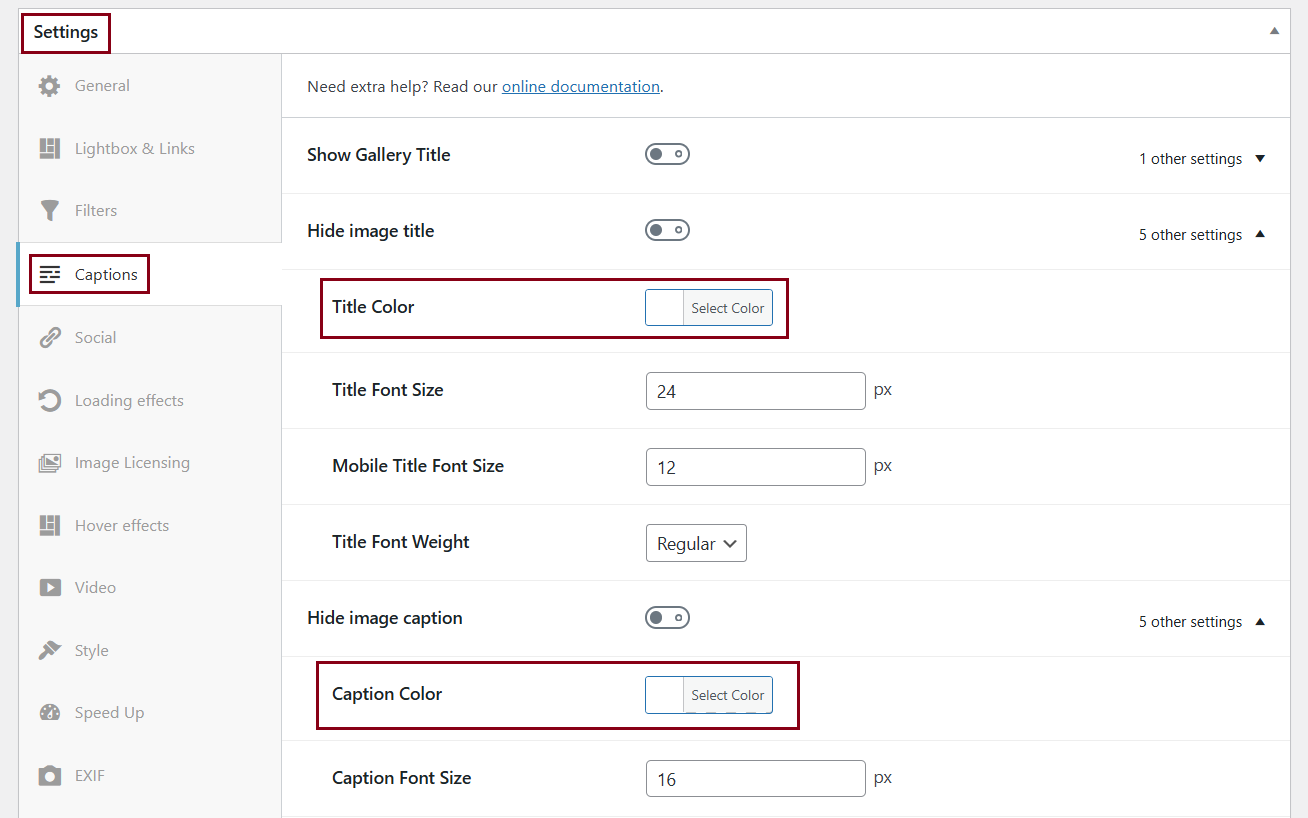
With the Title Color and Caption Color settings, you can easily choose how your image titles and captions will look. You can either paste in a hex code or simply experiment by dragging to find the perfect color.
Modula Title and Captions Settings (click the links below to see demos for each setting)
-
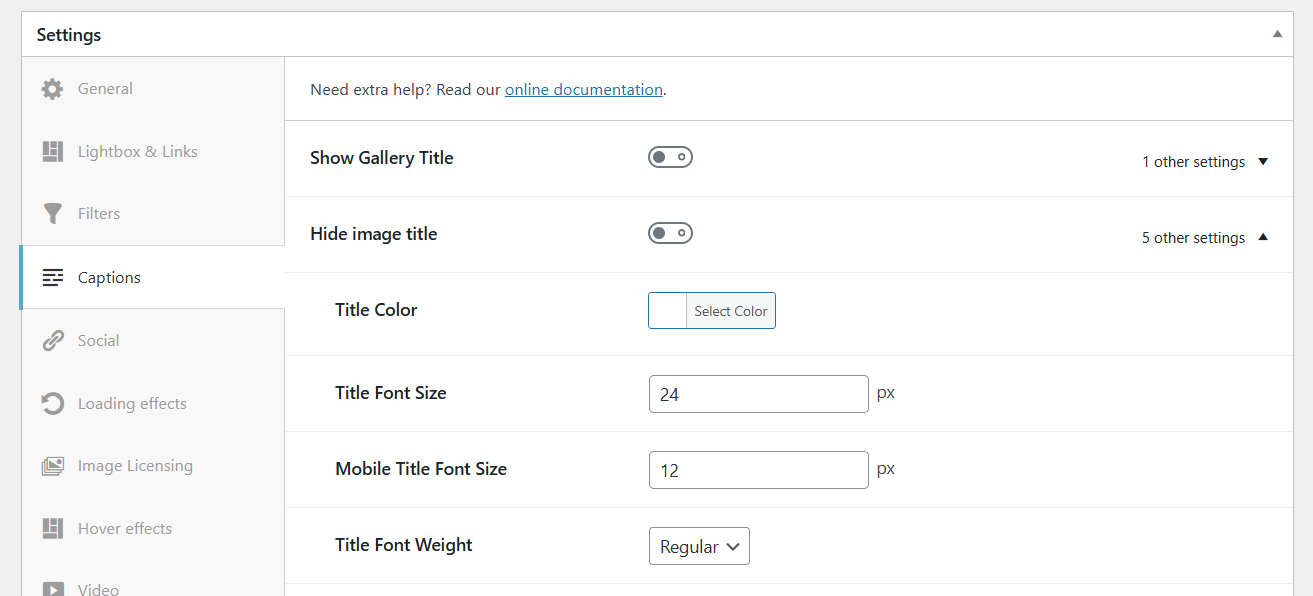
Show Gallery Title
Enabling this option will display the gallery’s title on the page, just above the gallery. With the setting below ‘Title type‘ you can choose what HTML element to use for the output:
-> Paragraph
-> Heading 1
-> Heading 2
-> Heading 3
-> Heading 4
-> Heading 5
-> Heading 6 -
Hide image titles from your gallery when turned on. If turned off, it will display the title on the thumbnail on hover.
It will not hide the title inside the lightbox – that setting can be controlled from Lightbox & Links. -
Change the color of the title. It will apply only to the title displayed on the thumbnail on hover, as seen in the demos. The same goes for all the settings below.
-
Change the font size for your title (in pixels).
-
Enter the title’s size for mobile devices.
-
Set the font weight of your title. It can be default/light/regular/bold.
-
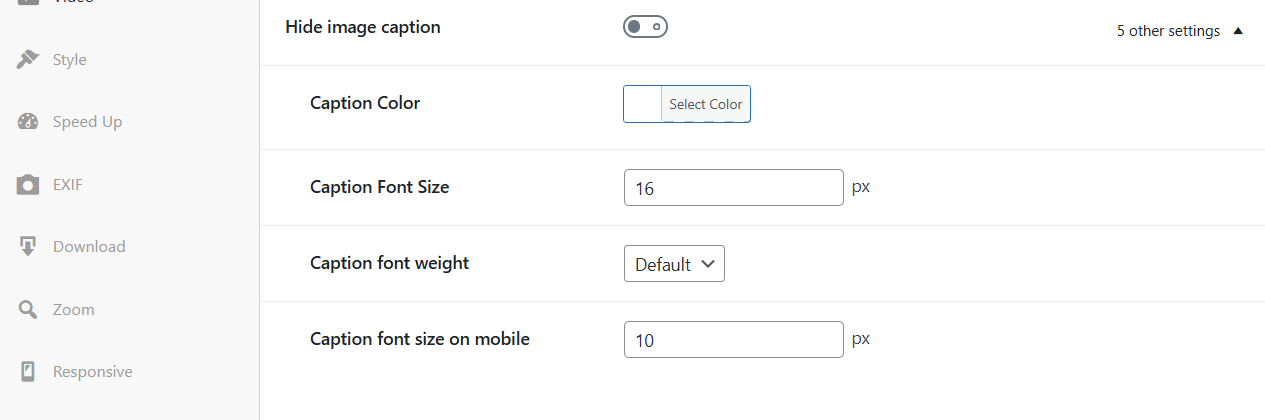
Hide the image caption from your gallery when turned on. If turned off, it will display the caption on the thumbnail on hover. It will not hide the caption inside the lightbox – that setting can be controlled separately from Lightbox & Links.
-
Choose the caption’s color. It will apply only to the caption displayed on the thumbnail on hover, as seen in the demos. The same goes for all the settings below.
-
Enter the font size for your caption (in pixels).
-
Set the font style of your caption. It can be default/light/regular/bold.
-
Enter caption size for mobile devices.
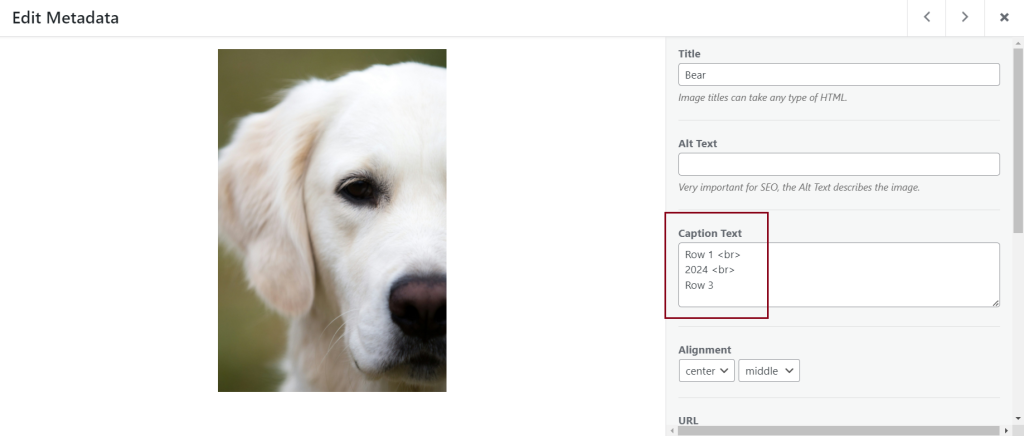
How to add HTML to your caption/title
You can add HTML for your image title or caption. This will be displayed inside the lightbox under the image or on hover.
You will have to go to your gallery > edit it > edit the desired image > and inside the title or caption fields > add the HTML code.
If you want to add a link, you can use for example: <a href="enter your url here">Click HERE for more information</a>

If you want to add additional lines below the caption, you can do this directly in the Caption field, one under the other using the <br> tag.