
If you want to test the new version of the Modula editor and Beta features before the public release, you can do that by installing the Beta Versions manually.
This guide explains where to get the Beta build, how to install it over your current version, and how to enable the new Beta functionality.
Before You Start
Before installing the Beta Versions, keep these things in mind:
- the Beta build is meant for testing, to show the full potential of the new major release
- some features may change before the final release
- some bugs or unexpected behavior are still possible
- it is best to test on a staging site first, not on your main live site
- make sure to create a full backup of your site before attempting the update
Where to Download the Beta Version
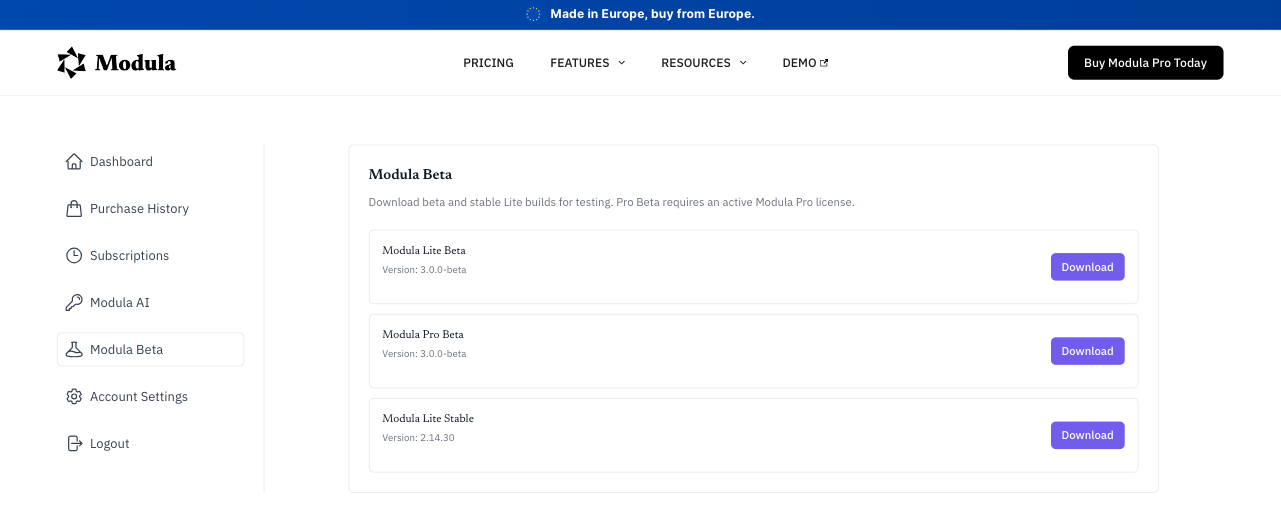
The Modula Beta versions are available as a separate archives in your Modula user account area on the Modula website.
Just log in using the front-end menu, Resources > My account, switch the toggle to Downloads, and download the Beta versions (Lite and Pro).
How to install the Beta Versions
After downloading the Beta versions, just access your WordPress admin dashboard and go to: Plugins > Installed Plugins > Add plugin > Upload plugin.
Upload the Beta archives the same way you would upload a plugin update.
Because this is a Beta build, the goal is to update your current Modula version with the Beta Version so the new editor and features become available.
If WordPress asks whether you want to replace the existing plugin, confirm the update.
In most cases, Modula should remain active after the update, but you can double-check just to be sure.
How to Enable the Beta Functionality

After enabling the Beta option, save the settings.
You can now open a gallery and start testing the new Beta editor.